
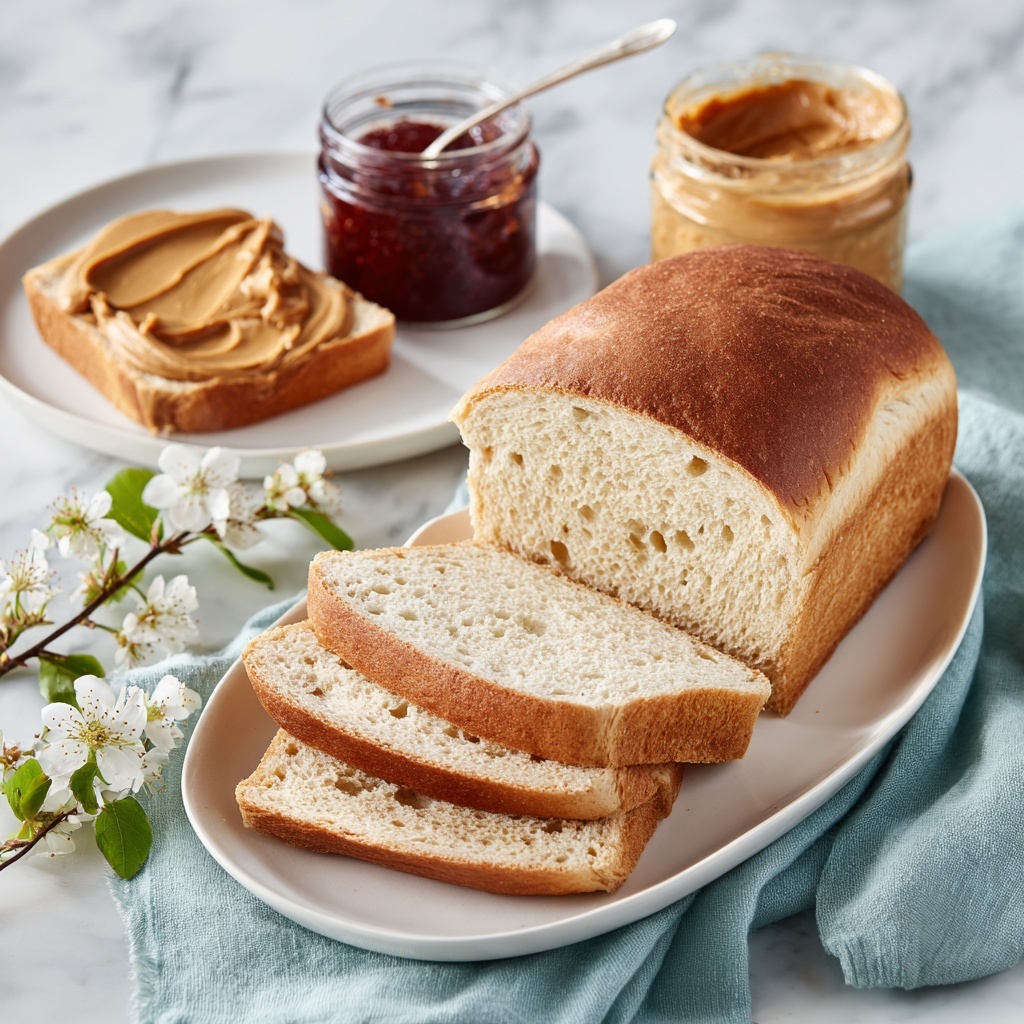
There is something truly magical about baking your own bread, and this White Homemade Bread Recipe brings that magic right into your kitchen. With its soft, pillowy texture and golden crust, this classic white bread is the ultimate comfort food that smells heavenly and tastes even better. Whether you’re a beginner or a seasoned baker, this recipe offers the perfect balance of simplicity and flavor, delivering fresh, warm loaves that will have you eagerly waiting for the next slice. It’s more than just bread — it’s an experience you’ll want to share with family and friends.
Ingredients You’ll Need
Ingredients You’ll Need
These ingredients might be pantry staples, but each one plays a critical role in creating the perfect White Homemade Bread Recipe. From yeast that makes the dough rise to butter that enriches the flavor and the salt that enhances it all, every component is a must-have.
- Warm water (2 cups, 105 to 110°F): The ideal temperature to activate the yeast without killing it, creating that fluffy rise.
- Granulated sugar (2 tablespoons): Provides food for the yeast and adds a subtle sweetness to the crumb.
- Active dry yeast (2 packets, 0.25-ounce/7g each): The magical ingredient responsible for making your bread rise and become wonderfully airy.
- All-purpose flour (6 cups/720g): The backbone of the bread, providing structure and that soft, chewy texture.
- Unsalted butter (4 tablespoons, melted): Adds richness and tenderness to every bite, plus a delicate buttery flavor.
- Salt (2 teaspoons): Enhances all the other flavors and helps control yeast fermentation for the perfect dough.
How to Make White Homemade Bread Recipe
Step 1: Activate the yeast
Start by stirring together warm water, sugar, and yeast in the bowl of your stand mixer fitted with a dough hook. Let it rest for about 5 minutes until it becomes very foamy. This foam tells you that the yeast is alive and ready to work its magic in your White Homemade Bread Recipe.
Step 2: Combine dry ingredients with wet
Add the flour, melted butter, and salt directly to the yeast mixture. Mixing on low speed, watch the dough form a shaggy ball pulling away from the sides, signaling you’re on the right track. Don’t hesitate to scrape down the bowl to ensure everything comes together perfectly.
Step 3: Knead the dough
Raise the mixer speed to medium-low and knead for 5 to 7 minutes until the dough is smooth and springs back when pressed with a finger. The dough should be moist but not sticky, which means it’s developed just the right amount of gluten for that soft, chewy texture in your loaf.
Step 4: First rise
Place the dough in a greased bowl, turning it to coat the top. Cover it with plastic wrap and leave it in a warm, draft-free spot for 40 to 50 minutes until it almost doubles in size and springs back slowly when pressed gently. This rise builds volume and flavor.
Step 5: Prepare loaf pans
While the dough is rising, grease two 9×5-inch loaf pans. A little butter or baking spray ensures your bread won’t stick and gets a lovely golden crust.
Step 6: Punch down and shape
Once risen, punch down the dough and turn it onto a lightly floured surface. Divide it into two equal pieces, then shape each into an 8×12-inch rectangle. Roll tightly from a short end, pinch the seams, and tuck the ends under to form the loaf. Place seam side down in the prepared pans.
Step 7: Second rise
Cover the pans loosely with sprayed plastic wrap and let the dough rise again for 25 to 35 minutes until the dough just rises above the rim of the pans. This second rise gives your bread a light, airy crumb and that perfect spring when baked.
Step 8: Bake to perfection
Preheat your oven to 350°F. Optionally brush the tops with more melted butter to encourage a golden crust, then bake for 30 to 35 minutes until the tops turn beautifully golden brown. Your kitchen will smell amazing!
Step 9: Cool and enjoy
Allow the loaves to cool in the pans for a few minutes before turning them out onto a wire rack to cool completely. This step sets the crumb and makes slicing easier for your White Homemade Bread Recipe.
How to Serve White Homemade Bread Recipe
Garnishes
A light brushing of melted butter right after baking adds a shiny, soft finish. For added flair, a sprinkle of sesame or poppy seeds before baking gives a delightful crunch and aesthetic appeal that complements the soft crumb beautifully.
Side Dishes
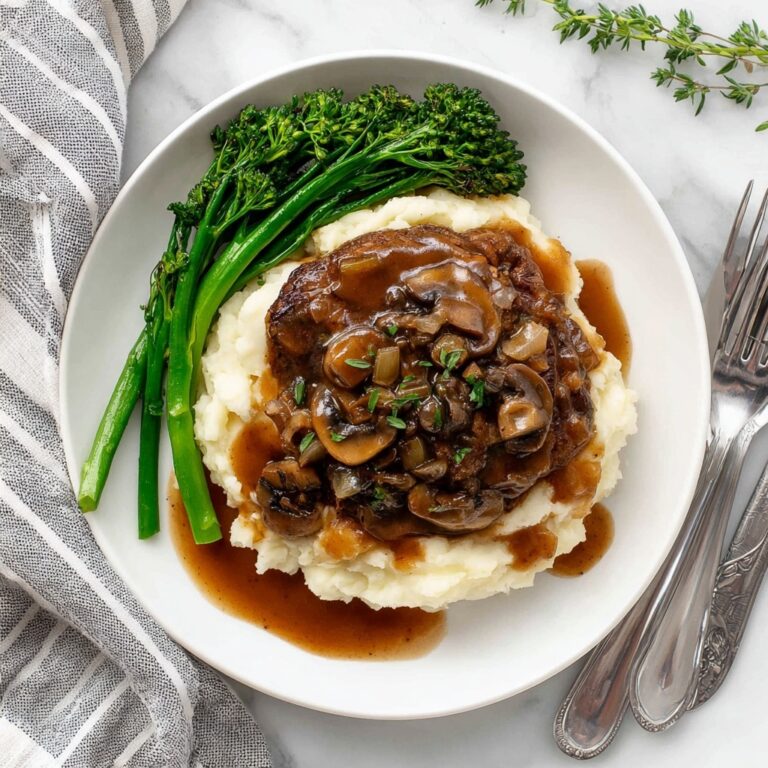
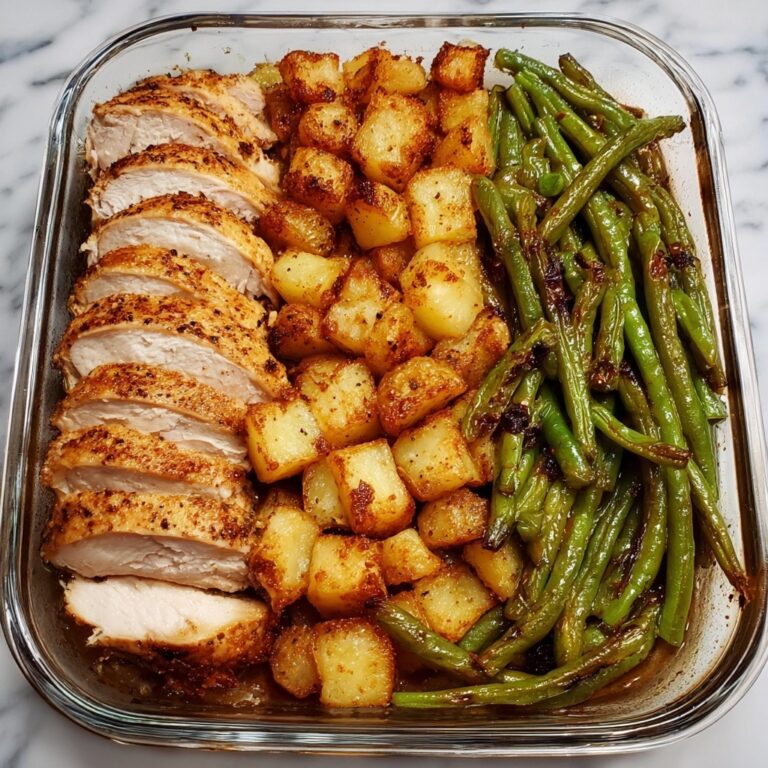
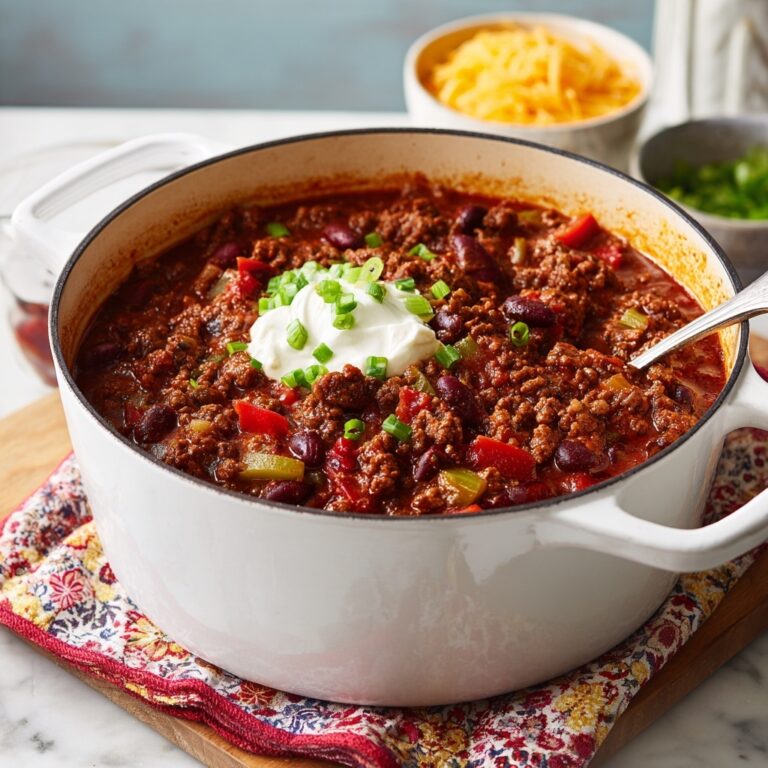
This bread pairs wonderfully with just about everything! Serve it alongside creamy soups like tomato basil, rich stews, or even a fresh salad for a comforting, balanced meal. It’s also incredible with simple spreads like butter, jam, or a thick layer of peanut butter.
Creative Ways to Present
Cut thick slices and toast them for an effortless breakfast topped with avocado and a poached egg. Or turn the bread into homemade croutons to sprinkle over salads and soups. For a cozy dessert, try cinnamon sugar toast made from this fresh homemade bread that’s irresistibly soft.
Make Ahead and Storage
Storing Leftovers
Keep your bread fresh by storing it in an airtight container or bread box at room temperature for up to 3 days. Avoid refrigerating as it can dry out the crumb quickly. When wrapped properly, it retains its softness and flavor beautifully for several days.
Freezing
To enjoy your White Homemade Bread Recipe longer, freeze the cooled loaves wrapped tightly in plastic wrap and then in foil or a freezer bag. They keep well for up to 3 months. When you want a slice, simply thaw at room temperature or toast directly from frozen.
Reheating
Warm your bread by toasting slices or by heating whole loaves in a 350°F oven for 10 to 15 minutes wrapped in foil. This restores that just-baked warmth and gives you that wonderful crust-to-crumb contrast fresh out of the oven.
FAQs
Can I make this bread without a stand mixer?
Absolutely! You can mix and knead the dough by hand on a lightly floured surface. It might take a bit longer to develop the gluten, but the texture will still be fantastic.
What if my yeast doesn’t foam after 5 minutes?
If the yeast mixture doesn’t foam, it likely means the yeast is dead or the water temperature was off. Try using fresh yeast and make sure your water is warm but not hot to the touch.
Can I substitute whole wheat flour in this recipe?
You can, but keep in mind that whole wheat flour will make the bread denser. Try replacing half the all-purpose flour with whole wheat for a nice balance of flavor and texture.
Why is my bread dense or heavy?
Dense bread usually means the dough did not rise enough or was over-kneaded. Make sure the dough doubles during the rise times and knead until smooth but still soft.
How do I get the perfect crust?
Brushing with butter before and/or after baking helps create a soft, golden crust. For a crunchier crust, bake without butter and increase the oven temperature slightly while ensuring you watch for browning.
Final Thoughts
Baking this White Homemade Bread Recipe is such a rewarding adventure, and once you try it, you’ll wonder how you ever bought bread from the store. There’s nothing quite like the smell of fresh bread filling your home or the taste of a warm slice straight from the oven. So go ahead, roll up your sleeves, and bake a batch — it’s an irresistible treat you and your loved ones will cherish again and again!
Print
White Homemade Bread Recipe
- Prep Time: 20 minutes
- Cook Time: 35 minutes
- Total Time: 2 hours
- Yield: 2 loaves (about 12 slices each)
- Category: Bread
- Method: Baking
- Cuisine: American
Description
This classic white bread recipe produces soft, fluffy loaves with a golden crust. Perfect for sandwiches or toast, it uses simple ingredients and requires basic bread-making techniques like kneading, rising, and baking to yield delicious homemade bread.
Ingredients
Wet Ingredients
- 2 cups warm water (105 to 110°F) (480ml)
- 4 tablespoons unsalted butter (melted) (56g)
Dry Ingredients
- 2 tablespoons granulated sugar
- 2 (0.25-ounce/7g) packets active dry yeast
- 6 cups all-purpose flour (720g)
- 2 teaspoons salt
Instructions
- Activate Yeast: In the bowl of a stand mixer fitted with the dough hook attachment, stir together the warm water, sugar, and yeast until combined. Let it stand for 5 minutes, or until very foamy, indicating the yeast is active.
- Combine Ingredients: To the same bowl with the yeast mixture, add the flour, melted butter, and salt. Mix on low speed for 1 minute until the dough forms a shaggy ball and pulls away from the sides of the bowl. Scrape down any dough bits from the sides if necessary.
- Knead Dough: Increase mixer speed to medium-low and knead for 5 to 7 minutes until the dough is smooth and springs back quickly when pressed, feeling moist but not sticky.
- First Rise: Place the dough in a lightly greased bowl, flipping it over to grease the top. Cover with plastic wrap and let rise in a warm, draft-free spot (around 75°F) for 40 to 50 minutes, until nearly doubled and slowly springs back when poked.
- Prepare Pans: Grease two 9×5-inch loaf pans with butter or baking spray while dough is rising.
- Shape Loaves: Punch down the risen dough and turn it onto a lightly floured surface. Divide into two equal pieces (about 630g each). Flatten each into an 8×12-inch rectangle, then roll tightly from a short end. Pinch seams securely and tuck ends under. Place seam-side down into loaf pans.
- Second Rise: Loosely cover the pans with plastic wrap sprayed with nonstick spray and let rise 25 to 35 minutes until dough rises just above the pan rims.
- Preheat Oven & Prepare Loaves: While dough rises, preheat oven to 350°F. Optionally, brush tops of loaves with melted butter after the second rise.
- Bake Bread: Bake the loaves for 30 to 35 minutes until golden brown on top. Cool for a few minutes in pans, then transfer to a wire rack to cool completely before slicing.
Notes
- Use warm water (105 to 110°F) to properly activate the yeast without killing it.
- Ensure dough is moist but not sticky during kneading for best texture.
- Letting the dough rise in a warm, draft-free environment helps yeast activity.
- Brush with melted butter after baking to keep crust soft and add flavor.
- Cooling on a rack prevents the bottom from becoming soggy.


