
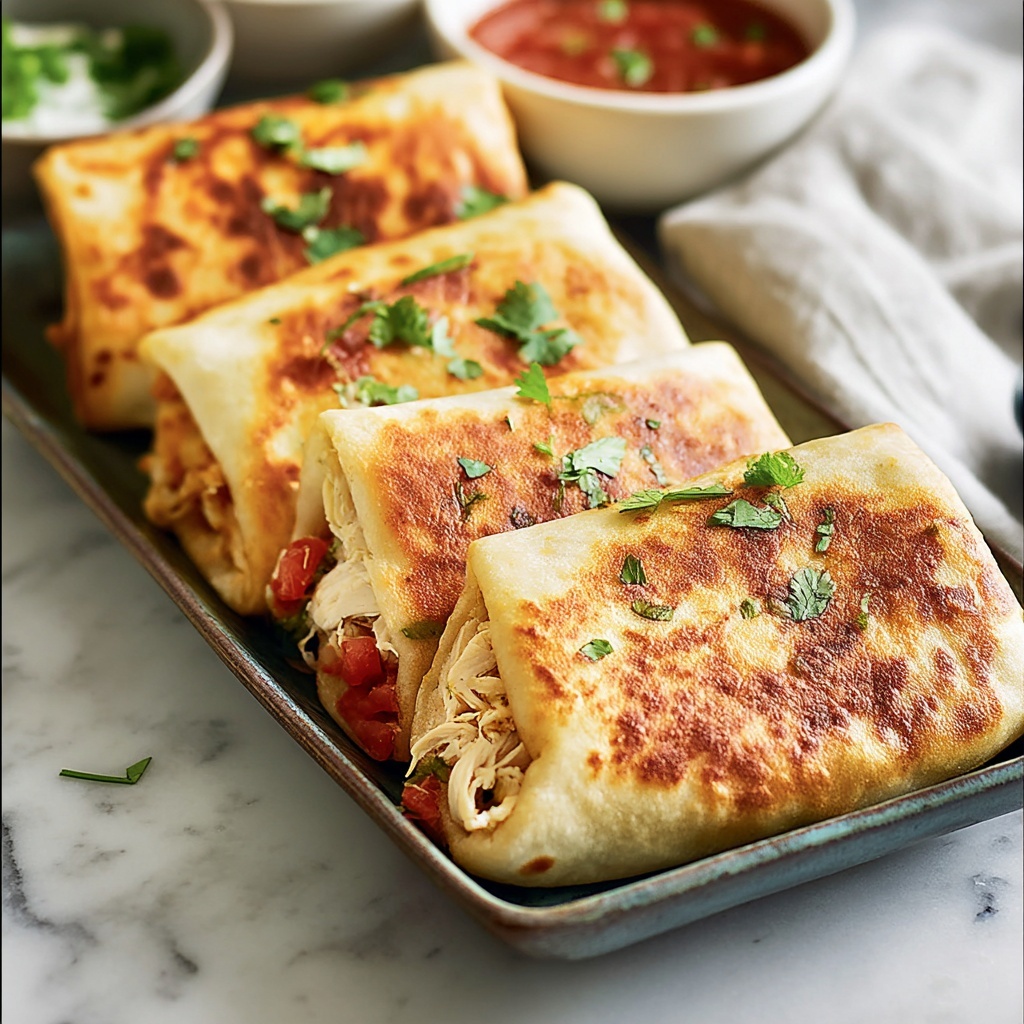
If you’re craving a comforting, crispy, and flavorful Mexican-inspired dish that doesn’t require frying, this Baked Chicken Chimichangas Recipe is exactly what you need. Packed with seasoned shredded chicken, melty cheese, and wonderfully spiced aromatics wrapped in a warm flour tortilla, these chimichangas bake up golden and crisp while staying tender inside. It’s a fantastically easy recipe that gives you all the fun of traditional chimichangas with less mess, and the taste? Absolutely irresistible. Whether it’s a weeknight dinner or a casual get-together, this recipe will quickly become one of your favorites.
Ingredients You’ll Need
These ingredients are simple yet essential, each working together to create the perfect balance of flavor, texture, and color that make these baked chicken chimichangas truly shine. From the spices that punch up the chicken to the cheese that adds gooey richness, everything here serves a delicious purpose.
- 2 cups cooked shredded chicken: Use rotisserie for a shortcut or homemade for extra freshness and control over seasoning.
- 1 teaspoon ground cumin: Adds a warm, earthy undertone that’s classic to Mexican flavors.
- 1 teaspoon chili powder: Gives a mild spicy kick without overpowering the dish.
- ½ teaspoon garlic powder: Brings in a gentle garlic flavor that complements the chicken perfectly.
- ½ teaspoon onion powder: Enhances subtle savory notes that balance the spices.
- ¼ cup salsa or enchilada sauce: Provides moisture and a zesty tang that binds the filling together.
- 1 cup shredded cheese (cheddar or Mexican blend): Melts beautifully, adding gooey texture and a sharp, cheesy taste.
- 4 large flour tortillas: The sturdy yet soft wrap that holds all the goodness, crisping nicely in the oven.
- Cooking spray or melted butter: Helps achieve that irresistible golden crust on top.
How to Make Baked Chicken Chimichangas Recipe
Step 1: Prepare Your Oven and Chicken Filling
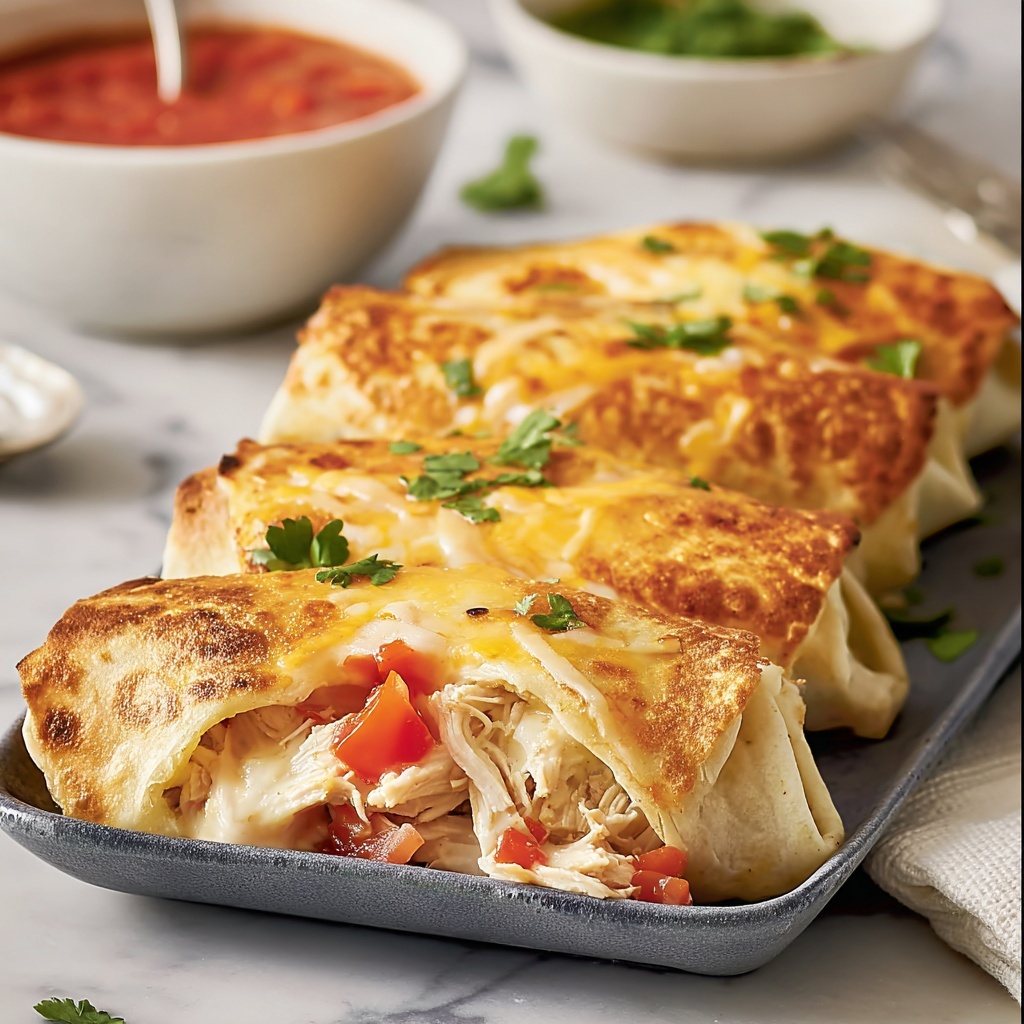
Start by preheating your oven to a toasty 400°F (200°C). While that’s warming up, mix together your shredded chicken with all the spices, salsa, and cheese in a bowl. This step is where the magic starts — the combination brings such a bold, savory flavor with just the right hint of richness from the cheese and moisture from the salsa.
Step 2: Assemble the Chimichangas
Lay out each flour tortilla on a clean surface and spoon an even amount of the chicken mixture in the center. Folding the sides in and then rolling tightly is a key trick to keep everything neatly tucked inside during baking. It’s like wrapping a precious little package of flavor waiting to be golden crisp.
Step 3: Prepare for Baking
Place the rolled chimichangas seam-side down on a baking sheet lined with parchment paper — this keeps them from unrolling. Lightly brush the tops with melted butter or spritz with cooking spray. This step is essential because it creates that beautiful, crispy exterior we all love without the need for frying.
Step 4: Bake to Perfection
Pop your tray into the oven and bake for about 20 to 25 minutes, until the chimichangas are a stunning golden brown. The aroma filling your kitchen during this time is simply irresistible. Baking instead of frying makes these chimichangas lighter but just as satisfying with their crispy, crunchy bite.
Step 5: Serving Hot and Fresh
Once baked, these chimichangas are best enjoyed fresh and warm. The melty cheese, the tender chicken filling, and the crisp tortilla come together in perfect harmony that keeps you coming back for more.
How to Serve Baked Chicken Chimichangas Recipe
Garnishes
To elevate your baked chicken chimichangas recipe even more, top them with bright, fresh garnishes like sour cream for creaminess, ripe guacamole for buttery richness, and extra salsa for a kick of acidity. A sprinkle of chopped cilantro or sliced jalapeños adds a pleasant freshness and mild heat, making each bite exciting.
Side Dishes
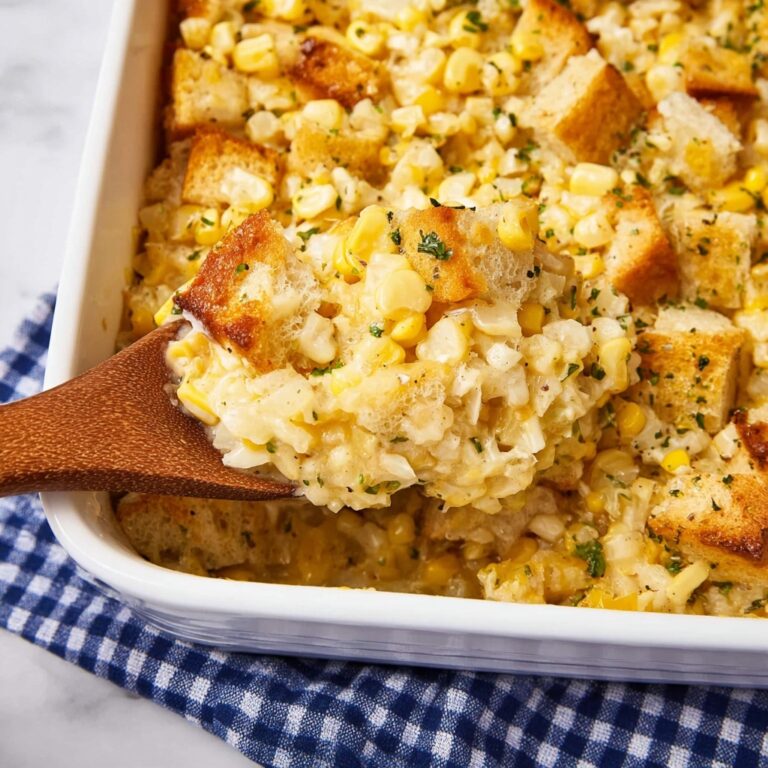
These chimichangas pair beautifully with classic Mexican sides such as Mexican rice, refried beans, or a fresh corn salad. The combination of textures and flavors on the plate creates a well-rounded, satisfying meal that feels both hearty and vibrant.
Creative Ways to Present
For a fun twist, slice your chimichangas into smaller pieces for a shareable appetizer plate. Arrange them on a colorful platter with dollops of guacamole and sour cream, and add some freshly cut lime wedges for guests to squeeze over. It’s a great way to make this dish the star at any casual party or family meal.
Make Ahead and Storage
Storing Leftovers
If you’re lucky enough to have leftovers, store them in an airtight container in the refrigerator for up to 3 days. The flavors will deepen overnight, making reheated chimichangas surprisingly delicious and comforting.
Freezing
You can freeze these chimichangas before baking by wrapping each one tightly in plastic wrap and then placing them in a freezer-safe bag. Freeze for up to 2 months. When you’re ready to enjoy, bake them straight from frozen, adding some extra time to ensure they’re heated through and crispy.
Reheating
For the crispiest reheated chimichangas, pop them into a preheated oven at 350°F (175°C) for about 10 to 15 minutes. Avoid microwaving if possible because it tends to make the tortilla soggy. Reheating in the oven helps maintain that crunchy, golden texture you love.
FAQs
Can I use chicken other than rotisserie?
Absolutely! While rotisserie chicken is a convenient option, you can use any cooked chicken you like, such as grilled, baked, or even leftover roasted chicken. Just shred it finely for the best texture.
Is it possible to make these chimichangas vegetarian?
Definitely. Swap the chicken for seasoned beans, sautéed vegetables, or a mixture of both. Add extra cheese or vegan cheese alternatives to keep the filling satisfying and flavorful.
Why bake instead of fry the chimichangas?
Baking makes the chimichangas lighter and easier to prepare without sacrificing that crunchy texture. It’s a less messy, less greasy option that still delivers on flavor and crispness.
Can I prepare these ahead of time and bake later?
You sure can! Assemble the chimichangas, cover them tightly, and refrigerate for up to 24 hours before baking according to the instructions. This is perfect for prepping ahead of busy days.
What’s the best cheese to use?
A Mexican cheese blend or sharp cheddar works wonderfully since they melt well and add a nice tang. Feel free to experiment with Monterey Jack or even queso fresco if you want something different.
Final Thoughts
This Baked Chicken Chimichangas Recipe is a true winner for anyone looking to enjoy a classic Tex-Mex favorite with less fuss and a lot of flavor. Crispy on the outside, cheesy and seasoned on the inside, it’s a dish that feels like a warm hug on a plate. I encourage you to try making it soon — it’s straightforward, versatile, and perfect for sharing with family or friends. You might just find yourself turning to this recipe again and again!
Print
Baked Chicken Chimichangas Recipe
- Prep Time: 10 minutes
- Cook Time: 25 minutes
- Total Time: 35 minutes
- Yield: 4 servings
- Category: Main Course
- Method: Baking
- Cuisine: Mexican
Description
Enjoy crispy, flavorful baked chicken chimichangas made with tender shredded chicken, a blend of spices, salsa, and gooey cheese wrapped in flour tortillas and baked to golden perfection. This easy-to-make Mexican-inspired dish is perfect for a quick weeknight dinner or casual gathering.
Ingredients
Filling
- 2 cups cooked shredded chicken (rotisserie or homemade)
- 1 teaspoon ground cumin
- 1 teaspoon chili powder
- ½ teaspoon garlic powder
- ½ teaspoon onion powder
- ¼ cup salsa or enchilada sauce
- 1 cup shredded cheese (cheddar or Mexican blend)
Wrap & Finish
- 4 large flour tortillas
- Cooking spray or melted butter (for brushing)
Instructions
- Preheat the Oven: Preheat your oven to 400°F (200°C) to ensure it’s hot and ready for baking your chimichangas to a crispy golden finish.
- Prepare the Filling: In a medium bowl, combine the cooked shredded chicken, ground cumin, chili powder, garlic powder, onion powder, salsa (or enchilada sauce), and shredded cheese. Mix thoroughly until all the ingredients are evenly incorporated.
- Fill the Tortillas: Spoon an equal amount of the chicken mixture into the center of each flour tortilla. Fold in the sides of the tortilla and then roll it up tightly into a burrito shape, securing the filling inside.
- Arrange and Brush: Place each rolled chimichanga seam-side down on a parchment-lined baking sheet to prevent them from unrolling. Lightly brush the tops with cooking spray or melted butter to help them brown and crisp nicely.
- Bake: Bake in the preheated oven for 20 to 25 minutes, or until the chimichangas are golden brown and the tortillas are crispy.
- Serve: Remove from the oven and serve hot, accompanied by your choice of sour cream, guacamole, or extra salsa for dipping.
Notes
- Using rotisserie chicken speeds up preparation but homemade shredded chicken works just as well.
- For extra crispiness, you can flip the chimichangas halfway through baking.
- Adjust the amount of salsa or enchilada sauce based on how moist you like the filling.
- To make this recipe gluten-free, substitute the flour tortillas with gluten-free tortillas.
- Leftovers can be refrigerated and reheated in the oven to maintain crispness.

