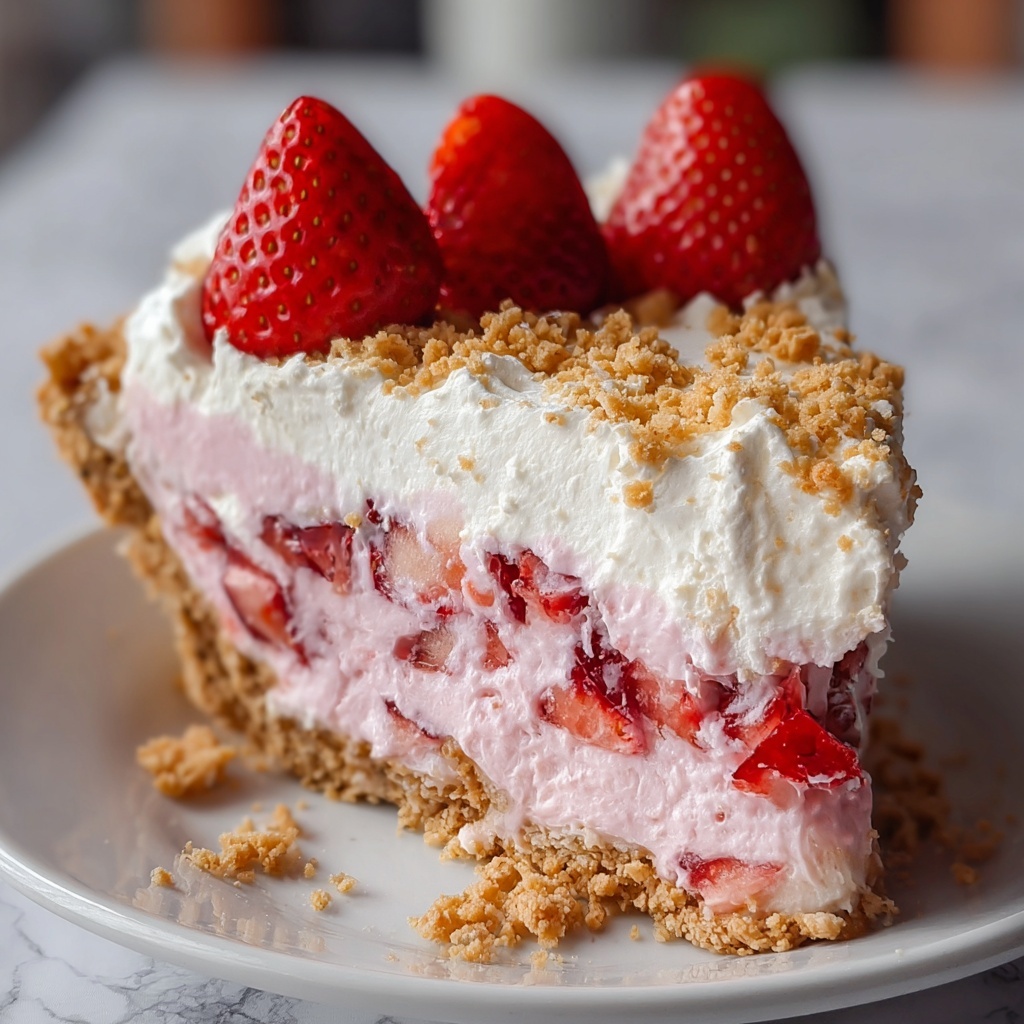
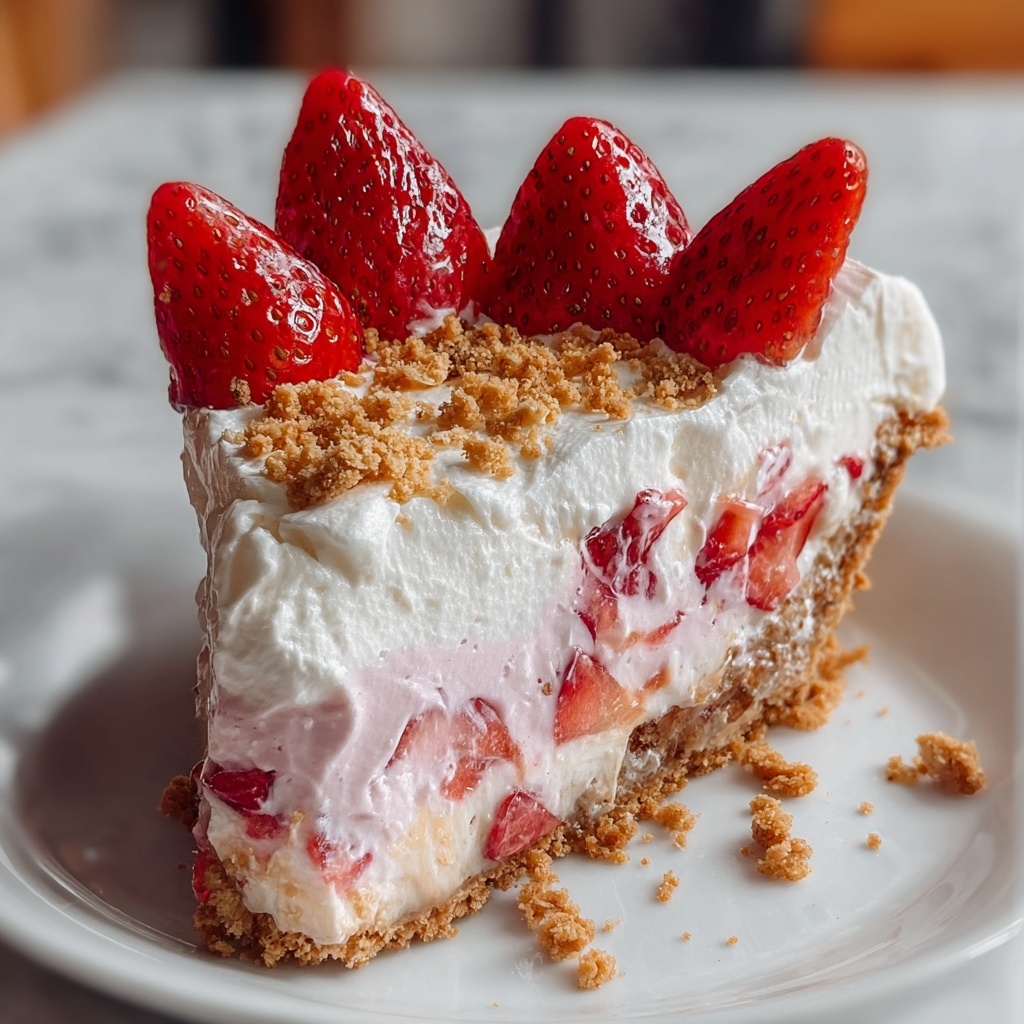
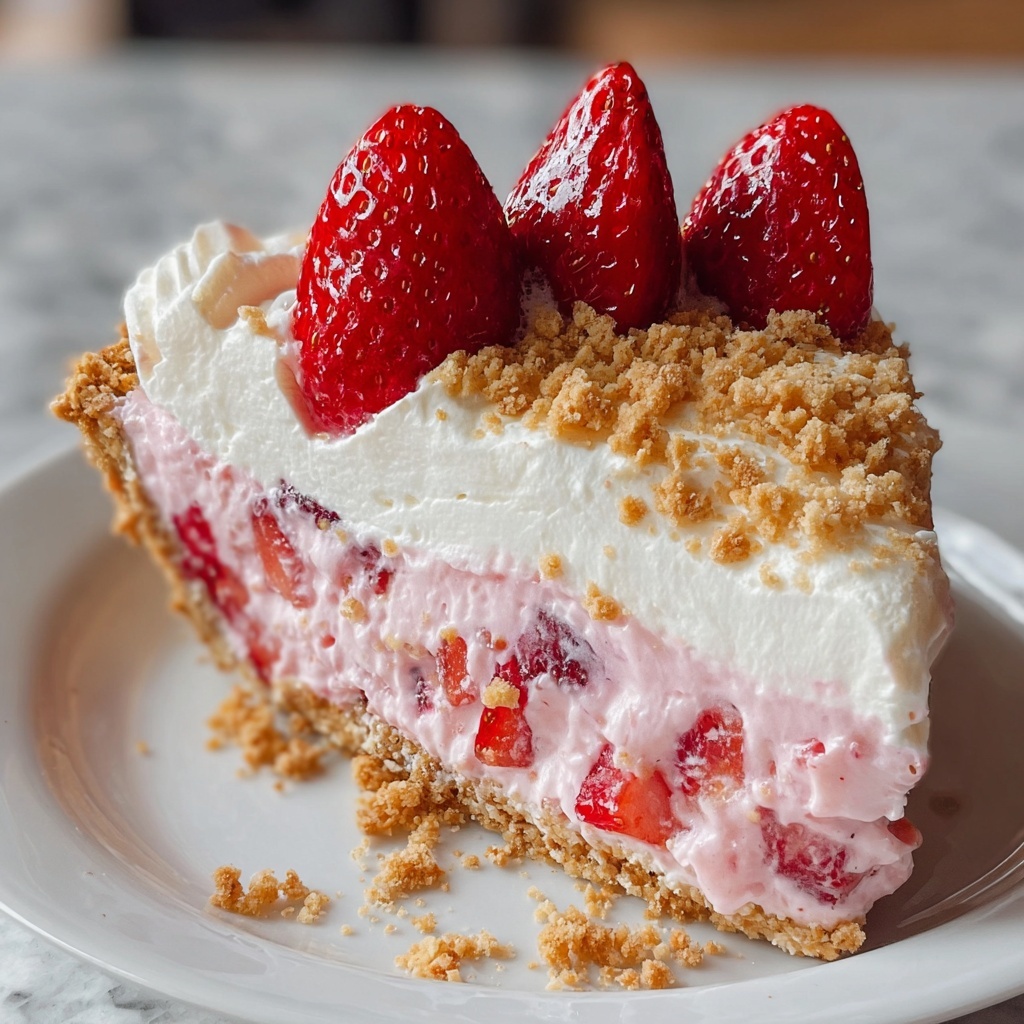
If you’re on the lookout for a dessert that’s both refreshing and indulgently creamy without turning on your oven, this No-Bake Strawberry Crunch Cheesecake Recipe is going to become your new obsession. Imagine the perfect harmony of a crunchy, naturally sweet crust bursting with almond and strawberry goodness, paired with a silky, dreamy cashew filling that’s lightly sweetened and just bursting with fresh flavors. It’s a paradise of textures and tastes that feels gourmet but is surprisingly simple to pull together, making it ideal for any occasion where you want to impress without stress.
Ingredients You’ll Need
These ingredients are straightforward yet thoughtfully chosen to give you a dessert that’s rich in flavor and texture. Each component plays a vital role, from the nutty, chewy crust to the luscious, creamy filling bursting with strawberry accents.
- Almonds: These create the crunchy, nutty base that holds everything together beautifully.
- Medjool dates, pitted: The natural sweetness and chewiness of dates bind the crust ingredients seamlessly.
- Dried strawberries: They add a concentrated fruity punch and a lovely red hue to the crust.
- Cashews, soaked for 4 hours: Soaking softens them perfectly to achieve a rich, creamy filling texture without any dairy.
- Coconut cream: This adds lusciousness and a subtle tropical note that complements the strawberries wonderfully.
- Maple syrup: A natural sweetener that brings warmth and depth to the cheesecake filling.
- Vanilla extract: Just a touch enhances all the flavors and rounds out the richness of the filling.
How to Make No-Bake Strawberry Crunch Cheesecake Recipe
Step 1: Prepare the Crunchy Crust
Start by tossing the almonds, pitted medjool dates, and dried strawberries into your food processor. Pulse just until you get a sticky, crumbly dough that holds together when pressed. This blend forms the flavorful, crunchy base of your cheesecake, with pops of natural sweetness and nutty texture that make every bite exciting.
Step 2: Press the Crust
Once your crust mixture is ready, transfer it into a springform pan. Use the back of a spoon, or your fingers if you prefer, to press it down firmly and evenly along the bottom. This step is key to creating a sturdy foundation that won’t crumble apart when slicing later, while still feeling satisfyingly crunchy under the creamy filling.
Step 3: Blend the Creamy Filling
Next, pour your soaked cashews, coconut cream, maple syrup, and vanilla extract into a high-speed blender. Blend until the mixture is incredibly smooth and creamy, with no nutty bits left behind. This luscious filling is what transforms the cheesecake from a simple crust into a decadent, velvety delight that will melt in your mouth.
Step 4: Assemble the Cheesecake
Pour the silky cashew filling over your prepared crust and use a spatula to smooth the surface. The contrast of the crunchy base with the creamy top looks gorgeous and promises an amazing blend of textures with each serving.
Step 5: Chill Until Set
Now the hardest part: patience. Refrigerate your cheesecake for at least 4 hours or overnight if you can. This chilling time allows the filling to firm up into that perfect sliceable consistency, while letting all the flavors deepen and marry together beautifully.
Step 6: Serve and Enjoy!
Once set, slice into your luscious cheesecake and serve chilled. It’s a guaranteed crowd-pleaser that looks stunning on any dessert table and tastes like pure summer happiness.
How to Serve No-Bake Strawberry Crunch Cheesecake Recipe
Garnishes
To elevate your cheesecake’s presentation, sprinkle some crushed dried strawberries or toasted almond slivers on top just before serving. Fresh strawberry slices or a drizzle of strawberry puree can also add a vibrant pop of color and reinforce that fruit-forward flavor.
Side Dishes
This cheesecake pairs wonderfully with a light, fresh side like mixed berry salad or even a dollop of coconut whipped cream. For a richer contrast, serve alongside a scoop of vegan vanilla ice cream to create a dreamy dessert duo.
Creative Ways to Present
For parties, consider making individual mini cheesecakes in small jars or ramekins for a charming, portable treat. Layer the crust and filling beautifully and top each with a strawberry slice or edible flower for an extra special touch.
Make Ahead and Storage
Storing Leftovers
You can store leftover cheesecake in an airtight container in the refrigerator for up to 4 days. This keeps the crust crisp and the filling creamy, so every slice tastes just as fresh as the day you made it.
Freezing
If you want to keep it longer, this cheesecake freezes beautifully. Wrap it tightly in plastic wrap and place it in a freezer-safe container for up to 2 months. Thaw overnight in the fridge before serving and you’ll barely notice it was frozen.
Reheating
Since this is a no-bake cheesecake, reheating is not necessary and could affect the texture. Just let frozen or chilled slices sit at room temperature for about 15 minutes before enjoying for the perfect softness.
FAQs
Can I use other nuts instead of almonds for the crust?
Absolutely! Walnuts or pecans would work wonderfully and bring their own unique flavor and texture. Just be sure to toast them lightly for extra depth.
What if I don’t have medjool dates? Can I substitute?
Yes, you can use any soft, sticky dried fruit like dried figs or raisins, but medjool dates provide the best natural sweetness and chewiness for binding the crust.
Do I need to soak the cashews for exactly 4 hours?
Soaking for 4 hours is ideal to get the creamiest texture, but if you’re in a pinch, even 1-2 hours can work. Just use hotter water to soften them faster or soak overnight for convenience.
Is this recipe suitable for vegans and those with dairy allergies?
Yes! The recipe uses plant-based ingredients only, making it a perfect vegan and dairy-free dessert option that tastes anything but compromise.
Can I make this cheesecake sweeter?
Certainly! Feel free to add a bit more maple syrup or drizzle with a fruit sauce. Just remember to balance sweetness so it doesn’t overpower the natural flavors of cashews and strawberries.
Final Thoughts
I genuinely can’t recommend this No-Bake Strawberry Crunch Cheesecake Recipe enough — it’s a perfect harmony of flavors and textures that feels like a special treat every time you bite into it. Whether you’re making it for a family gathering or just because you deserve a little something sweet, it’s easy, no-fuss, and absolutely delicious. Give it a try, and I promise it’ll win a permanent spot in your dessert rotation!
Print
No-Bake Strawberry Crunch Cheesecake Recipe
- Prep Time: 15 minutes plus 4 hours soaking and chilling
- Cook Time: 0 minutes
- Total Time: 4 hours 15 minutes
- Yield: 8 servings
- Category: Dessert
- Method: No-Cook
- Cuisine: American
- Diet: Vegan
Description
This No-Bake Strawberry Crunch Cheesecake is a delightful, creamy dessert featuring a crunchy almond, date, and dried strawberry crust paired with a smooth, sweet cashew and coconut cream filling. Perfect for a refreshing treat without the need for baking, it’s vegan, naturally sweetened, and ready to enjoy after chilling.
Ingredients
Crust:
- 1 cup almonds
- 1 cup medjool dates, pitted
- 1/2 cup dried strawberries
Filling:
- 1 cup cashews, soaked for 4 hours
- 1/2 cup coconut cream
- 1 tablespoon maple syrup
- 1 teaspoon vanilla extract
Instructions
- Prepare the crust: In a food processor, combine the almonds, medjool dates, and dried strawberries. Pulse until the mixture forms a sticky, crumbly dough that will hold together when pressed.
- Form the crust base: Transfer the mixture to the bottom of a springform pan. Use the back of a spoon to press and evenly spread the crust, ensuring it is compact and level.
- Make the filling: In a blender, combine the soaked cashews, coconut cream, maple syrup, and vanilla extract. Blend on high until the mixture is completely smooth and creamy, with no lumps remaining.
- Assemble the cheesecake: Pour the cashew filling over the crust in the springform pan. Smooth the top with a spatula to create an even layer.
- Chill to set: Place the cheesecake in the refrigerator and allow it to chill for at least 4 hours, or until it is fully set and firm to the touch.
- Serve: Once set, remove the cheesecake from the fridge, slice, and serve chilled for a delicious, creamy dessert.
Notes
- Soak cashews for at least 4 hours or overnight to achieve a creamy filling texture.
- If you don’t have dried strawberries, you can substitute with dried raspberries or freeze-dried strawberries.
- Use a food processor and blender with adequate power to get the right consistency for the crust and filling.
- To facilitate removal, run a knife around the edge of the springform pan before unlocking.
- Store leftovers covered in the refrigerator for up to 3 days.
- This cheesecake is naturally vegan and gluten-free.
