
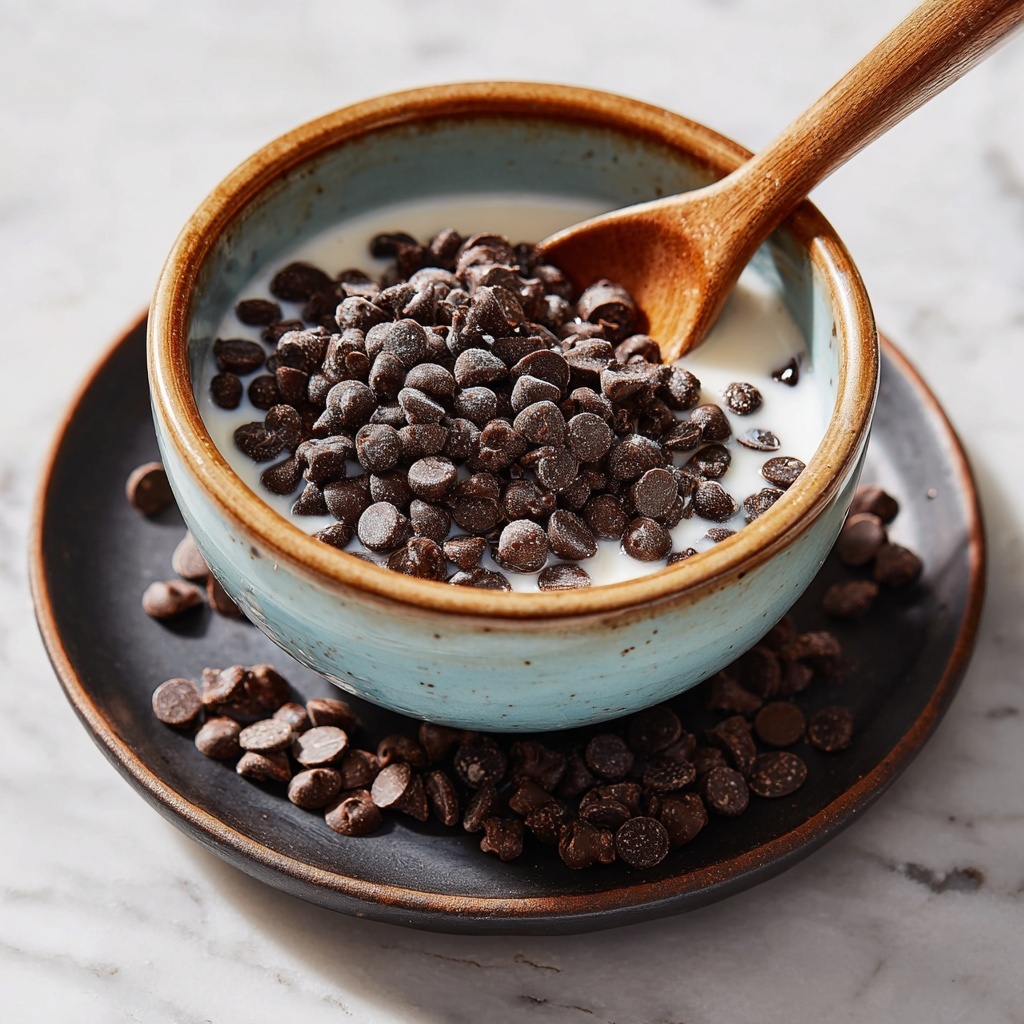
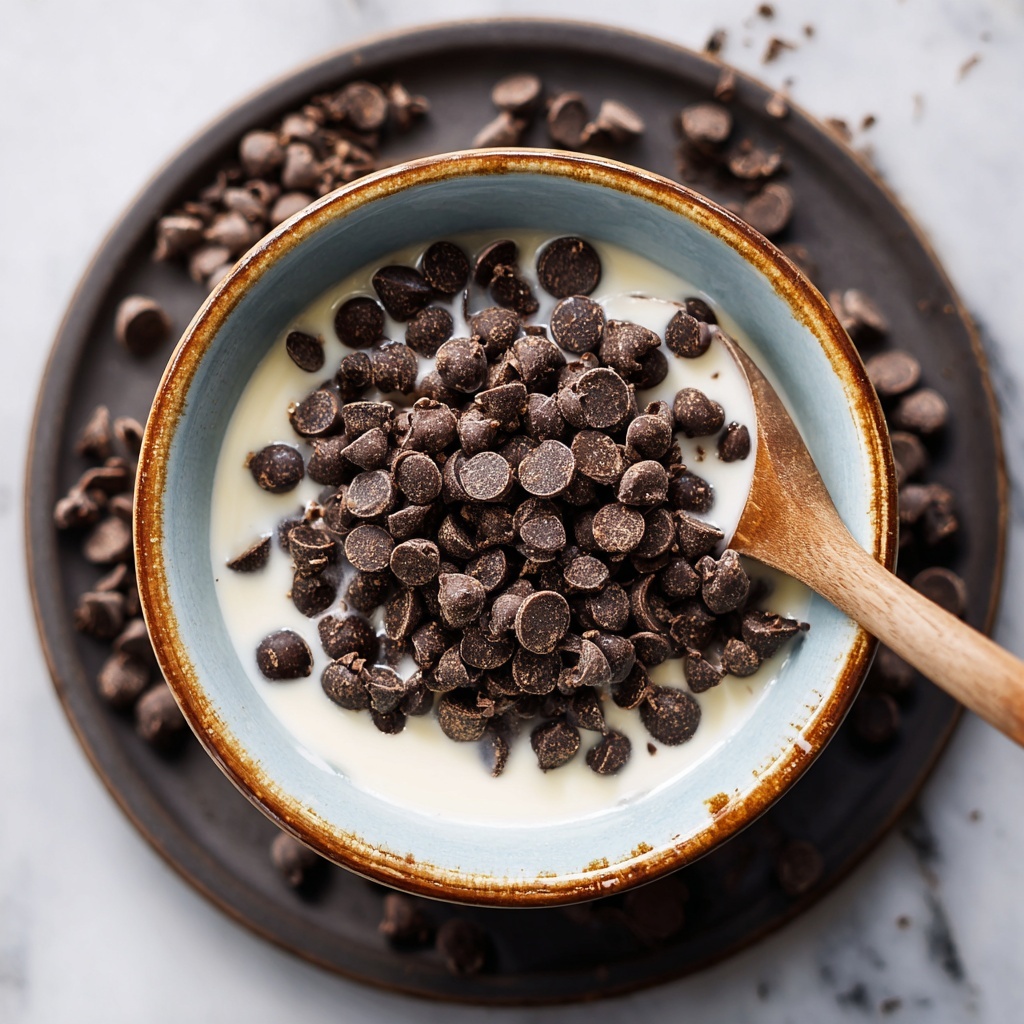
If you’ve ever longed for a crunchy, chocolatey breakfast treat that feels indulgent yet wholesome, this Homemade Chocolate Cereal Recipe is about to become your new go-to. It combines the satisfying crunch of puffed rice and oats with the deep, rich flavor of cocoa, all naturally sweetened with maple syrup and balanced by the smoothness of coconut oil. Every bite delivers a perfect harmony of textures and tastes that you can feel good about starting your day with or enjoying as a snack anytime. Plus, making this cereal at home means zero mystery ingredients and full control over freshness and flavor intensity. Get ready to elevate your morning routine with this easy, delicious, and delightfully chocolatey cereal.
Ingredients You’ll Need
This Homemade Chocolate Cereal Recipe calls for simple, pantry-friendly ingredients that blend perfectly to create its unique texture and rich flavor. Each ingredient plays an essential role, from the crunchy cereals to the chocolatey cocoa powder and naturally sweet maple syrup, ensuring every spoonful is a treat.
- 1 1/2 cups rolled oats: Adds hearty texture and wholesome fiber that forms the base of this cereal.
- 1 cup puffed rice cereal: Brings lightness and an airy crunch that balances the oats perfectly.
- 1/2 cup almond flour: Infuses a nutty depth and helps bind the ingredients for a satisfying bite.
- 1/4 cup cocoa powder: Provides the unmistakable rich chocolate flavor that makes this cereal special.
- 1/4 cup maple syrup: Offers natural sweetness with a hint of caramel notes, complementing the cocoa beautifully.
- 1/4 cup coconut oil, melted: Gives a subtle tropical richness and helps the cereal crisp up nicely while baking.
- 1 teaspoon vanilla extract: Elevates the flavors with a warm, aromatic touch.
- 1/4 teaspoon salt: Enhances the overall taste by balancing sweetness and bringing out the chocolate essence.
How to Make Homemade Chocolate Cereal Recipe
Step 1: Preheat and Prepare Your Baking Sheet
Start by heating your oven to 325°F (165°C). Line a baking sheet with parchment paper to prevent sticking; this simple step helps achieve that perfect crisp without any fuss.
Step 2: Mix the Dry Ingredients
In a large bowl, combine the rolled oats, puffed rice cereal, almond flour, cocoa powder, and salt. Toss these dry ingredients together so every component is evenly distributed for a consistent flavor and texture.
Step 3: Whisk the Wet Ingredients
In a separate smaller bowl, mix the melted coconut oil, maple syrup, and vanilla extract. This luscious blend will bind the cereal while adding moisture, sweetness, and that subtle underlying richness.
Step 4: Combine Wet and Dry
Pour the wet mixture into the dry ingredients and stir thoroughly until everything is fully coated and evenly mixed. The cocoa and maple syrup will start to meld together and scent your kitchen with irresistible chocolate and vanilla aromas.
Step 5: Spread and Bake
Spread the mixture evenly on your prepared baking sheet, creating a thin, uniform layer. This helps ensure even baking, which is crucial for getting the cereal perfectly crunchy.
Step 6: Bake to Crunchy Perfection
Pop the sheet in the oven and bake for 20 to 25 minutes. Remember to stir the mixture halfway through baking to promote even crisping and prevent any burning. As it bakes, the cereal transforms into a wonderfully crunchy, chocolate-infused delight.
Step 7: Cool and Store
Once baked, let the cereal cool completely on the baking sheet. This cooling step locks in the crunch before transferring it to an airtight container, keeping it fresh and ready for your next chocolate cereal craving.
How to Serve Homemade Chocolate Cereal Recipe
Garnishes
Elevate your bowl by adding fresh berries, sliced bananas, or a sprinkle of chopped nuts for added texture and flavor. A drizzle of almond butter or a splash of cold milk (dairy or plant-based) brings the cereal alive and makes each bite extra satisfying.
Side Dishes
This cereal pairs brilliantly with smooth yogurt or a creamy smoothie on the side. Its crunchy chocolate notes perfectly complement the cool creaminess of these sides, making breakfast or snack time a well-rounded experience.
Creative Ways to Present
Try layering the Homemade Chocolate Cereal Recipe with yogurt and fruit in a jar for a grab-and-go parfait. Or use it as a crunchy topping over ice cream for a fun dessert twist. It also works wonderfully crumbled over baked goods to add texture and a hit of chocolate flavor.
Make Ahead and Storage
Storing Leftovers
Store any leftover cereal in an airtight container at room temperature. It will stay fresh and crunchy for up to two weeks, making it easy to enjoy anytime without needing to bake again.
Freezing
If you want to keep your cereal even longer, freezing is an option. Place it in a freezer-safe bag or container, and it will maintain its flavor and texture for up to three months. Just allow it to come to room temperature before serving.
Reheating
You typically don’t need to reheat cereal, but if you want to refresh the crunch after storage, a quick 5-minute warm-up in a low-heat oven or toaster oven works wonders. This trick revives that fresh-baked crispness without drying out the cereal.
FAQs
Can I use different sweeteners instead of maple syrup?
Absolutely! Honey or agave syrup can be used as substitutes for maple syrup, though maple adds a unique flavor. Just keep in mind that slight adjustments to the quantity might be necessary to maintain the right consistency.
Is the cereal gluten-free?
Yes, if you use certified gluten-free oats and puffed rice cereal, this recipe is naturally gluten-free. Always check labels to be certain, especially if you have a sensitivity or allergy.
Can I substitute almond flour with another nut or seed flour?
Yes, almond flour can be swapped with hazelnut, sunflower seed, or even oat flour for different flavor profiles and textures. Just note that this might slightly alter the taste and binding properties.
How crunchy does the cereal get after cooling?
The cereal becomes delightfully crunchy once it cools fully. It will hold its crispness well, making it perfect for crunchy snacking or adding to milk without quickly becoming soggy.
Is this cereal suitable for kids?
Definitely! It’s a wholesome, chocolatey treat that kids love and parents feel good about serving. Just be mindful of any nut allergies if serving to sensitive children.
Final Thoughts
Making this Homemade Chocolate Cereal Recipe is a wonderful way to treat yourself to something special that’s both indulgent and nourishing. It’s incredibly satisfying to enjoy a crunchy, chocolate-flavored cereal that you crafted yourself, knowing exactly what went into it. Whether you’re kicking off a busy day or craving a sweet snack, this recipe promises to bring joy and deliciousness to your kitchen. Give it a try—you might just discover your new favorite pantry staple.
Print
Homemade Chocolate Cereal Recipe
- Prep Time: 10 minutes
- Cook Time: 25 minutes
- Total Time: 35 minutes
- Yield: 4 servings
- Category: Breakfast
- Method: Baking
- Cuisine: American
- Diet: Vegetarian
Description
This homemade chocolate cereal is a delicious and wholesome breakfast option made with rolled oats, puffed rice, almond flour, and rich cocoa powder, sweetened naturally with maple syrup. Crispy and chocolaty, it’s a perfect cereal to enjoy with milk or as a snack.
Ingredients
Dry Ingredients
- 1 1/2 cups rolled oats
- 1 cup puffed rice cereal
- 1/2 cup almond flour
- 1/4 cup cocoa powder
- 1/4 teaspoon salt
Wet Ingredients
- 1/4 cup maple syrup
- 1/4 cup coconut oil, melted
- 1 teaspoon vanilla extract
Instructions
- Preheat Oven: Preheat your oven to 325°F (165°C) and line a baking sheet with parchment paper to prevent sticking.
- Mix Dry Ingredients: In a large bowl, combine rolled oats, puffed rice cereal, almond flour, cocoa powder, and salt, ensuring they are evenly mixed.
- Combine Wet Ingredients: In a separate bowl, whisk together melted coconut oil, maple syrup, and vanilla extract until smooth.
- Combine Wet and Dry: Pour the wet mixture into the dry ingredients and stir thoroughly until all components are fully incorporated and coated.
- Spread and Bake: Evenly spread the combined mixture on the prepared baking sheet to ensure uniform baking.
- Bake and Stir: Bake for 20-25 minutes, stirring halfway through to promote even crispiness and prevent burning, until the cereal is crispy.
- Cool and Store: Allow the cereal to cool completely on the baking sheet before transferring it to an airtight container for freshness.
Notes
- You can substitute maple syrup with honey or agave syrup if preferred.
- Ensure to stir the cereal halfway through baking to maintain even texture and avoid burning.
- Store the cereal in an airtight container to keep it fresh and crispy for up to two weeks.
- Optional toppings such as fresh fruits or nuts can be added when serving for extra flavor and texture.


