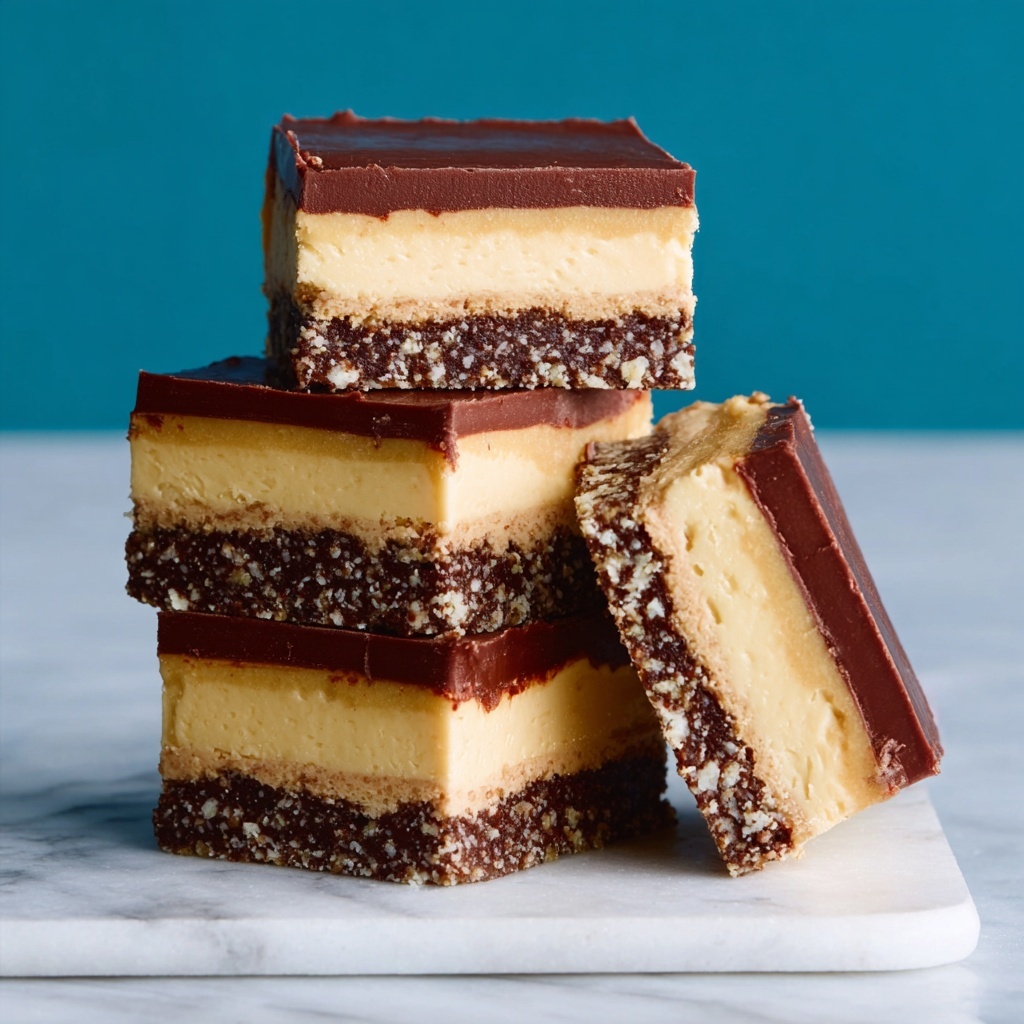
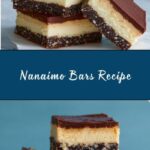
If you have a sweet tooth and love rich, layered desserts, you are going to adore this Nanaimo Bars Recipe. Originating from Canada, these no-bake bars feature a perfect balance of textures and flavors starting with a crunchy base, a silky custard middle, and a glossy chocolate topping. Each bite brings the nostalgic warmth of buttery, coconut-infused crust, smooth vanilla custard, and decadent chocolate that melts on your tongue. This Nanaimo Bars Recipe isn’t just a treat, it’s a celebration of indulgence and simplicity all in one.
Ingredients You’ll Need
The beauty of this Nanaimo Bars Recipe lies in its straightforward ingredients. Each component plays a crucial role, from adding crunch and richness to the layers, to ensuring the creamy and chocolatey finishes everyone loves. Here’s what you’ll need to create this irresistible dessert.
- Unsalted butter (for base and middle layers): Key for that buttery richness that makes the bars moist and flavorful.
- Granulated sugar: Sweetens the base while balancing the cocoa’s boldness.
- Unsweetened cocoa powder: Adds a deep chocolate flavor to the base layer.
- Large egg: Binds the base ingredients and adds moisture.
- Graham cracker crumbs: Provides a crisp, slightly nutty foundation.
- Sweetened shredded coconut: Brings chewy texture and natural sweetness.
- Chopped walnuts (optional): Adds a delightful crunch and nutty aroma.
- Vanilla custard powder or instant vanilla pudding mix: The star of the middle layer that gives its signature creamy texture and classic flavor.
- Powdered sugar: Sweetens and smooths out the custard layer perfectly.
- Milk or cream: Helps to achieve a fluffy, spreadable custard layer.
- Semisweet chocolate: For the top layer’s rich, glossy finish.
How to Make Nanaimo Bars Recipe
Step 1: Prepare the Base Layer
Start by gently melting the butter, granulated sugar, and cocoa powder together in a saucepan over low heat. This ensures the cocoa’s chocolate flavor blooms, and the sugar blends seamlessly. Once smooth, remove the pan from heat and whisk in the beaten egg carefully until it slightly thickens, creating a luscious base mix. Stir in the graham crumbs, shredded coconut, and walnuts if you want an extra nutty crunch. Press this mixture firmly into your prepared pan; a good compact base will hold the bars together as you enjoy each bite. Chill this in the fridge while you move on to the next layer.
Step 2: Make the Middle Layer
This layer is the creamy heart of the Nanaimo Bars Recipe. In a bowl, beat the softened butter with the vanilla custard powder and powdered sugar until light and fluffy. Adding milk or cream gives it that perfect smoothness and spreadability. Spread this custard filling evenly over your chilled base layer, smoothing it out so every bar has that signature velvety middle. Pop it back into the fridge for at least 15 minutes to firm up before topping.
Step 3: Create the Top Layer
The final layer is all about glossy, rich chocolate that seals everything in. Melt the semisweet chocolate and butter together using a double boiler or microwave, stirring until silky smooth. Allow it to cool slightly so it doesn’t melt into the custard when poured. Then pour over the chilled middle layer and spread evenly. The magic happens in the fridge where this top layer solidifies into a shiny chocolate glaze, making each square perfectly snap with each bite. Let the bars chill for at least an hour before slicing for best results.
How to Serve Nanaimo Bars Recipe
Garnishes
Enhance your Nanaimo Bars Recipe by adding a sprinkle of toasted coconut or finely chopped nuts on top just before the chocolate hardens for extra texture and visual appeal. You can also dust a little cocoa powder or powdered sugar for a delicate finish that looks as good as it tastes.
Side Dishes
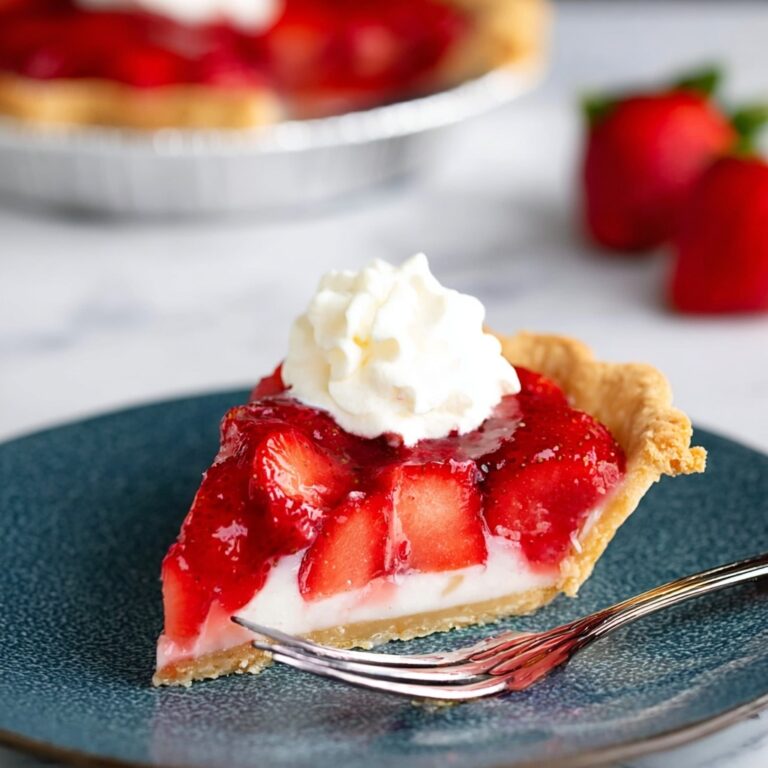
Nanaimo bars are quite rich, so pairing them with something light and refreshing like fresh berries, a dollop of whipped cream, or a scoop of vanilla ice cream can help balance the dessert. A cup of hot coffee or tea is also a lovely accompaniment to help cut through the sweetness and warm up the senses.
Creative Ways to Present
For special occasions, try cutting the bars into festive shapes with cookie cutters after chilling or layering them in clear glass jars for individual presentations. You can drizzle a bit of melted white chocolate on top for a marbled effect or add edible gold leaf for an elegant touch. These creative ideas make the Nanaimo Bars Recipe even more delightful to share and enjoy.
Make Ahead and Storage
Storing Leftovers
Once you’ve experienced the joy of Nanaimo Bars Recipe, you’ll probably want to make extra. Store any leftovers in an airtight container in the refrigerator where they’ll keep well for up to a week. This helps preserve the texture of each layer and keeps the bars fresh and delicious.
Freezing
If you want to keep these tasty treats longer, Nanaimo Bars freeze beautifully. Wrap individual or grouped bars tightly in plastic wrap and place them in a freezer-safe container or bag. Frozen bars can last up to 2 months. When ready to enjoy, thaw in the refrigerator overnight to maintain the best texture and flavor.
Reheating
Since Nanaimo bars are best served chilled, reheating isn’t usually necessary. However, if you prefer slightly softer chocolate topping, leaving the bars at room temperature for about 10-15 minutes before serving is perfect. Avoid heating in a microwave as it may melt the layers unevenly.
FAQs
Can I make Nanaimo Bars Recipe without eggs?
Yes! If you want to avoid eggs, you can substitute the beaten egg in the base layer with unsweetened applesauce or a flax egg. This will still provide moisture and binding without altering the classic flavor too much.
What if I don’t have vanilla custard powder?
If vanilla custard powder isn’t available, you can use instant vanilla pudding mix as a direct substitute, which will give you a very similar creamy texture and flavor in the middle layer.
Can I use different nuts in the base layer?
Absolutely! Walnuts are traditional, but pecans, almonds, or hazelnuts work wonderfully too. Just make sure they are chopped finely so they integrate well into the base.
How do I get clean cuts when slicing Nanaimo Bars?
For neat slices, dip your knife in hot water and wipe it dry before each cut. The warm blade glides through the layers smoothly without cracking or smudging the chocolate topping.
Are Nanaimo Bars gluten-free?
The traditional recipe uses graham cracker crumbs which contain gluten, but you can substitute gluten-free graham crumbs or crushed gluten-free cookies to make this dessert suitable for gluten-free diets.
Final Thoughts
Making this Nanaimo Bars Recipe is like crafting a little piece of Canadian dessert magic right in your kitchen. The combination of crumbly, creamy, and chocolatey layers is truly unforgettable, and it’s a recipe that never fails to impress family and friends. Once you master these bars, you’ll find yourself reaching for this no-bake favorite again and again. So go ahead, treat yourself, share the joy, and let these Nanaimo bars be the highlight of your dessert collection.
Print
Nanaimo Bars Recipe
- Prep Time: 25 minutes
- Cook Time: 5 minutes
- Total Time: 1 hour 30 minutes
- Yield: 16 bars
- Category: Dessert
- Method: No-Cook
- Cuisine: Canadian
- Diet: Vegetarian
Description
Nanaimo bars are a beloved classic Canadian no-bake dessert featuring three decadent layers: a firm cocoa and coconut base with optional walnuts, a creamy vanilla custard middle layer, and a glossy semisweet chocolate topping. These bars combine a delightful mix of textures and flavors, perfect for an indulgent treat without the need for baking.
Ingredients
For the Base Layer:
- ½ cup unsalted butter, melted
- ¼ cup granulated sugar
- 5 tablespoons unsweetened cocoa powder
- 1 large egg, beaten
- 1¾ cups graham cracker crumbs
- 1 cup sweetened shredded coconut
- ½ cup chopped walnuts (optional)
For the Middle Layer:
- ½ cup unsalted butter, softened
- 2 tablespoons vanilla custard powder or instant vanilla pudding mix
- 2 cups powdered sugar
- 2 tablespoons milk or cream
For the Top Layer:
- 4 oz semisweet chocolate, chopped
- 2 tablespoons unsalted butter
Instructions
- Prepare the Base Layer: In a medium saucepan over low heat, combine the melted butter, granulated sugar, and cocoa powder. Stir constantly until the mixture is smooth and fully combined. Remove from heat and quickly whisk in the beaten egg to thicken the mixture slightly, ensuring it does not scramble. Fold in the graham cracker crumbs, shredded coconut, and chopped walnuts if using. Press this mixture firmly and evenly into the bottom of a greased or parchment-lined 8×8-inch pan. Place the pan in the refrigerator to chill and set while preparing the next layer.
- Prepare the Middle Layer: In a medium mixing bowl, cream together the softened butter, vanilla custard powder (or instant pudding mix), and powdered sugar until well blended and fluffy. Add the milk or cream and continue to beat until the custard layer is smooth and spreadable. Spread this creamy custard evenly over the chilled base layer. Return the pan to the refrigerator and chill for at least 15 minutes to firm up the middle layer.
- Prepare the Top Layer: Melt the chopped semisweet chocolate and unsalted butter together using a double boiler method—placing a heatproof bowl over simmering water—or carefully in short bursts in the microwave, stirring frequently until smooth. Allow the melted chocolate to cool slightly to avoid melting the custard layer. Pour the chocolate mixture evenly over the chilled custard layer and spread gently to cover the entire surface. Chill the bars in the refrigerator for at least 1 hour or until the chocolate topping is completely set.
- Cut and Serve: Once fully chilled and set, remove the bars from the refrigerator. Using a sharp knife warmed under hot water and wiped dry between cuts, slice into 16 equal squares for clean, smooth edges. Serve chilled for the best texture and flavor.
Notes
- Nanaimo bars are a no-bake dessert, making them easy to prepare but requiring adequate chilling time for layering.
- For best results, use fresh ingredients and ensure the egg in the base layer is properly incorporated and cooked through the gentle heating.
- Walnuts in the base layer are optional but add a pleasant crunch and depth of flavor.
- Store leftover bars in an airtight container in the refrigerator for up to 1 week.
- For longer storage, wrap bars tightly and freeze for up to 1 month; thaw in the fridge before serving.
- Warming the knife between cuts makes slicing easier and keeps edges neat.


