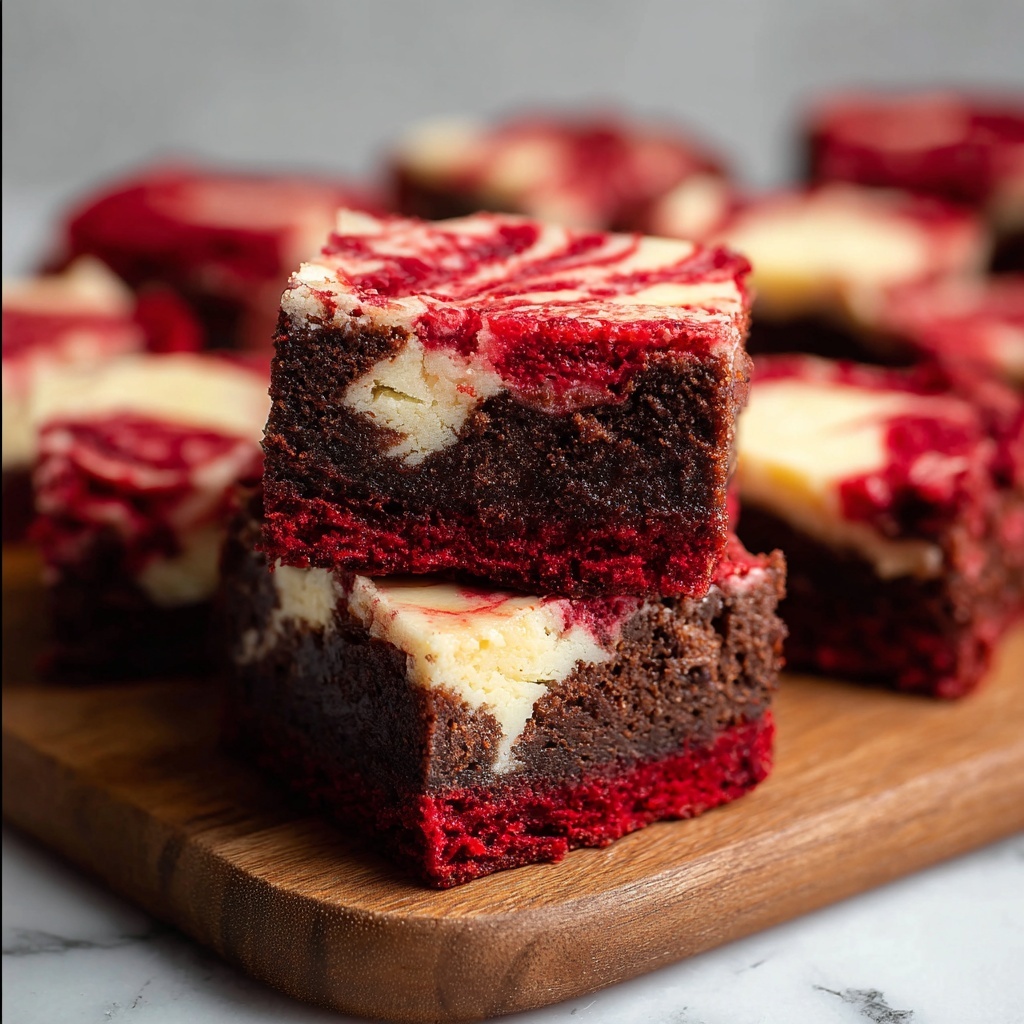
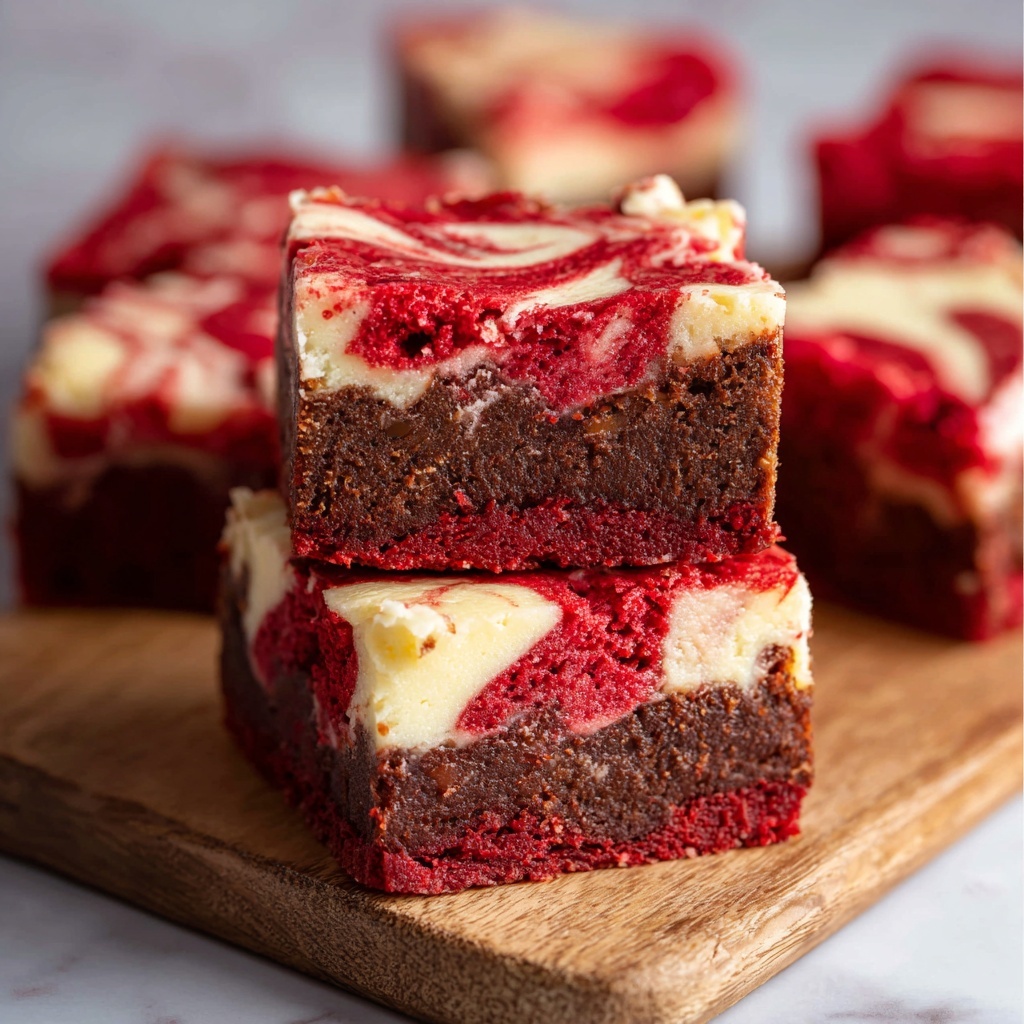
If you are on the hunt for a dessert that perfectly balances a rich cocoa flavor with that signature vibrant color and a tender, fudgy texture, this Red Velvet Brownies Recipe will become your new go-to treat. These brownies combine the classic charm of red velvet cake with the dense, mouthwatering fudginess of brownies, making each bite an irresistible experience. Whether it’s for a celebration or a cozy night in, this Red Velvet Brownies Recipe delivers a stunning, delectable dessert that’s surprisingly simple to prepare and guaranteed to impress.
Ingredients You’ll Need
Every ingredient in this Red Velvet Brownies Recipe plays a crucial role in creating its unique flavor and texture. From the melted butter that gives it richness to the vinegar that brightens the flavors, each component is essential yet simple.
- Unsalted butter: Using melted butter ensures a dense, fudgy texture that makes these brownies truly indulgent.
- Granulated sugar: Adds the right level of sweetness and helps balance the cocoa’s bitterness.
- Brown sugar: Contributes moisture and a subtle caramel undertone for deeper flavor complexity.
- Large eggs: Bind all ingredients while adding richness and structure to the brownies.
- Pure vanilla extract: Enhances the overall flavor, bringing warmth and sweetness.
- Red liquid food coloring: The hallmark of red velvet, giving that unmistakable vibrant red hue.
- White vinegar: Reacts with baking soda to provide a delicate lift and tender crumb.
- All-purpose flour: The base that holds everything together, measured carefully to keep brownies soft.
- Unsweetened cocoa powder: Adds depth of chocolate flavor without overwhelming the red velvet profile.
- Salt: Balances sweetness and intensifies chocolate notes.
- Baking soda: Works with vinegar to create a light texture and subtle rise.
How to Make Red Velvet Brownies Recipe
Step 1: Melt the Butter and Mix Sugars
Start by melting your butter in a small saucepan over medium-high heat. Once it’s fully melted and just begins to sizzle, immediately whisk in both the granulated and brown sugars. This step is vital because the warmth from the butter helps dissolve the sugars, ensuring your brownies have a smooth, luscious texture and a hint of caramel richness from the brown sugar.
Step 2: Combine Wet Ingredients
Next, transfer your warm butter and sugar mixture to a large bowl. Add in the eggs one by one, making sure each is fully incorporated before adding the next — this ensures your brownies stay smooth and don’t curdle. Stir in the vanilla extract, red food coloring, and white vinegar. The vinegar and food coloring not only create the classic red velvet look but also subtly brighten the flavor, elevating these brownies beyond ordinary chocolate treats.
Step 3: Add Dry Ingredients
Now it’s time to bring in the flour, cocoa powder, salt, and baking soda. Gently fold them into the batter until just combined — the key here is not to overmix. Overworking the batter can make the brownies tough, but a gentle hand preserves the tender, moist crumb you’re aiming for in this Red Velvet Brownies Recipe.
Step 4: Bake to Perfection
Pour the batter into a prepared baking pan and spread it evenly. Slide it into your preheated oven at 350°F and bake for 25 to 30 minutes. You’ll know it’s ready when a skewer inserted in the center comes out clean of wet batter but still has a few moist crumbs clinging to it. This balance means the brownies are perfectly fudgy and not overbaked.
Step 5: Cool and Slice
Allow your brownies to cool for about 10 minutes in the pan before transferring them to a wire rack. Cooling enough to handle but still warm is the best time to slice – it’s when those dense, rich brownies show their perfect texture. Serve immediately or at room temperature for an indulgent experience every time.
How to Serve Red Velvet Brownies Recipe

Garnishes
To elevate your Red Velvet Brownies Recipe visually and flavor-wise, consider topping with a dusting of powdered sugar, a drizzle of white chocolate, or perhaps a sprinkle of crushed nuts for contrast. A dollop of whipped cream or cream cheese frosting adds a luscious touch that complements the red velvet’s subtle tang beautifully.
Side Dishes
These brownies shine as a stand-alone treat but pairing them with fresh berries or a scoop of vanilla ice cream turns them into a stunning dessert ensemble. The creamy, cool ice cream softens the richness, while the berries add fresh brightness that plays wonderfully with the deep cocoa notes.
Creative Ways to Present
For parties or special occasions, cut your Red Velvet Brownies Recipe into bite-sized squares and serve on a decorative platter layered with edible flowers or mint leaves. You can even layer them in a dessert trifle with cream cheese frosting and berry compote to surprise your guests with a new way to enjoy this classic flavor combination.
Make Ahead and Storage
Storing Leftovers
Once cooled completely, store your leftover brownies in an airtight container at room temperature. They’ll stay fresh and fudgy for up to 3 days. Keeping them out of the fridge preserves their soft texture and rich flavor.
Freezing
Want to enjoy this Red Velvet Brownies Recipe later? Wrap individual slices tightly in plastic wrap and place them in a freezer-safe bag. They freeze beautifully for up to 3 months. When you’re ready, just thaw overnight in the fridge or at room temperature.
Reheating
To bring back that fresh-from-the-oven warmth, heat brownies in the microwave for 15 to 20 seconds or briefly in a low oven. Reheating this way melts any frosting slightly and restores that glorious fudgy softness, making each bite feel freshly baked.
FAQs
Can I use gel food coloring instead of liquid for this Red Velvet Brownies Recipe?
Yes! Gel food coloring is more concentrated, so you only need about one teaspoon instead of two and a half teaspoons of liquid. Gel also won’t thin your batter, which can help maintain the ideal texture.
Is it necessary to use vinegar in this recipe?
Absolutely. The vinegar reacts with baking soda to give the brownies a slight lift and enhance the red velvet flavor profile. It helps keep the brownies tender and adds brightness to balance the cocoa.
Can I substitute butter with oil for a different texture?
Butter is recommended for its flavor and texture benefits in this recipe. Using oil will result in a softer, cakier brownie rather than a dense, fudgy one, which might change the classic red velvet brownie experience.
How do I know when the brownies are perfectly baked?
Check by inserting a skewer in the center; it should come out clean but with a few moist crumbs attached. Overbaking dries them out, while underbaking leaves batter inside. Timing between 25 to 30 minutes usually works just right.
Can I add mix-ins like nuts or chocolate chips to this Red Velvet Brownies Recipe?
Definitely! Chopped walnuts, pecans, or white chocolate chips pair wonderfully with the red velvet flavor and add delightful texture. Fold them in gently after mixing the batter to keep distribution even.
Final Thoughts
There’s something truly magical about the way this Red Velvet Brownies Recipe brings together deep chocolate flavor and vivid red color in a fudgy, irresistible form. It’s a dessert that’s as visually impressive as it is delicious, perfect for sharing with loved ones or indulging yourself. I can’t wait for you to try it and discover how easily it becomes one of your favorite desserts to bake and enjoy again and again.
Print
Red Velvet Brownies Recipe
- Prep Time: 15 minutes
- Cook Time: 30 minutes
- Total Time: 55 minutes
- Yield: 16 servings
- Category: Dessert
- Method: Baking
- Cuisine: American
Description
Delight in these rich and moist Red Velvet Brownies, combining classic red velvet flavor with the dense, fudgy texture of brownies. Perfectly balanced with cocoa and a hint of vinegar, these treats deliver a vibrant color and a deliciously tender crumb, ideal for any occasion or dessert craving.
Ingredients
Brownie Batter
- 1/2 cup (1 stick / 115g) unsalted butter
- 1/2 cup (100g) granulated sugar
- 1/2 cup (100g) brown sugar
- 2 large eggs, at room temperature
- 1 teaspoon pure vanilla extract
- 2 & 1/2 teaspoons red liquid food coloring (or 1 teaspoon red gel food coloring)
- 1 teaspoon white vinegar
- 3/4 cup (90g) all-purpose flour, spooned and leveled
- 1/4 cup (20g) unsweetened cocoa powder
- 1/2 teaspoon salt
- 1/4 teaspoon baking soda
Instructions
- Melt Butter and Mix Sugars: In a small saucepot, heat the unsalted butter over medium-high heat until it is fully melted and just starts to sizzle. While still hot, add the granulated and brown sugars to the butter and stir to moisten and combine thoroughly.
- Combine Wet Ingredients: Transfer the warm butter-sugar mixture into a large mixing bowl. Add the eggs, pure vanilla extract, red food coloring, and white vinegar. Whisk vigorously until all ingredients are fully incorporated and smooth.
- Add Dry Ingredients: Sift in the all-purpose flour, unsweetened cocoa powder, salt, and baking soda into the wet ingredients. Gently fold and mix just until the batter is combined. Avoid overmixing to keep brownies tender.
- Prepare to Bake: Pour the red velvet brownie batter into a prepared baking pan, spreading it evenly into a smooth layer. Place the pan in the center of a preheated oven at 350°F (177°C).
- Bake the Brownies: Bake for 25 to 30 minutes, or until a skewer inserted into the center comes out clean or with a few moist crumbs attached. This ensures the brownies are moist but fully cooked.
- Cool and Serve: Allow the brownies to cool in the pan for about 10 minutes. Then lift the brownie slab out and transfer it onto a wire rack. Let it cool enough to handle before slicing into 16 pieces. Serve warm or at room temperature for best flavor.
Notes
- You can substitute red liquid food coloring with red gel food coloring; use 1 teaspoon gel if opting for this alternative.
- For easier pan removal, line your baking pan with parchment paper before adding the batter.
- Do not overmix the batter to prevent tough brownies.
- These brownies are delicious served slightly warm but can be stored in an airtight container at room temperature for up to 3 days.

