“`html
If you love Japanese cuisine and crave something both comforting and endlessly customizable, you are going to adore this Delicious Onigiri: Japanese Rice Balls You Can Customize Recipe. These little rice gems are more than just a snack; they’re a handheld treasure chest of flavor and texture that you can personalize any way you like. Soft, slightly salty, with a touch of umami and a crisp seaweed wrap, onigiri make for the perfect bite whether you’re enjoying a picnic, a quick lunch, or simply want a fun kitchen project. Let me share with you the magic behind these rice balls that have won hearts all over the world.

Ingredients You’ll Need
Making onigiri is wonderfully straightforward, and the simplicity of the ingredients is what makes the final result so delightful. Each component plays a crucial role, from the sticky medium-grain rice providing the perfect texture to the furikake seasoning that introduces an irresistible umami punch.
- 2 cups Cooked Rice: Use freshly cooked medium-grain rice for the ideal sticky texture that holds beautifully.
- 2 tablespoons Furikake: A savory seasoning blend that adds bursts of umami and a slight crunch, elevating the rice flavor.
- 1 cup Water: Essential for wetting your hands so the rice doesn’t stick during shaping.
- 1 teaspoon Kosher Salt: Sprinkled on your hands to season the rice subtly and add depth.
- 4 sheets Roasted Nori: Cut into strips, these seaweed sheets provide that classic savory wrap and a pleasant crisp contrast.
- 2 tablespoons Sesame Seeds (optional): Toasted for a nutty finish and a hint of extra texture.
How to Make Delicious Onigiri: Japanese Rice Balls You Can Customize Recipe
Step 1: Season the Rice
Begin by gently mixing your freshly cooked rice with the furikake seasoning in a large bowl. This step infuses the rice with a delicious umami flavor and a touch of color that makes every bite tantalizing from the inside out. Be careful not to mash the grains too much—you want to maintain the rice’s fluffy, sticky consistency.
Step 2: Prep Your Hands for Shaping
Wet your palms with water from your bowl and sprinkle a light pinch of kosher salt over them. This simple trick helps prevent the rice from sticking to your skin and seasons the rice on contact, giving the finished onigiri a nice savory balance.
Step 3: Shape the Onigiri
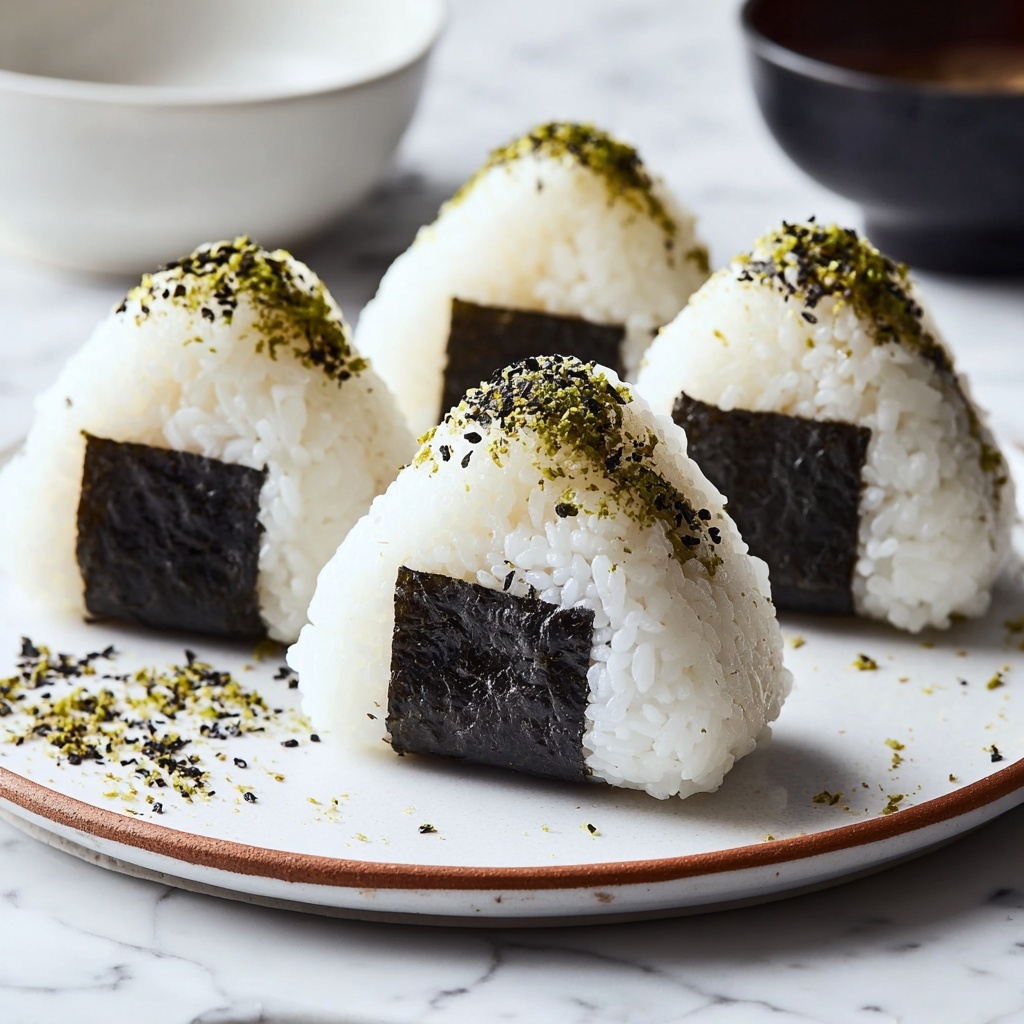
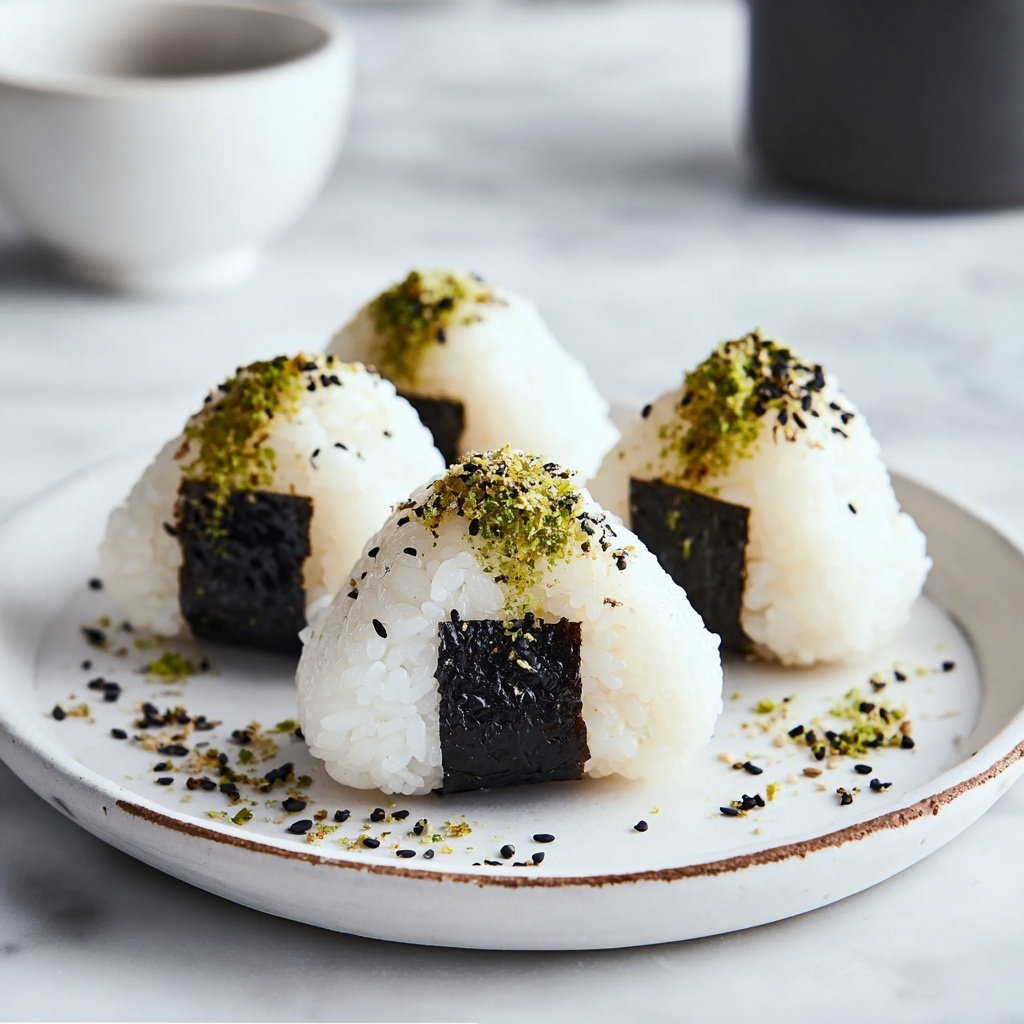
Scoop about half a cup of the seasoned rice and gently but firmly press it into a triangle shape using your hands. This classic triangular form is traditional and perfect for holding and snacking. If you prefer, you can pat the sides against a flat surface to sharpen the edges, giving your onigiri a neat, professional look.
Step 4: Wrap with Nori and Add Finishings
Take a strip of roasted nori and wrap it around the base of your rice triangle. The nori adds a satisfying crisp texture and a briny note that balances the softness of the rice. For a nutty aroma and an extra layer of texture, sprinkle sesame seeds on top of the nori-wrapped base if you’re using them. Now your onigiri is ready to enjoy!
How to Serve Delicious Onigiri: Japanese Rice Balls You Can Customize Recipe
Garnishes
Garnishing your onigiri is a wonderful way to make them even more inviting and flavorful. Besides sesame seeds, try topping them with a small dab of spicy mayo, pickled plum (umeboshi), or a sprinkle of shichimi togarashi for a fiery twist. These garnishes not only enhance taste but also add beautiful pops of color to your presentation.
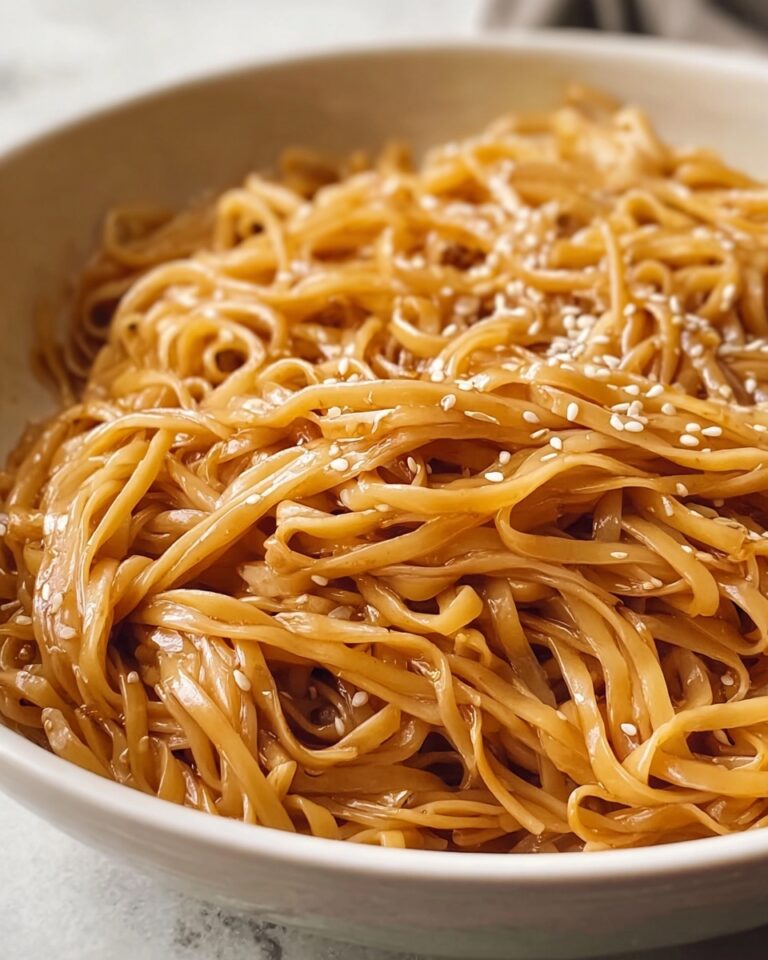
Side Dishes
Onigiri pairs brilliantly with a variety of Japanese side dishes. Miso soup offers a warm, comforting companion, while a fresh cucumber and sesame salad adds a crisp contrast. For a heartier meal, consider serving your rice balls alongside grilled fish or a light tempura assortment—it creates a balanced and satisfying spread that will impress any guest.
Creative Ways to Present
Turn your onigiri into a fun party platter by arranging them in a bamboo basket or a wooden tray lined with banana leaves. You can also experiment with different shapes like cylindrical or round forms using molds. Wrapping individual rice balls in colorful plastic wrap or cute decorative papers makes them perfect for bento boxes or picnic outings, adding a personal touch to this classic treat.
Make Ahead and Storage
Storing Leftovers
If you have leftover onigiri, wrap each one tightly in plastic wrap and store them in an airtight container in the refrigerator. They’ll keep well for up to 24 hours, but it’s best to enjoy them fresh as the rice texture will begin to harden over time.
Freezing
Freezing is a smart option if you want to make onigiri ahead of time. Wrap each rice ball securely in plastic wrap and place them in a freezer-safe bag. They can be frozen for up to one month. When you’re ready to eat, thaw them in the refrigerator overnight before reheating gently.
Reheating
To bring your onigiri back to life, microwave them wrapped in a damp paper towel for about 30 to 45 seconds. This method softens the rice and revives the moisture, making the onigiri taste almost as good as freshly made. Avoid overheating, which can dry them out.
FAQs
Can I use other types of rice for onigiri?
For the best results, medium-grain rice is preferred because of its sticky texture. Short-grain rice also works well, but long-grain rice tends not to hold together as neatly, making shaping difficult.
What are some filling ideas for onigiri?
Traditional fillings include salted salmon, pickled plum, tuna with mayo, or even grilled chicken. Feel free to get creative with your favorite savory ingredients—just be sure they’re not too wet to avoid sogginess.
Is furikake necessary?
Furikake adds a wonderful umami and savory perk that complements the rice beautifully, but if you don’t have it on hand, a simple sprinkle of salt and sesame seeds can do just fine for a classic taste.
How do I prevent rice from sticking to my hands?
Wetting your hands with water and seasoning them with salt before shaping the rice is a tried-and-true technique to keep the rice from sticking and to add a subtle seasoning simultaneously.
Can onigiri be made vegan or vegetarian?
Absolutely! Just skip any fish or meat fillings and use vegetarian-friendly furikake or make your own blend with seaweed, sesame seeds, and dried vegetables. The adaptability of this recipe makes it great for all diets.
Final Thoughts
Delicious Onigiri: Japanese Rice Balls You Can Customize Recipe is truly a gem in the world of simple yet satisfying foods. Whether you’re packing a lunch, hosting a casual get-together, or just craving a homemade snack, these rice balls never fail to impress with their delightful taste and versatility. Give this recipe a try and enjoy the delicious journey of making and personalizing your very own onigiri. Trust me, this will become a favorite you’ll love sharing!
“`
Print
Delicious Onigiri: Japanese Rice Balls You Can Customize Recipe
- Prep Time: 10 minutes
- Cook Time: 25 minutes
- Total Time: 35 minutes
- Yield: 4 servings (4 Onigiri rice balls)
- Category: Snack
- Method: No-Cook
- Cuisine: Japanese
- Diet: Gluten Free
Description
Delicious Onigiri are traditional Japanese rice balls that you can easily customize with your favorite seasonings and fillings. These perfectly seasoned rice triangles wrapped with crispy nori seaweed are a perfect snack or light meal, combining soft, fluffy rice with savory umami flavor from furikake and optional nutty sesame seeds.
Ingredients
Main Ingredients
- 2 cups Cooked medium-grain rice (preferably freshly cooked)
- 2 tablespoons Furikake seasoning blend
- 1 teaspoon Kosher salt
- 4 sheets Roasted nori, cut into strips
- 1 cup Water (for wetting hands)
- 2 tablespoons Sesame seeds (optional)
Instructions
- Mix Rice and Seasoning: In a mixing bowl, gently combine the freshly cooked medium-grain rice with the furikake seasoning blend until evenly mixed, infusing the rice with umami flavors.
- Prepare Hands: Wet your hands with water to prevent sticking and sprinkle a pinch of kosher salt onto your palms to add taste directly to the rice surface during shaping.
- Shape the Rice Balls: Scoop approximately 1/2 cup of the seasoned rice and gently press it into a compact triangle shape using your hands. For a cleaner shape, you may press the rice triangle’s sides against a flat surface.
- Wrap with Nori: Take one strip of roasted nori and wrap it around the base of each rice triangle, which not only adds flavor but also helps hold the shape together.
- Add Sesame Seeds: Optionally, sprinkle toasted sesame seeds on top of the Onigiri for a nutty aroma and added texture.
- Serve or Store: Enjoy your Onigiri immediately for the best texture or individually wrap each rice ball in plastic wrap to keep fresh for later consumption.
Notes
- Use medium-grain rice for the best texture; avoid long-grain rice as it does not stick well.
- Keep a bowl of water nearby for wetting hands frequently to prevent the rice from sticking while shaping.
- Furikake comes in different flavors like seaweed, sesame, or fish flakes; choose your preferred blend.
- Onigiri can be made plain or filled with various ingredients like pickled plum, tuna, or salmon if desired.
- Consume fresh or store in the refrigerator wrapped tightly; reheat gently before eating for softness.


