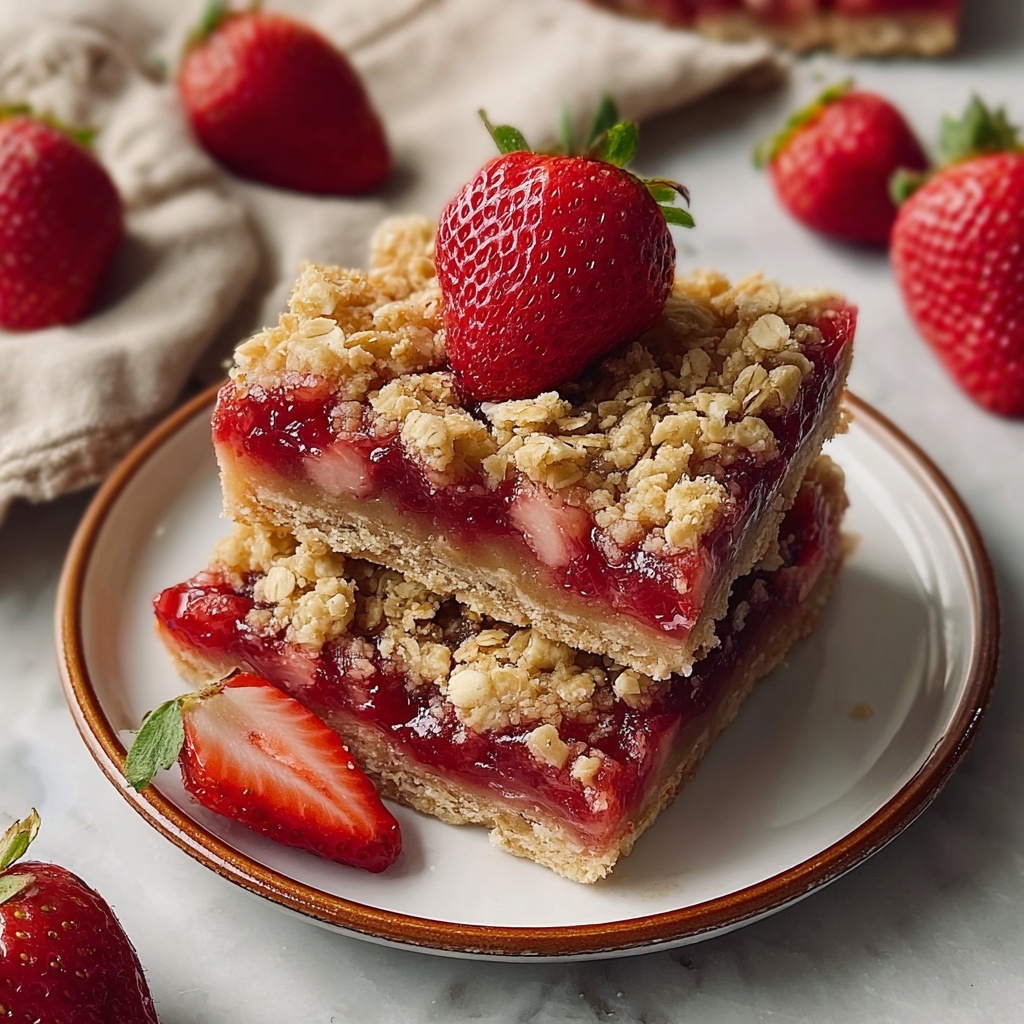
If you’re on the lookout for a snack that feels like a cozy hug with every bite, you absolutely have to try this Healthy Strawberry Oatmeal Bars Recipe. These bars are a perfect harmony of wholesome oats and fresh strawberry sweetness, baked into a golden, crumbly treat that’s as nourishing as it is delicious. Whether you need a breakfast-on-the-go, a post-workout snack, or just a pick-me-up during your busy day, these bars offer a burst of natural flavor and texture that feels both indulgent and guilt-free. Let me walk you through how simple ingredients come together to create this wholesome delight!
Ingredients You’ll Need
Every ingredient in this list is simple, approachable, and plays a crucial role in making your bars taste fantastic. From the hearty oats that provide chewy texture to the juicy strawberries that bring freshness and a hint of tartness—each element is carefully chosen to balance nutrition and flavor.
- 2 cups old-fashioned rolled oats: The perfect base to add a chewy, heart-healthy texture.
- 1 cup whole wheat flour: Adds structure and a subtle nutty flavor with extra fiber.
- 1/2 cup coconut oil, melted: Brings moisture and a lovely richness without overpowering sweetness.
- 1/3 cup honey or maple syrup: Natural sweetener offering a gentle sweetness and binding the ingredients.
- 1/4 cup coconut sugar or brown sugar: Deepens the flavor with caramel undertones.
- 1/2 teaspoon baking soda: Helps the bars rise lightly for a pleasant bite.
- 1/4 teaspoon salt: Balances sweetness and enhances the overall taste.
- 1 teaspoon vanilla extract: Adds warmth and a lovely aromatic depth.
- 1 1/2 cups fresh strawberries, finely chopped: The star ingredient that adds juicy bursts of flavor and vibrant color.
- 1 tablespoon cornstarch: Thickens the strawberry filling to prevent sogginess.
- 1 tablespoon lemon juice: Brightens the strawberry filling with a subtle tang.
How to Make Healthy Strawberry Oatmeal Bars Recipe
Step 1: Prepare Your Base
Start by preheating your oven to 350°F and lining an 8×8-inch baking pan with parchment paper so your bars don’t stick. Mix the oats, whole wheat flour, baking soda, and salt in a large bowl. This dry mixture sets the foundation for your bars with a hearty texture and balanced flavor.
Step 2: Combine Wet Ingredients
In a separate bowl, whisk together the melted coconut oil, honey, coconut sugar, and vanilla extract until fully blended. These wet ingredients bring moisture and a rich sweetness that binds everything together, ensuring your bars are soft but sturdy.
Step 3: Mix and Crumble
Pour the wet mixture into the dry ingredients and stir until everything is just combined into a crumbly dough. Don’t overmix; you want a tender, crumbly texture that makes the bars feel light and satisfying.
Step 4: Form the Crust
Take about two-thirds of this crumbly mixture and press it firmly and evenly into the bottom of your prepared pan. This will be the delicious base that holds the strawberry filling and topping, so make sure it’s pressed well to prevent crumbling.
Step 5: Prepare the Strawberry Filling
In a separate bowl, toss your finely chopped strawberries with cornstarch and lemon juice. The cornstarch thickens the filling while the lemon juice adds a fresh zing that brightens the strawberries’ sweetness perfectly.
Step 6: Assemble and Bake
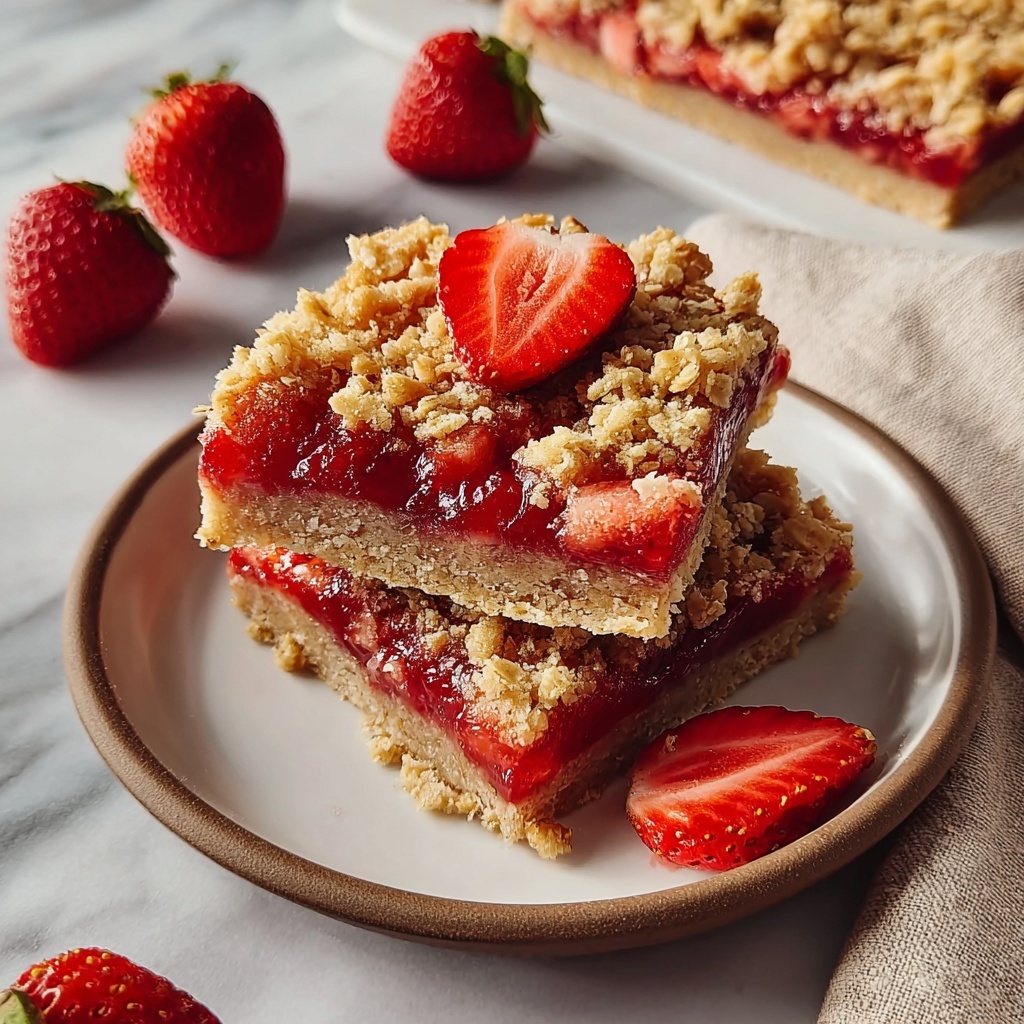
Spread the strawberry mixture evenly over your oat crust. Then sprinkle the remaining oat mixture on top and gently press down for a cohesive layer. Bake in the oven for 30 to 35 minutes until the top turns a gorgeous golden brown and the filling looks bubbly. Let the bars cool completely in the pan before slicing to get those perfect squares.
How to Serve Healthy Strawberry Oatmeal Bars Recipe
Garnishes
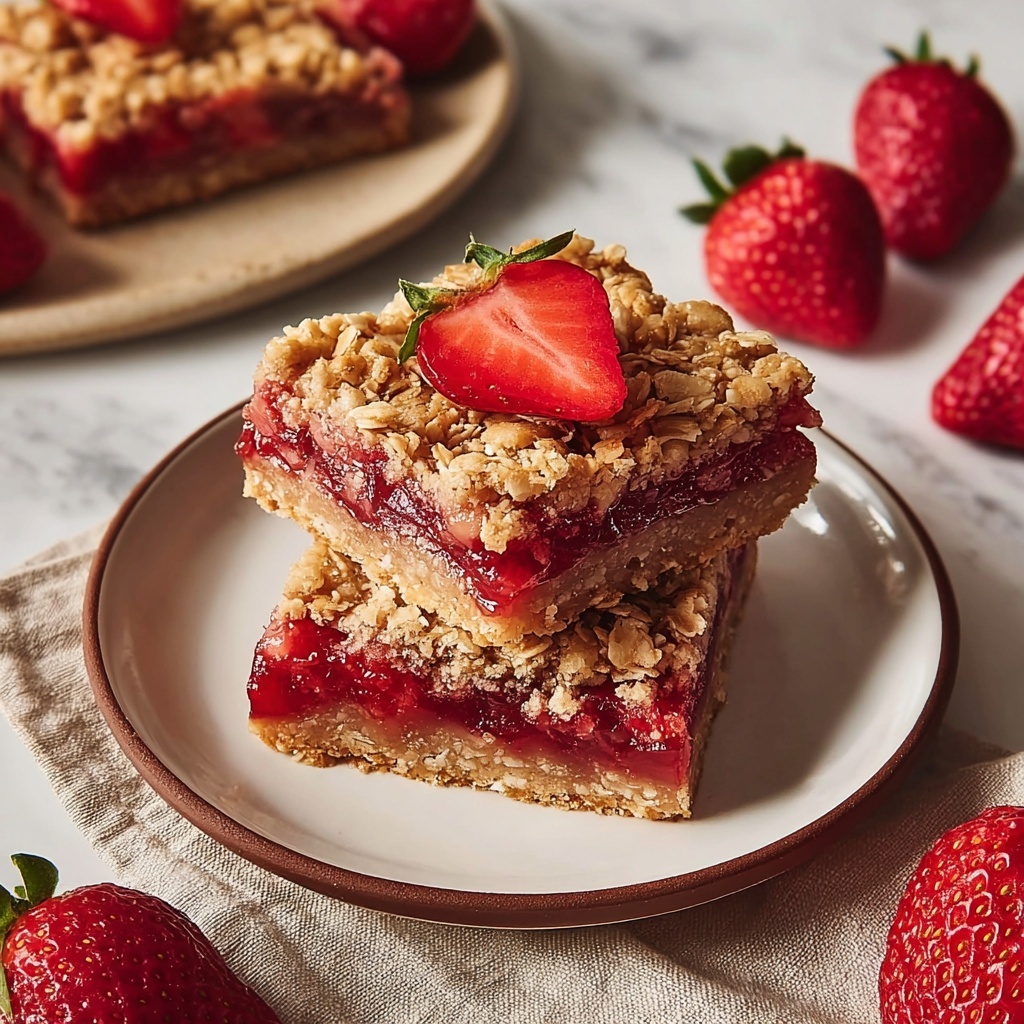
These bars are delicious on their own, but a light dusting of powdered sugar or a few fresh strawberry slices on top can add an extra touch of elegance and freshness, making these wholesome bars feel a little extra special.
Side Dishes
Pair these bars with a dollop of Greek yogurt for added creaminess and protein or alongside a hot cup of herbal tea or coffee for a comforting snack break. The creamy texture contrasts beautifully with the chewy, fruity bars.
Creative Ways to Present
Try layering cut bars in a mason jar with yogurt and granola for a portable parfait, or cut them into bite-sized squares as part of a brunch spread. You can also wrap individual bars in parchment paper tied with twine to make lovely homemade gifts for friends and family.
Make Ahead and Storage
Storing Leftovers
Keep any leftover bars in an airtight container in the refrigerator for up to 5 days. This keeps them fresh and moist while allowing the flavors to meld even more. They’re perfect for quick grabs during hectic days!
Freezing
For longer storage, wrap individual bars tightly in plastic wrap and place them in a freezer-safe bag or container. Frozen, they can last up to 2 months—just thaw at room temperature or warm slightly before enjoying.
Reheating
Warm bars gently in the microwave for about 15-20 seconds or in a low oven for a few minutes. This brings out their fresh-baked aroma and softens the texture, making each bite feel freshly made.
FAQs
Can I make these bars gluten-free?
Absolutely! Just swap the whole wheat flour for a gluten-free flour blend and use certified gluten-free oats. These substitutions keep the bars safe and just as tasty for anyone avoiding gluten.
Can I use frozen strawberries instead of fresh?
You can, but make sure to thaw and drain any excess liquid to avoid sogginess. Fresh strawberries tend to give a slightly better texture, but frozen berries still work well in a pinch.
Are these bars suitable for vegans?
Yes! Just make sure to use maple syrup instead of honey and confirm your sugar choices are vegan-friendly. The rest of the ingredients are naturally plant-based.
How sweet are these bars?
They are moderately sweet, with natural sugars from honey or maple syrup and the fruit. If you prefer a sweeter bar, feel free to increase the sweetener slightly, but these bars strike a perfect balance of wholesome and sweet.
Can I substitute the coconut oil?
Yes, you can substitute melted butter or another mild-flavored oil like avocado oil. Coconut oil adds a lovely flavor and richness but isn’t mandatory if you want to tweak the taste.
Final Thoughts
This Healthy Strawberry Oatmeal Bars Recipe has truly become a go-to favorite whenever I crave something both nutritious and scrumptiously satisfying. It’s all about those layered textures and fresh berry flavors wrapped in wholesome oats that make these bars impossible to resist. Give it a try—you’re going to love how easy and rewarding baking these bars can be. They’re just waiting to become a delightful part of your snack repertoire!
Print
Healthy Strawberry Oatmeal Bars Recipe
- Prep Time: 15 minutes
- Cook Time: 35 minutes
- Total Time: 50 minutes
- Yield: 9 bars
- Category: Snack
- Method: Baking
- Cuisine: American
- Diet: Vegetarian
Description
These Healthy Strawberry Oatmeal Bars combine the heartiness of whole grains with the natural sweetness of fresh strawberries, making for a wholesome and delicious snack or dessert. Made with rolled oats, whole wheat flour, and naturally sweetened with honey and coconut sugar, these bars are both nutritious and satisfying. They are easy to prepare, baked to a golden perfection, and perfect for a quick energy boost anytime.
Ingredients
Dry Ingredients
- 2 cups old-fashioned rolled oats
- 1 cup whole wheat flour
- 1/2 teaspoon baking soda
- 1/4 teaspoon salt
Wet Ingredients
- 1/2 cup coconut oil, melted
- 1/3 cup honey or maple syrup
- 1/4 cup coconut sugar or brown sugar
- 1 teaspoon vanilla extract
Strawberry Filling
- 1 1/2 cups fresh strawberries, finely chopped
- 1 tablespoon cornstarch
- 1 tablespoon lemon juice
Instructions
- Preheat the Oven and Prepare the Pan: Preheat your oven to 350°F (175°C) and line an 8×8-inch baking pan with parchment paper, ensuring the sides are covered for easy removal of the bars later.
- Mix Dry Ingredients: In a large bowl, combine the rolled oats, whole wheat flour, baking soda, and salt. Stir these together to evenly distribute the leavening and seasoning.
- Combine Wet Ingredients: In a separate bowl, whisk the melted coconut oil, honey (or maple syrup), coconut sugar (or brown sugar), and vanilla extract until well combined.
- Form Crumble Mixture: Pour the wet mixture into the dry ingredients and stir until you achieve a crumbly but cohesive texture.
- Create the Crust: Press about two-thirds of this oat mixture firmly into the bottom of the prepared baking pan to form the crust layer.
- Prepare Strawberry Filling: In another bowl, toss the finely chopped strawberries with cornstarch and lemon juice. This will thicken the filling while adding a bright, fresh flavor.
- Assemble the Bars: Spread the strawberry mixture evenly over the pressed crust. Then sprinkle the remaining oat crumble mixture on top and gently press down to hold everything together.
- Bake: Place the pan in the preheated oven and bake for 30 to 35 minutes, or until the top is golden brown and the strawberry filling is bubbling.
- Cool and Slice: Allow the bars to cool completely in the pan to firm up, then lift them out using the parchment paper edges and slice into 9 bars for serving.
Notes
- For a gluten-free version, use certified gluten-free rolled oats and substitute the whole wheat flour with a gluten-free flour blend.
- You can replace strawberries with raspberries or blueberries for a different but equally delicious flavor.
- Store the bars in an airtight container in the refrigerator for up to 5 days to maintain freshness.

