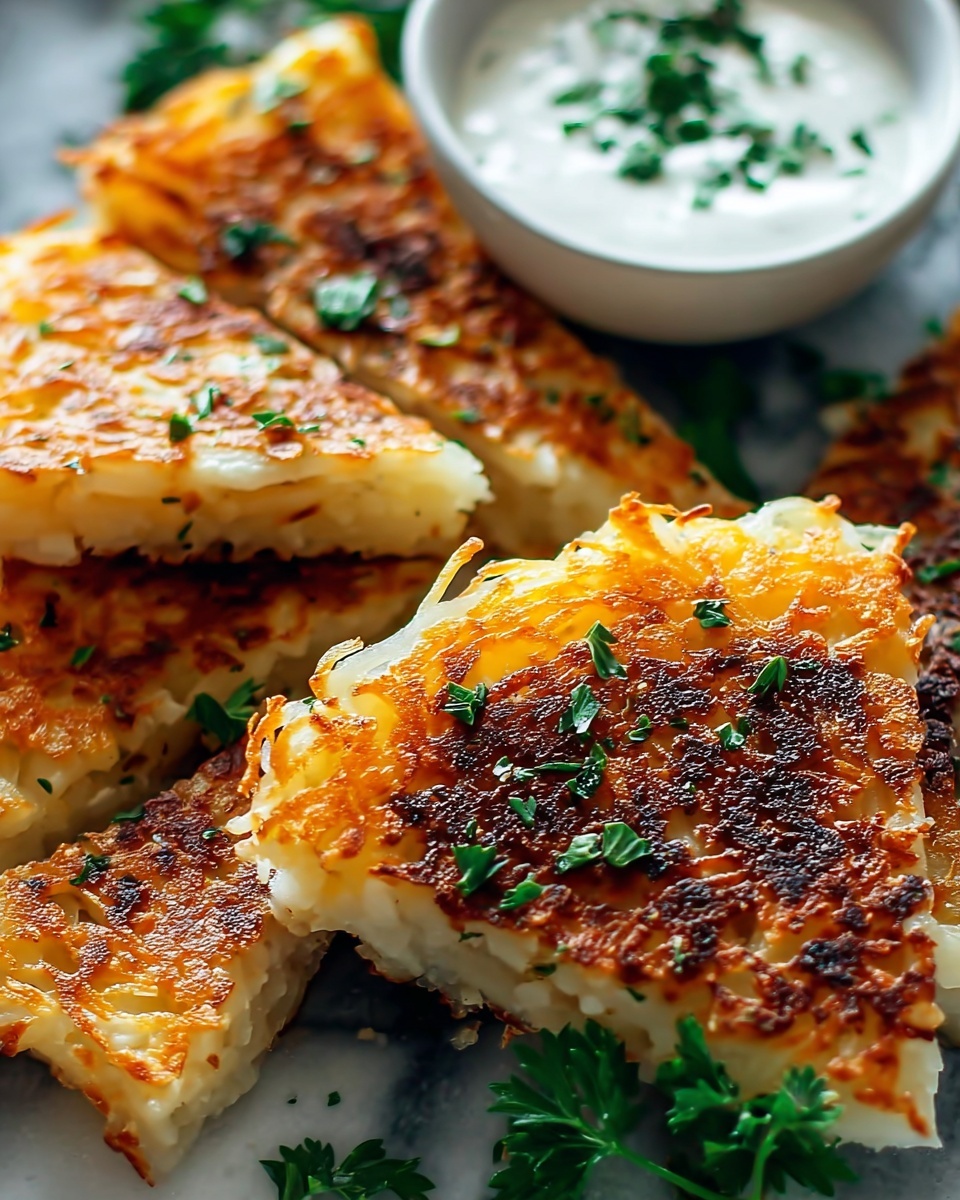
If you’re craving a breakfast side that brings together the ultimate comfort of cheese and the satisfying crunch of golden potatoes, then you are going to fall head over heels for this Crispy Cheesy Hash Browns Recipe. Imagine crispy edges paired with a melty, cheesy center that practically sings with every bite. It’s so straightforward to make but delivers a hearty and flavorful punch that’s perfect for any morning feast or even a snack anytime you want something warm and indulgent. Trust me, once you try this recipe, it’s destined to become one of your go-to dishes for cozy weekend breakfasts or special brunches with friends and family.
Ingredients You’ll Need
This recipe shines because of its simplicity — just a handful of ingredients that each bring their own unique magic to the dish, from creamy cheese to the subtle sweetness of onion and the perfect balance of savory seasoning.
- Frozen shredded hash browns: Thawed and well-drained to ensure crispiness without sogginess.
- Shredded cheddar cheese: Provides rich, melty, and tangy flavor that pairs beautifully with potatoes.
- Finely diced onion: Adds a gentle sharpness and an extra layer of aroma.
- Melted butter: Contributes a luscious richness and helps in browning the hash browns.
- Olive oil: Used to crisp up the edges and keep everything from sticking.
- Salt and pepper: Essential seasonings to elevate the natural potato flavor and cheese.
- Nonstick cooking spray: For easy baking sheet prep without adding extra oil.
How to Make Crispy Cheesy Hash Browns Recipe
Step 1: Preheat the Oven
Start by heating your oven to 400°F (200°C). Prep a baking sheet by lining it with foil and spraying it with nonstick cooking spray or covering with parchment paper. This step sets the stage for perfectly crisp hash browns without any sticking hassles.
Step 2: Mix Ingredients
In a large bowl, toss together the thawed and drained hash browns with the shredded cheddar, finely diced onion, melted butter, olive oil, salt, and pepper. Getting an even mix here ensures that every bite bursts with cheesy goodness and just the right amount of seasoning.
Step 3: Shape and Spread
Transfer that beautifully mixed hash brown mixture onto your prepared baking sheet and use a spatula to spread it out evenly. Press it down gently to compact the ingredients, so it bakes into a cohesive layer that crisps uniformly.
Step 4: Bake
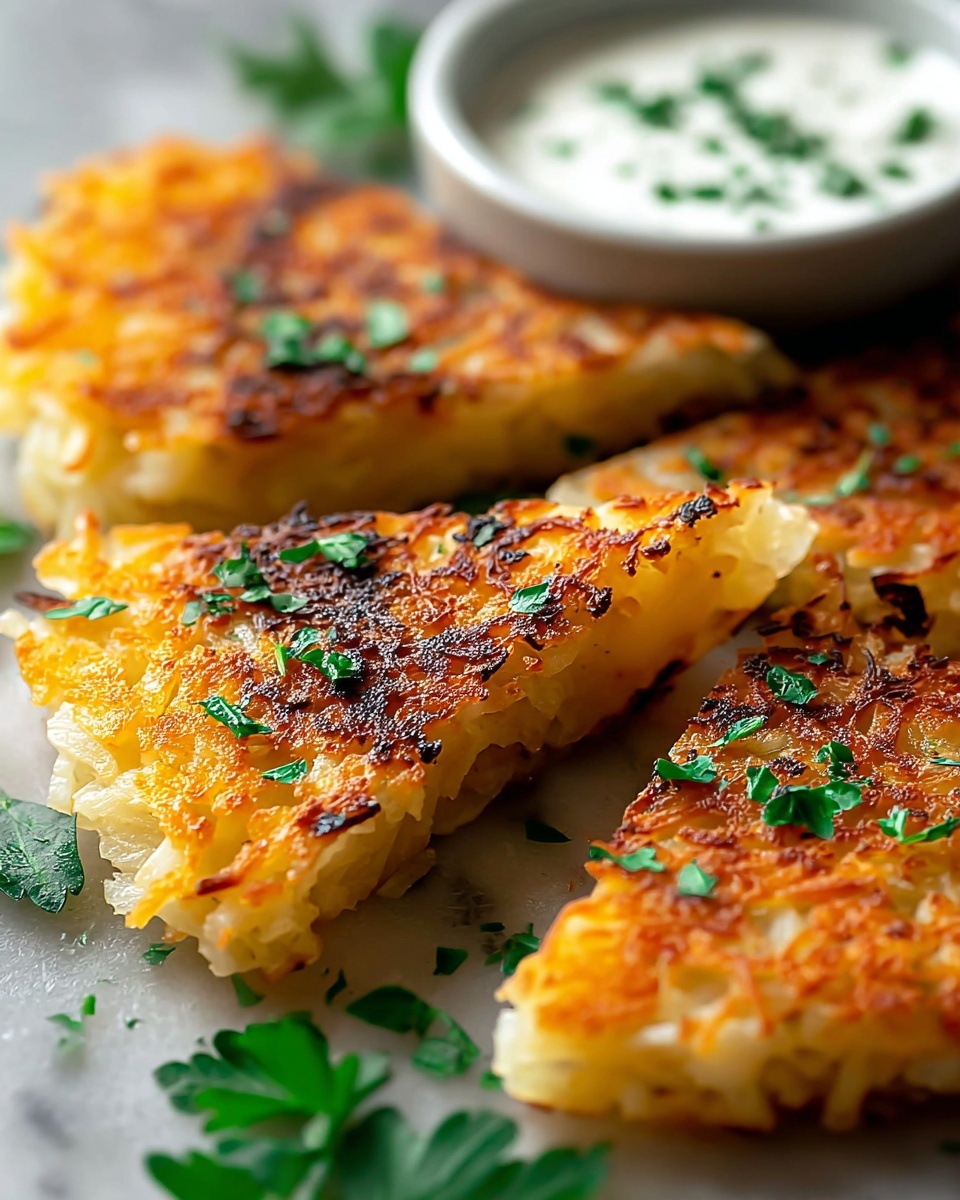
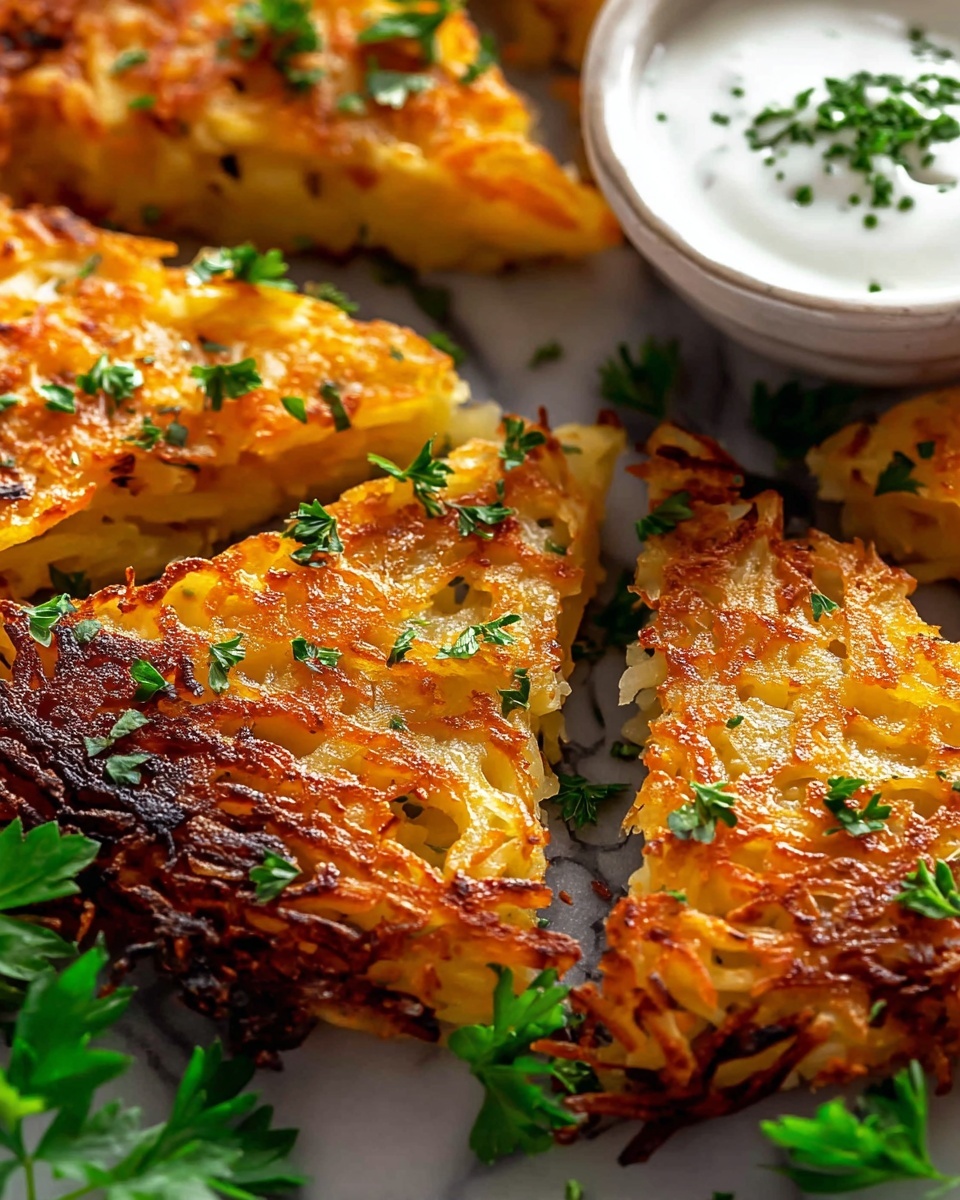
Place the tray in the oven and let it bake for 25 to 30 minutes. You’re looking for the edges to turn a deeply golden brown and develop that crave-worthy crisp texture. For an extra crispy finish, pop it under the broiler for 2 to 3 minutes at the end—just watch closely so it doesn’t burn!
Step 5: Serve
Once out of the oven, let it cool just enough to handle. Then slice it into squares or wedges and prepare to indulge in the melty, crunchy delight that is the Crispy Cheesy Hash Browns Recipe.
How to Serve Crispy Cheesy Hash Browns Recipe
Garnishes
Fresh garnishes can elevate the visual appeal and flavor profile. Sprinkle chopped green onions or fresh chives on top for a burst of color and mild oniony freshness. A dollop of sour cream or a drizzle of spicy aioli pairs splendidly as well.
Side Dishes
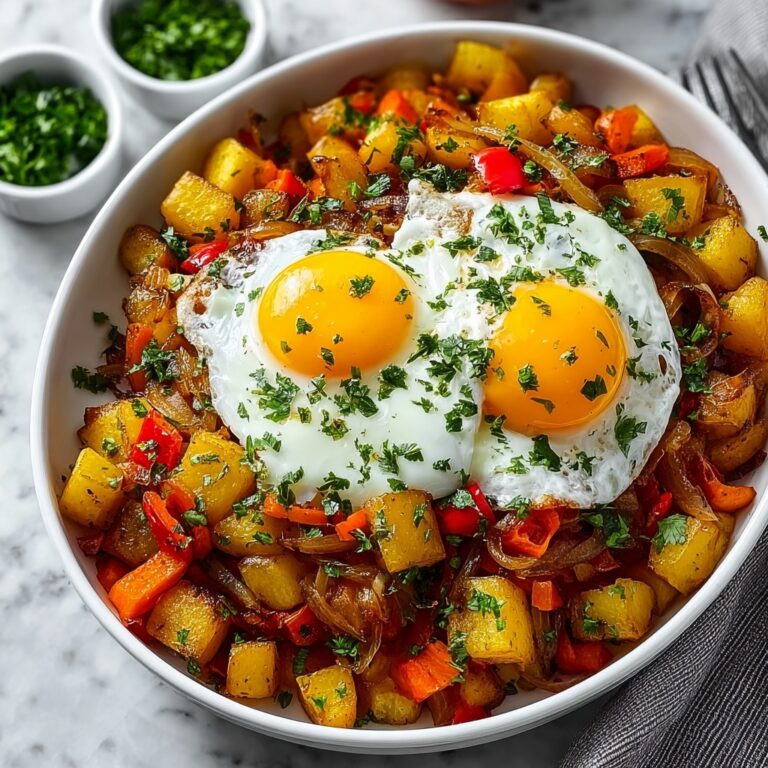
This recipe plays well alongside eggs prepared any style—scrambled, fried, or poached. Pair with crispy bacon or sausages for a hearty breakfast plate. For a lunch or dinner twist, these hash browns complement grilled chicken or a fresh garden salad beautifully.
Creative Ways to Present
Think beyond the classic square! Serve your Crispy Cheesy Hash Browns Recipe in wedges with dipping sauces like ketchup, chipotle mayo, or ranch dressing. For a fun brunch idea, top each wedge with a dollop of guacamole or salsa and a sprinkle of fresh herbs to turn it into a crowd-pleasing appetizer.
Make Ahead and Storage
Storing Leftovers
Let your leftover crispy cheesy hash browns cool completely, then store them in an airtight container in the refrigerator for up to 3 days. This keeps them fresh so you can enjoy that same melty-cheesy goodness with a bit of crisp leftover magic.
Freezing
If you want to stash some away for longer, freeze the cooked hash browns flat on a baking sheet first, then transfer them to a freezer-safe bag or container. They can last up to 2 months in the freezer, making it super convenient to have a ready-to-bake side on hand.
Reheating
To bring back that irresistible crunch when reheating, warm the hash browns in a preheated oven at 375°F (190°C) for about 10-15 minutes, or until heated through and crispy again. Avoid microwaving if possible because it tends to make them soggy.
FAQs
Can I use fresh potatoes instead of frozen shredded hash browns?
Absolutely! If using fresh potatoes, peel and shred them, then soak in cold water to remove excess starch before drying thoroughly. This extra step helps you still achieve that crisp texture without sogginess.
What type of cheese works best for this recipe?
Cheddar is the classic choice because of its bold flavor and melting quality, but you can experiment with Monterey Jack, mozzarella, or even a sharp gouda for different tastes and textures.
How do I make this dish spicier?
Add finely chopped jalapeños or a pinch of cayenne pepper to the mixture before baking. You can also serve with a hot sauce on the side to adjust the heat level to your liking.
Is this dish gluten-free?
Yes! This Crispy Cheesy Hash Browns Recipe contains no gluten ingredients, making it a great option for those following a gluten-free diet, just be sure your cheese and seasonings are gluten-free.
Can I make this recipe vegan?
To veganize it, swap out the cheddar cheese for a plant-based alternative and use a vegan butter substitute. Olive oil stays the same, keeping that crispy texture intact.
Final Thoughts
This Crispy Cheesy Hash Browns Recipe is truly one of those dishes that feels like a warm hug on a plate. The combination of crispy golden edges and gooey cheesy center makes it impossible to resist. Whether you’re serving it up for a lazy weekend breakfast or a fun brunch with friends, it promises smiles and satisfaction with every bite. Give it a try—you’ll find yourself coming back to this recipe again and again!
Print
Crispy Cheesy Hash Browns Recipe
- Prep Time: 10 minutes
- Cook Time: 30 minutes
- Total Time: 40 minutes
- Yield: 6 to 8 servings
- Category: Breakfast
- Method: Baking
- Cuisine: American
Description
Crispy Cheesy Hash Browns are a perfect golden and crunchy breakfast side dish, combining shredded potatoes, sharp cheddar cheese, and a hint of onion. Baked to perfection, these hash browns offer a satisfying crispy texture with a cheesy, savory flavor.
Ingredients
Hash Brown Mixture
- 1 (22 oz) bag frozen shredded hash browns, thawed and well-drained
- 1½ cups shredded cheddar cheese
- ¼ cup finely diced onion
- 2 tablespoons melted butter
- 2 tablespoons olive oil
- Salt and pepper, to taste
Other
- Nonstick cooking spray
Instructions
- Preheat the oven: Preheat your oven to 400°F (200°C). Line a baking sheet with foil and coat it with nonstick cooking spray or use parchment paper to prevent sticking and ensure easy cleanup.
- Mix ingredients: In a large mixing bowl, combine the thawed and well-drained shredded hash browns with shredded cheddar cheese, finely diced onion, melted butter, olive oil, salt, and pepper. Stir everything thoroughly until the ingredients are evenly incorporated.
- Shape and spread: Spread the hash brown mixture evenly onto the prepared baking sheet. Use a spatula to gently press the mixture down to compact it slightly, which will help it hold together while baking.
- Bake: Place the baking sheet in the preheated oven and bake for 25 to 30 minutes, or until the edges of the hash browns turn deeply golden and crispy. For an extra crispy finish, you can broil the hash browns for an additional 2 to 3 minutes, watching carefully so they don’t burn.
- Serve: Remove the baked hash browns from the oven and allow them to cool slightly. Cut into squares or wedges and serve warm as a delicious breakfast or side dish.
Notes
- Make sure to thaw and drain the shredded potatoes well to avoid soggy hash browns.
- Broiling at the end is optional but adds a nice extra crispiness.
- You can customize with additional seasonings like paprika or garlic powder for extra flavor.
- Serve with eggs, ketchup, or your favorite breakfast sides for a complete meal.


