
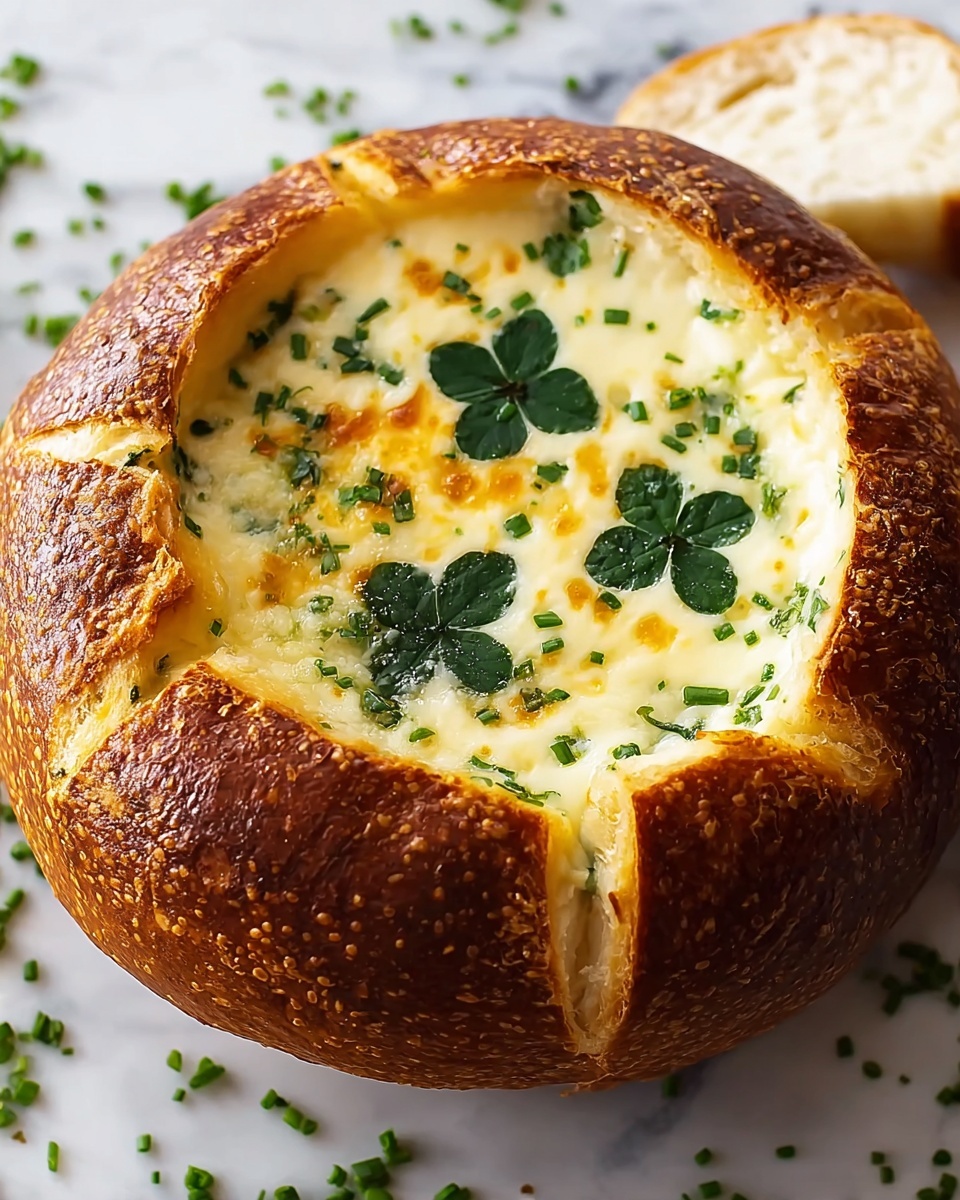
If you have ever dreamed of turning ordinary bread into a delightful centerpiece that’s as charming as it is delicious, this Clover-Shaped Bread Bowl Recipe is exactly what you need. This recipe transforms simple ingredients into a stunningly beautiful bread bowl, shaped like a clover, perfect for serving soups, dips, or salads in a fun and inviting way. The tender crumb and golden crust combine effortlessly to create not only a tasty treat but also a conversation starter on any dining table.
Ingredients You’ll Need
Gathering straightforward, everyday ingredients is the first step to crafting this unique bread bowl. Each component plays a crucial role in ensuring the dough rises beautifully and bakes to a perfect texture and color.
- 2 cups warm water (110°F): The ideal temperature awakens the yeast for a lively rise.
- 2 1/4 teaspoons active dry yeast (1 packet): The magic behind the dough’s light and fluffy texture.
- 1 tablespoon sugar: Feeds the yeast and adds a subtle hint of sweetness.
- 3 tablespoons olive oil: Adds richness and helps the bread stay moist and tender.
- 1 teaspoon salt: Enhances all the flavors without overpowering the dough.
- 4 cups all-purpose flour (plus extra for dusting): The structure of the bread, providing the perfect chewiness.
- 1 tablespoon melted butter (for brushing): Gives the bread a gorgeous golden finish and a delicious buttery aroma.
How to Make Clover-Shaped Bread Bowl Recipe
Step 1: Activate the Yeast
Start by dissolving the sugar in the warm water, then sprinkle the yeast on top. Let it sit for 5 to 10 minutes until it becomes foamy and bubbly. This step is essential to ensure your dough will rise properly and have that perfect airy texture.
Step 2: Mix and Knead the Dough
In a large bowl, combine the flour and salt. Pour in the yeast mixture and olive oil, stirring until the dough begins to come together. Turn the dough onto a floured surface and knead it for about 8 to 10 minutes until it’s smooth and elastic. Kneading develops the gluten which gives the bread its structure and chewy bite.
Step 3: First Rise
Place your dough in a lightly oiled bowl, turning it to coat all sides with oil. Cover it with a clean towel or plastic wrap and let it rise in a warm place for about an hour, or until it doubles in size. This rise will give your clover shape a light, fluffy interior.
Step 4: Shape the Clover
Once the dough has risen, punch it down gently and divide it into six equal portions. Roll each portion into a ball. Arrange these six dough balls into a clover shape on a parchment-lined baking sheet, with one ball in the center and the others forming the “leaves.” This charming arrangement is the heart of the Clover-Shaped Bread Bowl Recipe.
Step 5: Second Rise and Bake
Cover the shaped dough loosely with a towel and let it rise again for about 30 minutes until puffed. Preheat your oven to 375°F (190°C). Before baking, brush the middle and tops of the dough balls with melted butter to help create a rich, golden crust. Bake for 25 minutes, or until the bread is beautifully browned and sounds hollow when tapped.
How to Serve Clover-Shaped Bread Bowl Recipe
Garnishes
Once out of the oven, brushing the bread bowl with a bit more melted butter amps up the flavor and adds a shiny, inviting finish. Fresh herbs like rosemary or thyme sprinkled on top before baking can also elevate the aroma and invite your guests closer.
Side Dishes
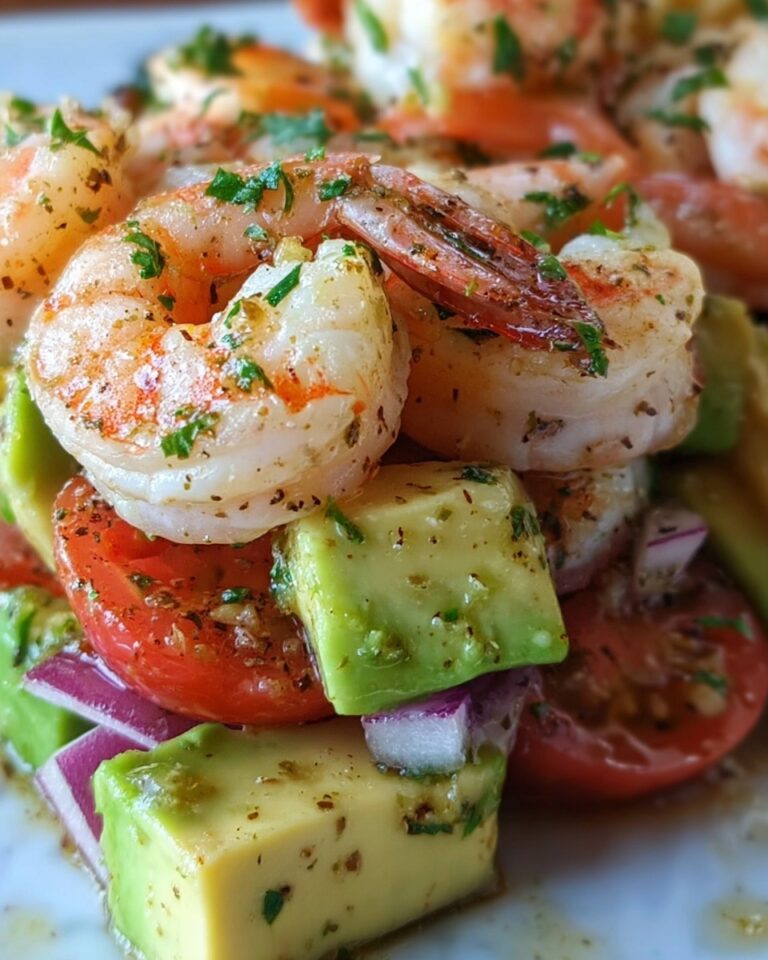
This bread bowl pairs beautifully with a variety of dishes. Creamy soups like tomato bisque or cheesy broccoli cheddar are classics for dipping right into the bread. Alternatively, use it to hold vibrant salads or even a savory dip like spinach artichoke for a perfect party platter.
Creative Ways to Present
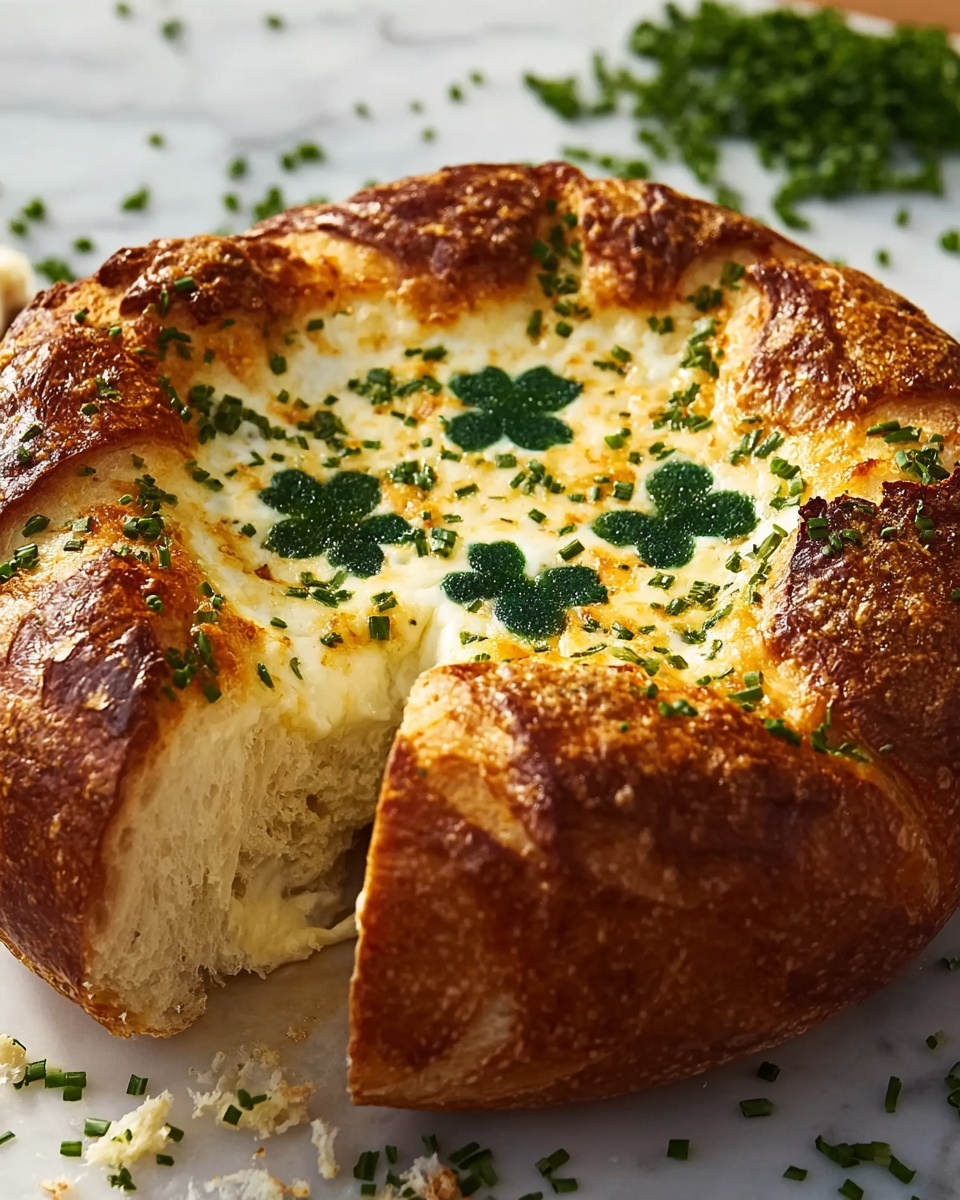
For a truly memorable meal, fill your clover-shaped bowl with colorful stews or chili, letting the natural bread “leaves” become edible scoops. You can also hollow out the center portion and use it as a bread basket on your table filled with assorted dipping oils, or place it on a festive platter surrounded by cheeses and charcuterie.
Make Ahead and Storage
Storing Leftovers
If you have leftover bread, wrap it tightly in plastic wrap or store it in an airtight container to keep it from drying out. It should stay fresh at room temperature for up to two days, perfect for enjoying as sandwiches or toast the next day.
Freezing
The Clover-Shaped Bread Bowl Recipe freezes wonderfully. After it has fully cooled, wrap it securely in foil and plastic wrap and freeze for up to three months. Thaw it overnight at room temperature before reheating.
Reheating
To bring back that freshly baked warmth, preheat your oven to 350°F (175°C) and place the bread on a baking sheet for 10 to 15 minutes. This re-crisps the crust while keeping the inside soft and tender, just like fresh from the oven.
FAQs
Can I use whole wheat flour instead of all-purpose flour?
Absolutely! Whole wheat flour adds a nuttier flavor and denser texture. You may want to adjust the amount of water since whole wheat tends to absorb more. Mixing whole wheat with all-purpose flour is a great way to maintain tenderness while adding nutrition.
How can I make the clover shape look more distinct?
Spacing the dough balls slightly apart before the second rise helps them expand without merging too much. You can gently pinch the dough between balls to form defined “leaves” or use a knife to lightly score leaf veins after shaping for added detail.
Is this recipe suitable for beginners?
Definitely! The steps are straightforward and forgiving, perfect for bakers trying their hand at shaped bread. Plus, the results feel special without requiring complicated techniques.
What can I fill the bread bowl with?
Almost anything you love to dip or scoop works beautifully — warm soups, hearty stews, creamy dips, or even a colorful salad. Just make sure the filling isn’t too liquidy if you plan to serve it in the bread bowl itself.
Can I make smaller or larger Clover-Shaped Bread Bowls?
Yes, scaling the recipe up or down is easy. Just adjust the amount of dough and number of “leaves” while keeping the overall ratio of ingredients consistent. Smaller versions make cute individual servings, while larger ones are perfect for family-style sharing.
Final Thoughts
Bringing warmth, charm, and deliciousness all in one is exactly what the Clover-Shaped Bread Bowl Recipe offers. Whether you’re hosting a casual dinner or a special celebration, this bread bowl is a wonderful way to add personality and flavor to your table. I encourage you to give this recipe a try — it’s not just baking bread, it’s creating a joyful experience your friends and family will love!
Print
Clover-Shaped Bread Bowl Recipe
- Prep Time: 20 minutes
- Cook Time: 25 minutes
- Total Time: 1 hour 45 minutes
- Yield: 6 servings
- Category: Bread
- Method: Baking
- Cuisine: American
Description
This charming Clover-Shaped Bread Bowl recipe combines the rustic appeal of freshly baked bread with a festive clover design, perfect for serving soups, dips, or spreads. Soft and golden on the outside, with a tender crumb inside, this bread bowl is as delightful to look at as it is to eat.
Ingredients
Dough
- 2 cups warm water (110°F)
- 2 1/4 teaspoons active dry yeast (1 packet)
- 1 tablespoon sugar
- 3 tablespoons olive oil
- 1 teaspoon salt
- 4 cups all-purpose flour (plus extra for dusting)
Finishing
- 1 tablespoon melted butter (for brushing)
Instructions
- Activate the yeast: In a large mixing bowl, combine the warm water, active dry yeast, and sugar. Stir gently and let it sit for about 5-10 minutes until the mixture becomes frothy and bubbly, indicating that the yeast is active.
- Prepare the dough: Add the olive oil, salt, and 4 cups of all-purpose flour to the yeast mixture. Mix until a dough begins to form. Turn the dough out onto a floured surface and knead for about 8-10 minutes until smooth and elastic. Add a little more flour if the dough is too sticky.
- First rise: Place the kneaded dough in a lightly oiled bowl, cover with a clean towel or plastic wrap, and let it rise in a warm place for about 1 hour or until doubled in size.
- Shaping the clovers: Punch down the risen dough and divide it into 6 equal portions. Take each portion and shape it into a round ball. To create the clover shapes, arrange three balls together into a triangle and press lightly to connect them. Then place the fourth ball in the center on top if desired, or make a shape reminiscent of a clover leaf by grouping three balls together for each bowl. Repeat for all portions.
- Second rise: Place shaped dough pieces onto a baking sheet lined with parchment paper. Cover loosely with a clean towel and allow the dough to rise for an additional 20 minutes until puffy.
- Preheat the oven: While the dough is undergoing its second rise, preheat your oven to 375°F (190°C).
- Bake the bread bowls: Brush the tops of the clover-shaped dough with melted butter to promote browning and a rich finish. Bake in the preheated oven for 20-25 minutes or until golden brown and hollow-sounding when tapped.
- Cool and prepare for serving: Remove the bread bowls from the oven and let them cool slightly on a wire rack. Once cooled enough to handle, carefully cut off the tops and hollow out the center to create space for your favorite soups, dips, or spreads.
Notes
- Ensure water is at the right temperature (110°F) to activate the yeast properly without killing it.
- Adjust flour as needed during kneading to achieve a soft but not sticky dough.
- The bread bowls are best served fresh but can be stored in an airtight container for up to 2 days.
- Brush with butter again after baking for extra flavor and shine if desired.
- Customize the shape further by adding scoring or seeds before baking for decorative effect.


