If you’re searching for a nostalgic dessert that’s both simple and irresistibly delicious, the Hillbilly Pie Recipe is exactly what you need in your life. Combining the rich creaminess of sweetened condensed milk with the delightful texture of shredded coconut, this pie offers a perfect balance of sweetness and comfort. It’s a humble dish with a big personality that fills your kitchen with warmth and invites everyone to gather ’round for a slice of Southern-inspired goodness. Once you try this Hillbilly Pie Recipe, it’s bound to become a cherished favorite in your baking rotation.
Ingredients You’ll Need
What’s truly wonderful about the Hillbilly Pie Recipe is how straightforward the ingredients list is. Each component plays a vital role, contributing to the creamy texture, gentle sweetness, or tender crust that makes this pie such a standout. Here’s everything you’ll want to have on hand before you start baking:
- Sweetened condensed milk: This adds rich, velvety sweetness and the creamy foundation for the filling.
- Large eggs: They bind the filling together, giving it structure and a smooth finish.
- Vanilla extract: A splash of this enhances the overall flavor with warm, aromatic notes.
- Shredded coconut: Provides a lovely chewy texture and tropical flair; sweetened or unsweetened works depending on your taste.
- Unsalted butter (melted): This enriches the filling and adds a subtle buttery undertone.
- All-purpose flour: Helps thicken the filling to just the right consistency.
- Salt: A pinch balances the sweetness and brightens the flavors.
- Refrigerated pie crust: Convenient and flaky, but homemade crust works beautifully if you prefer.
How to Make Hillbilly Pie Recipe
Step 1: Preheat and Prepare the Pie Crust
Start by preheating your oven to 350°F (175°C). Whether you’re using a refrigerated pie crust or rolling out your own dough, carefully line your 9-inch pie dish with the crust. Make sure to press the edges firmly into place and trim any excess dough to ensure an even and tidy base for your filling. This step sets the stage for the perfect pie experience.
Step 2: Mix the Creamy Pie Filling
In a mixing bowl, whisk together the sweetened condensed milk, large eggs, vanilla extract, melted butter, and all-purpose flour until you achieve a smooth, well-blended mixture. This creamy filling is the heart of the Hillbilly Pie Recipe, promising luscious texture and comforting flavors with every bite.
Step 3: Add Coconut and Salt
Now it’s time to stir in the shredded coconut and a pinch of salt. The coconut adds body and a bit of chewiness, while the salt subtly enhances the overall taste, preventing the pie from becoming overly sweet and keeping your taste buds engaged.
Step 4: Fill the Pie Crust
Pour your coconut-infused filling into the prepared pie crust, spreading it evenly with a spatula. This step is all about balance—ensuring the filling is level helps the pie bake uniformly, giving you a beautifully golden top and a delightful texture throughout.
Step 5: Bake Until Perfect
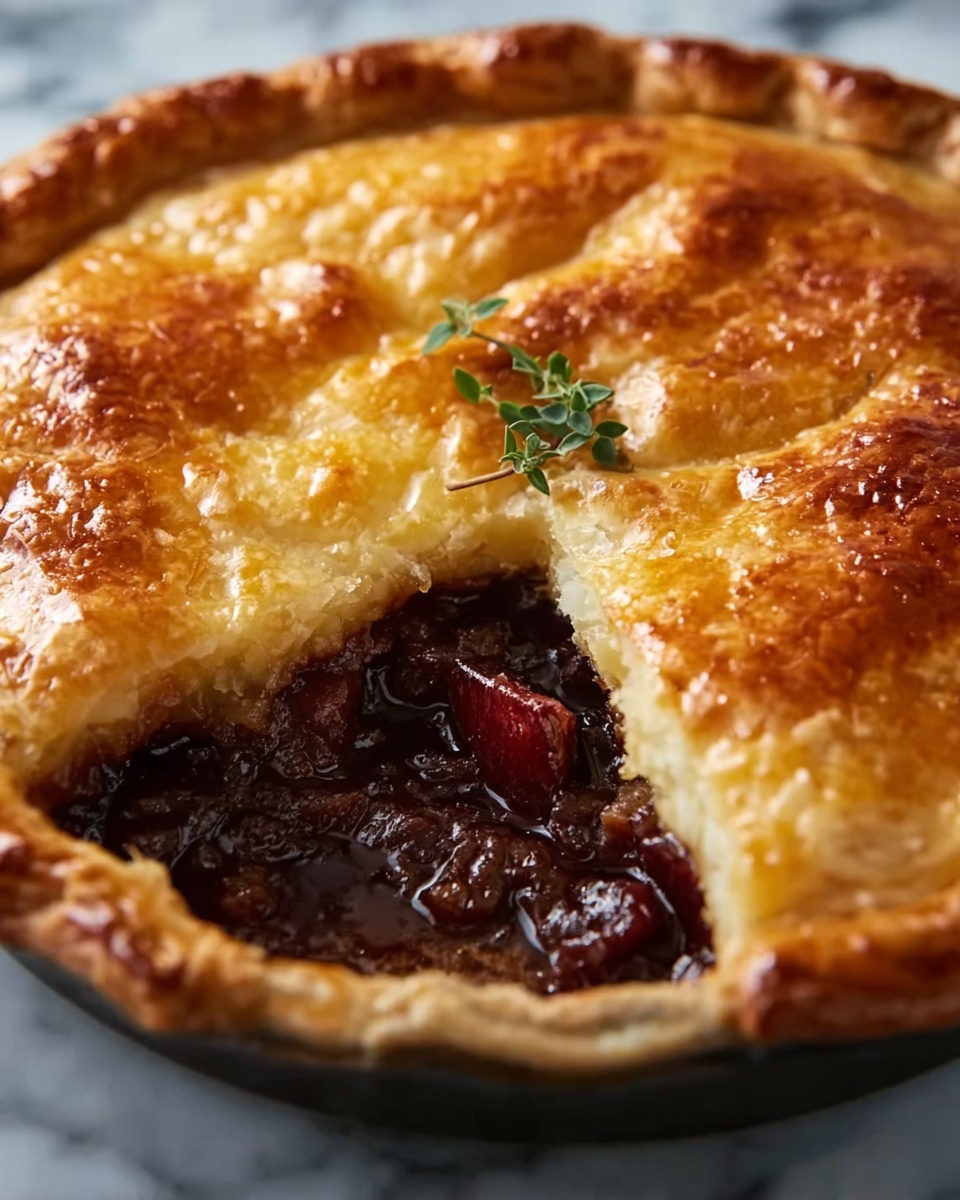
Place the pie in your preheated oven and bake for 30 to 35 minutes. You know it’s ready when the filling is set and the top has developed a lightly golden-brown hue. A gentle shake of the pie will tell you if the center is firm; no wobbling means it’s time to take it out and let it cool.
Step 6: Cool the Pie Before Serving
Allow the pie to cool to room temperature. This gives it enough time to set further, making cutting and serving a breeze. If you’re not ready to dig in right away, refrigerate the pie for a couple of hours—the flavors meld together so beautifully when it’s chilled.
Step 7: Optional Garnish for Extra Indulgence
For a touch of extra decadence, serve your Hillbilly Pie with a cloud of whipped cream or a scoop of creamy vanilla ice cream. These additions complement the sweet coconut filling wonderfully and turn your humble pie into a truly show-stopping dessert.
How to Serve Hillbilly Pie Recipe

Garnishes
Simple garnishes can elevate your Hillbilly Pie Recipe from lovely to absolutely stunning. A dollop of fresh whipped cream, a sprinkle of toasted coconut flakes, or even a drizzle of caramel sauce not only adds visual appeal but also brings contrasting textures and flavors that make every forkful memorable.
Side Dishes
This pie pairs beautifully with light, fresh accompaniments. Consider serving it alongside fresh fruit salad or a citrusy sorbet to balance the richness of the pie. For a cozy, homestyle meal, a cup of strong coffee or tea is the perfect match, rounding out a comforting dining experience.
Creative Ways to Present
If you want to impress your guests, consider slicing the pie into small tarts or mini servings in individual ramekins. You can also add edible flowers or dust the top lightly with powdered sugar. These creative touches make the Hillbilly Pie Recipe feel personal and festive for holidays or special occasions.
Make Ahead and Storage
Storing Leftovers
After enjoying your freshly baked Hillbilly Pie, store any leftovers in an airtight container in the refrigerator. This will keep the pie moist and delicious for up to four days, making it easy to savor the comforting flavors anytime you crave a sweet treat.
Freezing
The Hillbilly Pie Recipe freezes well, making it an excellent candidate for meal prepping or extending your baking efforts. Wrap the cooled pie tightly with plastic wrap and aluminum foil to prevent freezer burn. Freeze for up to one month, and be sure to thaw it overnight in the refrigerator before serving.
Reheating
When you’re ready to enjoy your leftover pie, reheating it gently will restore its luscious warm texture. Heat individual slices in the microwave for about 20 to 30 seconds or place the whole pie in a 300°F (150°C) oven for 10 to 15 minutes until warmed through. Serve with your favorite garnish for that fresh-baked taste.
FAQs
Can I use homemade pie crust instead of refrigerated?
Absolutely! A homemade pie crust adds a personal touch and often enhances flavor. Just make sure to roll it out evenly and fit it properly in your pie dish before filling.
Is there a gluten-free option for the crust?
Yes, you can use a gluten-free pie crust available at many grocery stores or make your own with gluten-free flours. The filling itself is naturally gluten-free, so it’s easy to adapt.
Can I substitute the shredded coconut?
While the shredded coconut is key to the Hillbilly Pie Recipe’s signature texture, you can experiment with finely chopped nuts or leave it out for a smoother custard-like pie. Just keep in mind the unique coconut flavor will be missing.
How do I know when the pie is fully baked?
The filling should be set, and the top lightly golden brown. A gentle shake of the pie will reveal whether the center is firm and no longer wobbly, which means it’s done.
Can I make this pie ahead of time for a party?
Definitely! Prepare it a day ahead and refrigerate it overnight. The flavors deepen, and it will be ready to serve cold or warmed for your guests.
Final Thoughts
There’s something so wonderfully comforting about the Hillbilly Pie Recipe, with its creamy coconut filling and flaky crust that feels like a warm hug from the inside out. It’s an easy dessert to prepare, yet it effortlessly brings joy to the table with every bite. If you’re looking to add a new favorite to your recipe collection, I wholeheartedly encourage you to try this Hillbilly Pie Recipe—you won’t regret it.
Print
Hillbilly Pie Recipe
- Prep Time: 10 minutes
- Cook Time: 35 minutes
- Total Time: 45 minutes
- Yield: 8 servings
- Category: Dessert
- Method: Baking
- Cuisine: American Southern
Description
Hillbilly Pie is a simple, nostalgic dessert featuring a creamy coconut custard filling nestled in a flaky pie crust. With sweetened condensed milk, shredded coconut, and a hint of vanilla, this comforting pie is baked until golden and set, offering a delightful balance of rich sweetness and texture that makes it a perfect treat for any occasion.
Ingredients
Pie Crust
- 1 package refrigerated pie crust (or homemade pie crust if preferred)
Filling
- 1 can (14 oz) sweetened condensed milk
- 2 large eggs
- 1 teaspoon vanilla extract
- 1/2 cup shredded coconut (sweetened or unsweetened)
- 1/4 cup unsalted butter, melted
- 1/4 cup all-purpose flour
- 1/4 teaspoon salt
Instructions
- Preheat the Oven: Preheat your oven to 350°F (175°C). If using a refrigerated pie crust, fit the crust into a 9-inch pie dish. If using homemade, roll out your dough and line the dish with it. Press the edges to fit and trim any excess.
- Prepare the Pie Filling: In a mixing bowl, combine the sweetened condensed milk, eggs, vanilla extract, melted butter, and flour. Whisk until smooth and well incorporated.
- Mix in Coconut and Salt: Stir in the shredded coconut and salt. Mix everything together until fully combined.
- Assemble the Pie: Pour the prepared filling into the prepared pie crust. Smooth the top with a spatula to ensure an even layer.
- Bake the Pie: Place the pie in the preheated oven and bake for 30-35 minutes, or until the filling is set and the top is lightly golden brown. Check for doneness by gently shaking the pie—if the center is firm and no longer wobbly, it’s done.
- Cool and Serve: Let the pie cool to room temperature before slicing. You can refrigerate it for a few hours to help it set further, but it’s also delicious served slightly warm.
- Optional Garnish: Serve with whipped cream or a scoop of vanilla ice cream for added indulgence.
Notes
- Use either sweetened or unsweetened shredded coconut based on your preference; the pie will be sweeter with sweetened coconut.
- Make sure the pie filling is set before removing from the oven to avoid a runny center.
- This pie can be stored covered in the refrigerator for up to 3 days.
- For a gluten-free version, use a gluten-free pie crust and flour substitute.
- Allow the pie to cool completely before slicing to ensure clean cuts.


