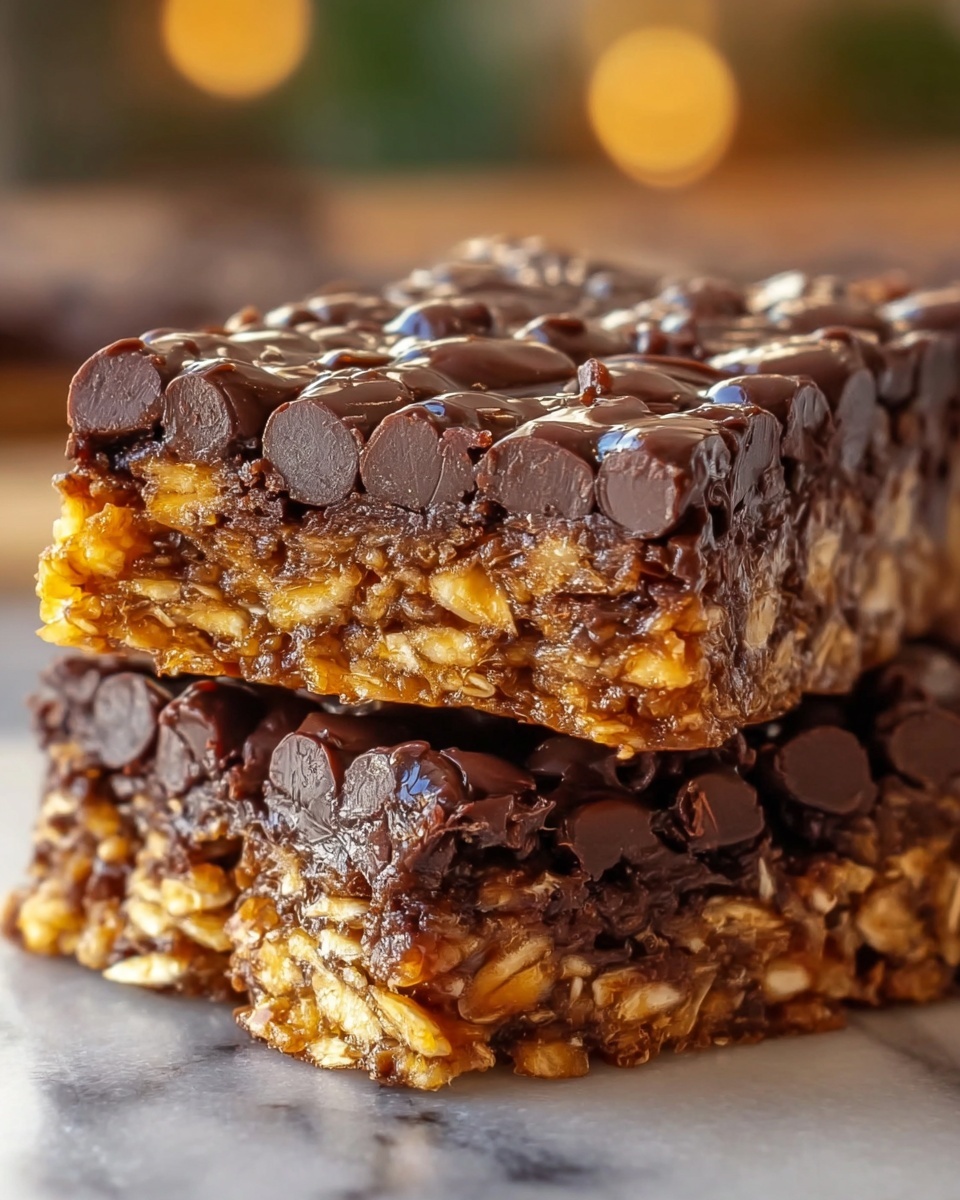
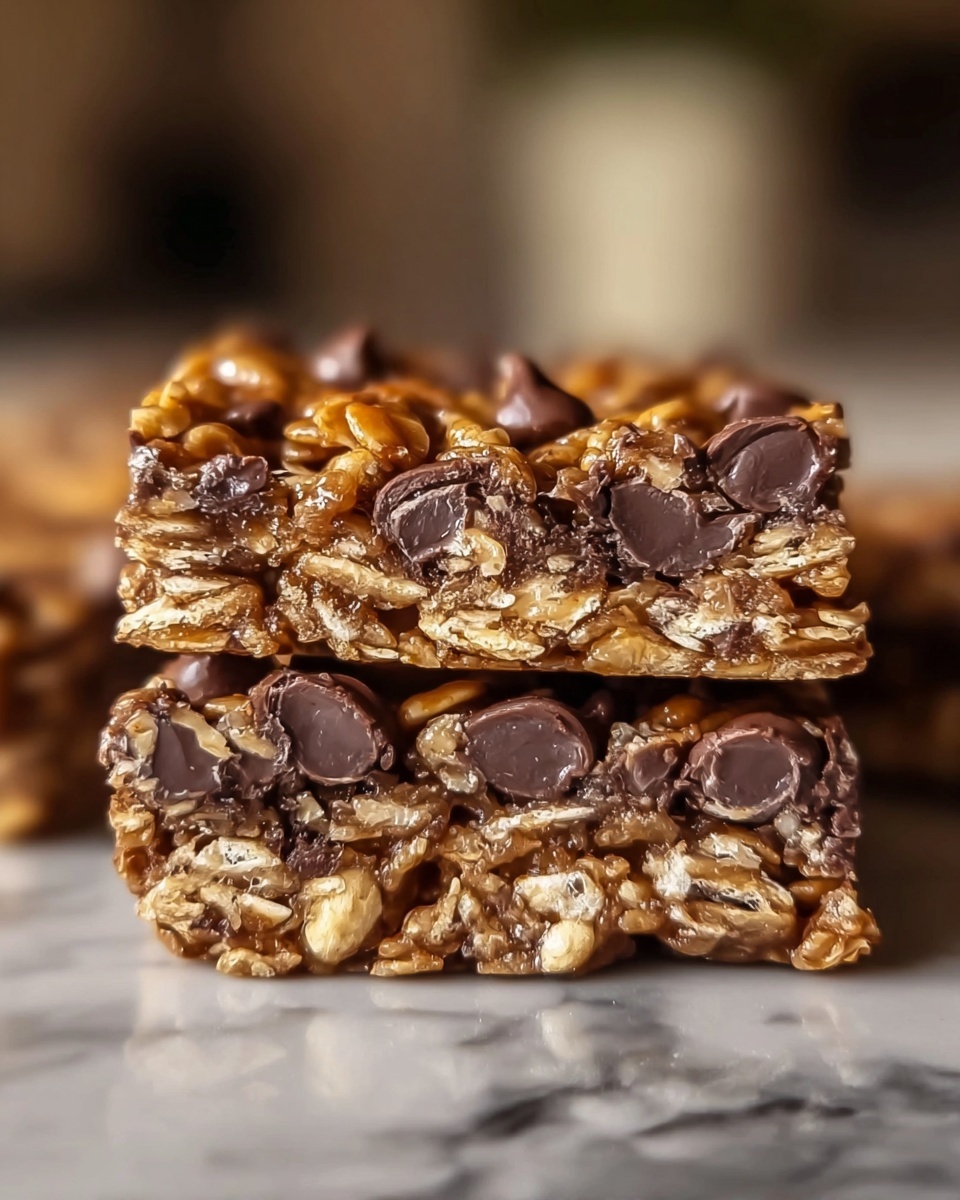
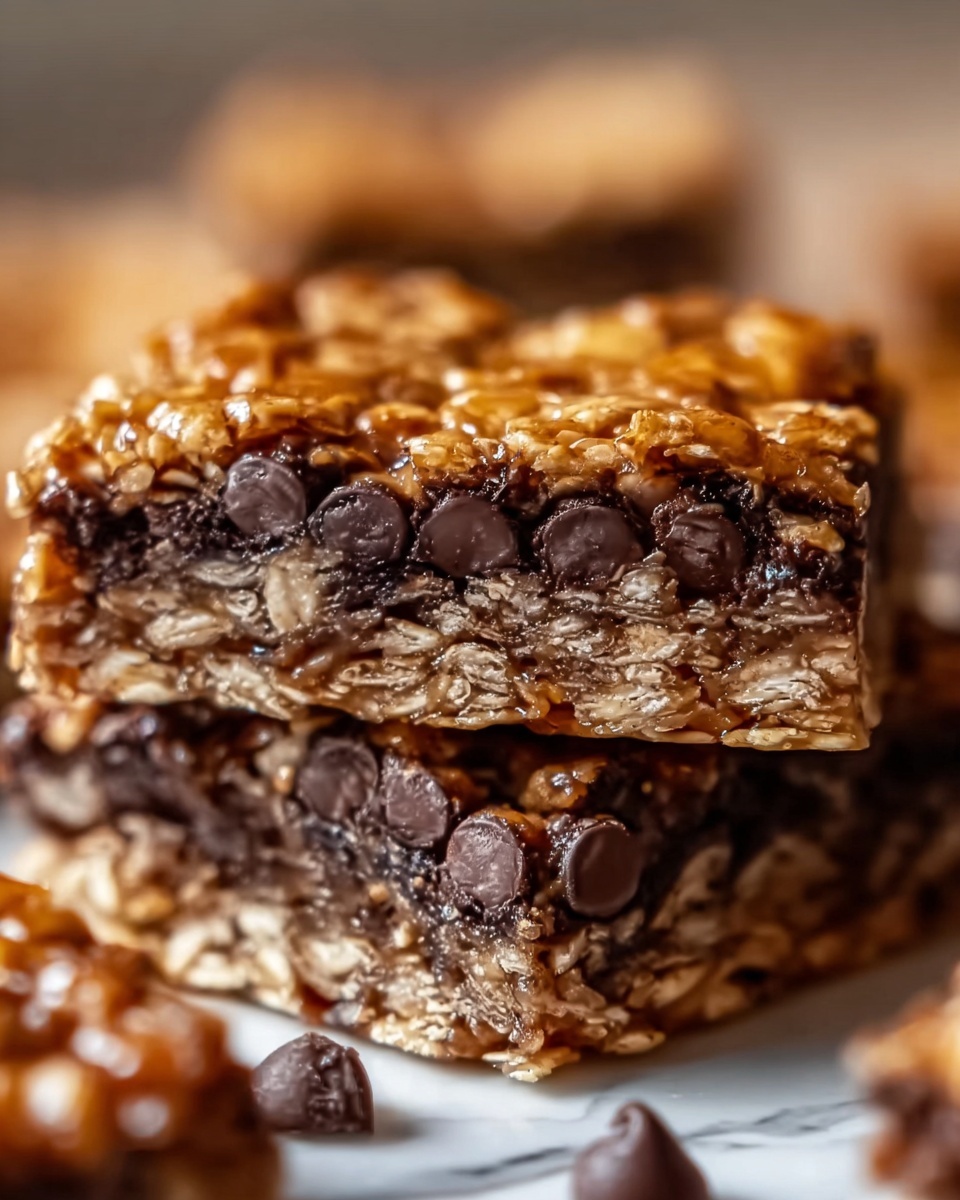
If you’re craving a perfect marriage of chocolate, peanut butter, and crispy cereal, look no further than this delightfully addictive Homemade Chocolate Peanut Butter Rice Krispies Crunch Bars Recipe. Each bite is a crunchy, creamy explosion of rich chocolate balanced by the nutty warmth of peanut butter with the satisfying snap of crispy rice cereal. It’s a simple treat that feels special, perfect for sharing with friends or indulging in a cozy moment at home. This recipe brings together pantry staples in a way that transforms an ordinary snack into an extraordinary homemade dessert.
Ingredients You’ll Need
The beauty of this Homemade Chocolate Peanut Butter Rice Krispies Crunch Bars Recipe lies in its straightforward, easy-to-find ingredients. Each component is essential: chocolate for richness, peanut butter for creamy depth, and crispy rice cereal for that irresistible crunch. Let’s break down the essentials you’ll gather before you get started.
- 4 cups crispy rice cereal: The base that provides the light, crunchy texture essential to these bars.
- 2 cups semisweet chocolate chips: Adds deep, slightly bittersweet chocolate flavor to balance the sweetness.
- 1 cup milk chocolate chips: For a creamy, smooth chocolate layer that melts beautifully into the mix.
- 1/4 cup unsalted butter: Helps the chocolate melt smoothly and binds everything together for perfect consistency.
- 1/4 cup peanut butter (optional): Brings a rich and nutty depth that complements the chocolate perfectly, but you can skip if you prefer.
- 1 teaspoon vanilla extract (optional): Adds a subtle warmth and rounds out the flavors with an extra hint of sweetness.
How to Make Homemade Chocolate Peanut Butter Rice Krispies Crunch Bars Recipe
Step 1: Prepare Your Pan
Start by lining an 8×8-inch or 9×9-inch baking pan with parchment paper, or lightly grease it. This step is key to making sure your bars will lift out easily once set without any sticky mishaps.
Step 2: Get Your Cereal Ready
Pour the 4 cups of crispy rice cereal into a large mixing bowl and set it aside for now. Having the cereal measured and ready means you can focus on creating that luscious chocolate mixture next.
Step 3: Melt the Chocolate and Butter
In a medium saucepan, gently melt the unsalted butter along with the semisweet and milk chocolate chips over low heat. Stir occasionally until everything is melted smoothly and combined. This slow melt ensures the chocolate stays glossy and luscious without burning.
Step 4: Add Peanut Butter and Vanilla
If you’re including peanut butter, stir it into your melted chocolate mixture now, along with the vanilla extract if using. This enriches the sauce, creating a creamy, nutty flavor that ties all the textures together beautifully.
Step 5: Combine Chocolate and Cereal
Pour the melted chocolate-peanut butter mixture over the crispy rice cereal in your bowl. Gently fold it in until every piece of cereal is evenly coated. Take your time here to make sure each bite will have that perfect balance of chocolate and crunch.
Step 6: Press the Mixture Into the Pan
Transfer the coated cereal mixture to your prepared pan. Using a spatula or your hands, press down firmly and evenly to compact the mixture. This step is crucial to help the bars hold their shape when cut.
Step 7: Chill Until Set
Pop the pan into the refrigerator and chill for at least one hour. This allows the chocolate to harden and the bars to set firmly, creating that satisfying snap when you cut into them.
Step 8: Cut and Serve
Once set, gently lift the bars from the pan using the parchment paper edges. Cut into squares or rectangles — whatever size you prefer — and get ready to enjoy your culinary masterpiece!
How to Serve Homemade Chocolate Peanut Butter Rice Krispies Crunch Bars Recipe
Garnishes
These bars stand beautifully on their own, but you can sprinkle a pinch of sea salt on top before chilling for a sophisticated salty contrast. Or, drizzle some white chocolate over for a pretty finish that adds a delicate sweetness.
Side Dishes
Pair these crunchy bars with a glass of cold milk for a classic snack combo. Alternatively, serve alongside fresh berries or a dollop of whipped cream to elevate them into a fun dessert experience.
Creative Ways to Present
For parties, arrange the bars on a decorative platter layered with parchment paper. Wrap individual bars in wax paper tied with colorful string to make sweet, homemade gifts. You can also cut them into bite-sized pieces for a snack tray that keeps guests coming back for more.
Make Ahead and Storage
Storing Leftovers
Store any leftover Homemade Chocolate Peanut Butter Rice Krispies Crunch Bars Recipe in an airtight container at room temperature for up to a week. Keep them in a cool, dry place to maintain their perfect crunch and flavor.
Freezing
If you want to keep these bars longer, store them in a freezer-safe container with layers separated by parchment paper. Frozen, they hold wonderfully for up to 2 months — just thaw at room temperature before serving.
Reheating
Since these bars are best enjoyed chilled or at room temperature, reheating isn’t necessary. If you prefer a little melty warmth, a few seconds in the microwave can soften them slightly, but be careful not to lose the crunch!
FAQs
Can I use a different cereal instead of Rice Krispies?
Definitely! While crispy rice cereal gives the classic texture, you can experiment with other puffed cereals like corn puffs or even gluten-free options. Just keep in mind the texture difference will affect the final crunch and bar consistency.
Is the peanut butter necessary?
Not at all! The peanut butter adds a lovely depth and richness, but you can skip it if you prefer a purely chocolate version or have a peanut allergy. The bars will still be wonderfully delicious.
How can I make these bars less sweet?
To reduce sweetness, try using bittersweet chocolate or reduce the amount of milk chocolate chips. Adding a sprinkle of sea salt on top can also balance the sweetness beautifully.
Can I add mix-ins like nuts or dried fruit?
Absolutely! Chopped nuts, mini marshmallows, or dried cranberries make great additions to customize your bars. Just fold them in with the cereal before pressing into the pan.
What’s the best way to cut these bars cleanly?
Use a sharp knife and wipe it clean between cuts to create neat squares. For easier slicing, you can warm the knife slightly under hot water and dry it before cutting.
Final Thoughts
This Homemade Chocolate Peanut Butter Rice Krispies Crunch Bars Recipe is one of those rare treats that’s unbelievably simple to make yet irresistibly delicious. Whether you’re seeking the perfect after-school snack, a quick dessert, or a fun baking project with loved ones, these bars deliver on all fronts. Trust me, once you try this recipe, you’ll find yourself coming back to it again and again — it’s truly a crowd-pleaser that feels like a warm hug in every bite.
Print
Homemade Chocolate Peanut Butter Rice Krispies Crunch Bars Recipe
- Prep Time: 10 minutes
- Cook Time: 10 minutes
- Total Time: 1 hour 20 minutes
- Yield: 12 servings
- Category: Dessert
- Method: Stovetop
- Cuisine: American
- Diet: Vegetarian
Description
These Homemade Crunch Bars are a delightful treat combining crispy rice cereal with rich melted chocolate and optional peanut butter for added creaminess. Easy to make and perfect as a snack or dessert, they set quickly in the refrigerator and make a great sweet bite for any occasion.
Ingredients
Main Ingredients
- 4 cups crispy rice cereal (such as Rice Krispies)
- 2 cups semisweet chocolate chips
- 1 cup milk chocolate chips
- 1/4 cup unsalted butter
- 1/4 cup peanut butter (optional for added richness)
- 1 teaspoon vanilla extract (optional for added flavor)
Instructions
- Prepare the Pan: Line an 8×8-inch or 9×9-inch baking pan with parchment paper or lightly grease it to prevent sticking.
- Measure Cereal: In a large mixing bowl, pour the crispy rice cereal and set aside, ready to combine with the chocolate mixture.
- Melt Chocolate and Butter: In a medium saucepan over low heat, melt the unsalted butter along with the semisweet and milk chocolate chips. Stir occasionally until the mixture is smooth and fully melted, ensuring the chocolate does not burn.
- Add Peanut Butter and Vanilla: If using, stir in the peanut butter and vanilla extract into the melted chocolate mixture until well combined and smooth.
- Combine with Cereal: Pour the melted chocolate mixture over the crispy rice cereal. Gently fold the mixture until all the cereal pieces are evenly coated with the chocolate blend.
- Press into Pan: Transfer the coated cereal mixture into the prepared baking pan. Press down firmly and evenly to compact the mixture for firm bars.
- Chill to Set: Refrigerate the pan for at least 1 hour to allow the bars to set completely and become firm.
- Cut and Serve: Once the bars are set, lift them out of the pan using the parchment paper, cut into squares or rectangles, and serve immediately.
- Enjoy: These homemade crunch bars make a perfect sweet snack or dessert for all ages.
Notes
- For a nut-free version, omit the peanut butter.
- Press the mixture firmly into the pan to ensure bars hold together well.
- If the chocolate mixture thickens before combining, gently warm it again over low heat.
- Store the crunch bars in an airtight container in the refrigerator for up to one week.
- Adding vanilla extract enhances flavor but is optional.


