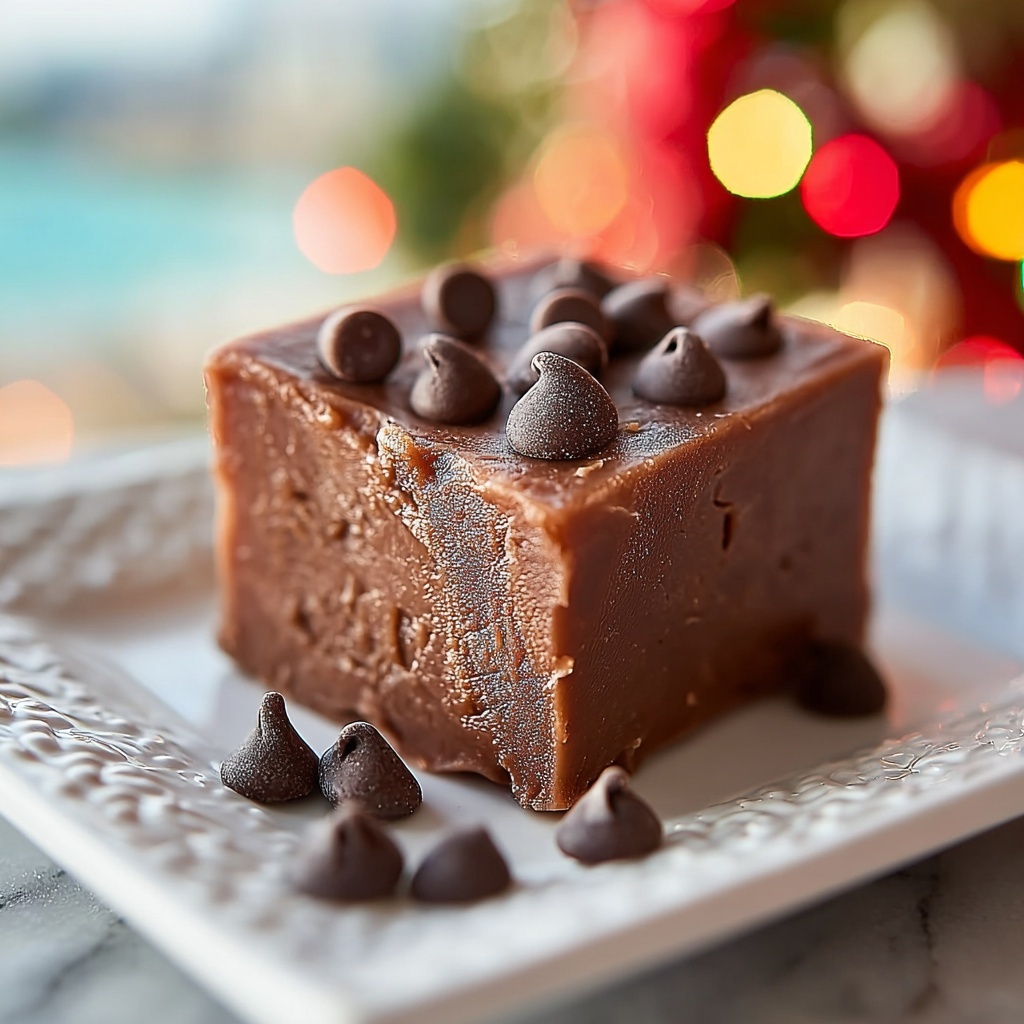
If you’re looking for the ultimate sweet treat to warm your heart and tickle your taste buds, look no further than Mom’s Classic Fudge Recipe. This cherished family favorite combines rich cocoa with a buttery, creamy texture that melts in your mouth, capturing the nostalgic flavors of homemade fudge you remember from childhood. Perfectly sweet and decadently smooth, this fudge is a celebration of simple ingredients coming together to create magic in every bite.
Ingredients You’ll Need
Believe it or not, this recipe relies on a handful of humble ingredients, each playing a vital role in the fudge’s beloved flavor and texture. From the deep richness of cocoa powder to the buttery smoothness of real butter, every component is essential.
- 3 cups granulated sugar: The backbone of sweetness that ensures every piece hits the perfect level of sugary delight.
- 2/3 cup unsweetened cocoa powder: This provides the intense chocolate flavor that defines the fudge’s character.
- 1/8 teaspoon salt: A pinch that enhances all the other flavors, balancing the sweetness beautifully.
- 1 1/2 cups whole milk: Adds creaminess and helps achieve that signature silky texture.
- 1/4 cup unsalted butter: Brings richness and a luscious, melt-in-your-mouth finish.
- 1 teaspoon vanilla extract: A subtle warmth and aromatic lift that rounds out the flavor profile perfectly.
How to Make Mom’s Classic Fudge Recipe
Step 1: Mix the Dry Ingredients
Start by combining the sugar, cocoa powder, and salt in a heavy saucepan. Stir them together until they are well blended. This step ensures that the cocoa spreads evenly, so every bite delivers consistent chocolatey goodness.
Step 2: Add Milk and Heat
Pour in the whole milk and stir gently to combine. Place the pan over medium heat and bring the mixture to a rolling boil. This is where the fudge begins its transformation, as the milk and sugar create a luscious base for the final product.
Step 3: Boil to Soft Ball Stage
Once boiling, stop stirring and allow the mixture to continue boiling until it reaches 234°F, also known as the soft ball stage. This precise temperature is key to achieving that classic fudge texture—soft but firm enough to hold shape.
Step 4: Add Butter and Vanilla, Cool
Remove the pan from heat and immediately stir in the butter and vanilla extract. Next, let the mixture cool undisturbed to about 110°F. Patience here is important; letting it rest sets the stage for the fudge’s creamy consistency.
Step 5: Beat Until Thickened
Using a wooden spoon, beat the cooled mixture vigorously. As you stir, the fudge will thicken and lose its glossy sheen, about 7 to 10 minutes. This is the fun, hands-on part where the magic of turning gooey goodness into fudge happens.
Step 6: Pour and Set
Pour your thickened fudge into a buttered 8×8-inch pan and spread it evenly. Allow it to set completely before cutting it into 36 perfect squares. This final step rewards your effort with mouthwatering fudge squares that are ready to be enjoyed by all.
How to Serve Mom’s Classic Fudge Recipe
Garnishes
While the fudge alone is spectacular, sprinkling a pinch of sea salt on top just before it sets can add an exciting contrast that enhances the chocolate flavor. For a festive touch, consider sprinkling chopped nuts or a light dusting of powdered sugar for visual appeal and texture.
Side Dishes
This rich fudge pairs fantastically with simple accompaniments like a scoop of vanilla ice cream or fresh berries. These sides balance out the fudge’s sweetness and offer a refreshing counterpoint that keeps your palate interested through several delightful bites.
Creative Ways to Present
For gift-giving or holiday treats, wrap individual fudge squares in colorful parchment or cellophane tied with a ribbon. You can also layer fudge squares with alternating flavors—like mint or peanut butter—to create a beautiful and delicious dessert platter that’s bound to impress.
Make Ahead and Storage
Storing Leftovers
You can store leftover fudge comfortably in an airtight container at room temperature for up to one week. Keeping it sealed protects the fudge’s moisture and prevents it from drying out, ensuring every piece stays as luscious as the day you made it.
Freezing
If you want to keep fudge longer, freezing is your friend. Wrap each piece tightly in plastic wrap and place them in a freezer-safe container or bag. Fudge freezes beautifully for up to three months without losing its flavor or texture.
Reheating
Fudge is best enjoyed cold or at room temperature, but if you prefer it a touch softer, let it thaw at room temperature for about 15 minutes. Avoid microwaving, as the delicate texture can change and lose its classic creaminess.
FAQs
Can I use milk chocolate instead of cocoa powder?
While you could, using unsweetened cocoa powder ensures you control the sweetness and get that deep, intense chocolate flavor that defines Mom’s Classic Fudge Recipe. Milk chocolate would make it sweeter and less rich.
Why is the temperature important when boiling the fudge?
Reaching the soft ball stage at 234°F is crucial because it dictates how the fudge sets—too low and it will be too soft and sticky; too high and it can be hard and crumbly. A candy thermometer is your best friend here.
Can I substitute butter with margarine or another fat?
Butter adds essential richness and flavor, so while you can substitute margarine, it might affect the taste and texture. Unsalted butter is highly recommended for the best results.
How long does it take for the fudge to set completely?
Once poured into the pan, it typically takes around 2 to 3 hours at room temperature for the fudge to fully set and be ready to cut into perfect squares.
Can I add nuts or other mix-ins to Mom’s Classic Fudge Recipe?
Absolutely! Chopped walnuts, pecans, or even mini marshmallows can be folded into the fudge right after beating, just before pouring it into the pan. This personalizes the fudge while keeping the beloved classic base intact.
Final Thoughts
There’s something truly comforting about making Mom’s Classic Fudge Recipe. It’s more than just dessert—it’s a sweet connection to family memories and joyful gatherings. I can’t wait for you to try it yourself and share this timeless recipe that never fails to bring smiles and satisfy chocolate cravings with every bite.
Print
Mom’s Classic Fudge Recipe
- Prep Time: 5 minutes
- Cook Time: 30 minutes
- Total Time: 35 minutes
- Yield: 36 servings
- Category: Dessert
- Method: Stovetop
- Cuisine: American
Description
Classic homemade Mom’s Fudge is a rich, creamy treat made with simple ingredients like sugar, cocoa, milk, butter, and vanilla. This timeless recipe produces smooth, melt-in-your-mouth fudge with a perfect balance of chocolatey sweetness and creamy texture. Perfect for holidays or anytime you want a nostalgic, delightful dessert.
Ingredients
Fudge Ingredients
- 3 cups granulated sugar
- 2/3 cup unsweetened cocoa powder
- 1/8 teaspoon salt
- 1 1/2 cups whole milk
- 1/4 cup unsalted butter
- 1 teaspoon vanilla extract
Instructions
- Combine Dry Ingredients: In a heavy saucepan, combine the granulated sugar, unsweetened cocoa powder, and salt. Stir thoroughly until all dry ingredients are well blended.
- Add Milk and Heat: Pour in the whole milk and stir to combine. Heat the mixture over medium heat, stirring occasionally, until it reaches a rolling boil.
- Boil to Soft Ball Stage: Stop stirring and allow the mixture to boil undisturbed until it reaches 234°F (soft ball stage) on a candy thermometer.
- Add Butter and Vanilla: Remove the pan from heat, then stir in the unsalted butter and vanilla extract. Let the mixture sit without stirring until it cools down to 110°F.
- Beat the Mixture: Using a wooden spoon, beat the fudge mixture vigorously until it thickens and loses its glossy appearance, approximately 7–10 minutes.
- Set the Fudge: Pour the thickened fudge into a buttered 8×8-inch pan. Spread it evenly and let it set at room temperature. Once firm, cut into 36 squares and enjoy.
Notes
- Using a heavy saucepan helps to evenly distribute heat and prevent burning.
- A candy thermometer is essential for accuracy to achieve the correct fudge consistency.
- Do not stir the mixture while it is boiling to ensure proper texture.
- Letting the fudge cool to 110°F before beating is crucial to forming the right crystal structure for smoothness.
- Beat by hand with a wooden spoon for best texture; electric mixers can overwork the fudge.
- Store fudge in an airtight container at room temperature for up to 2 weeks.


