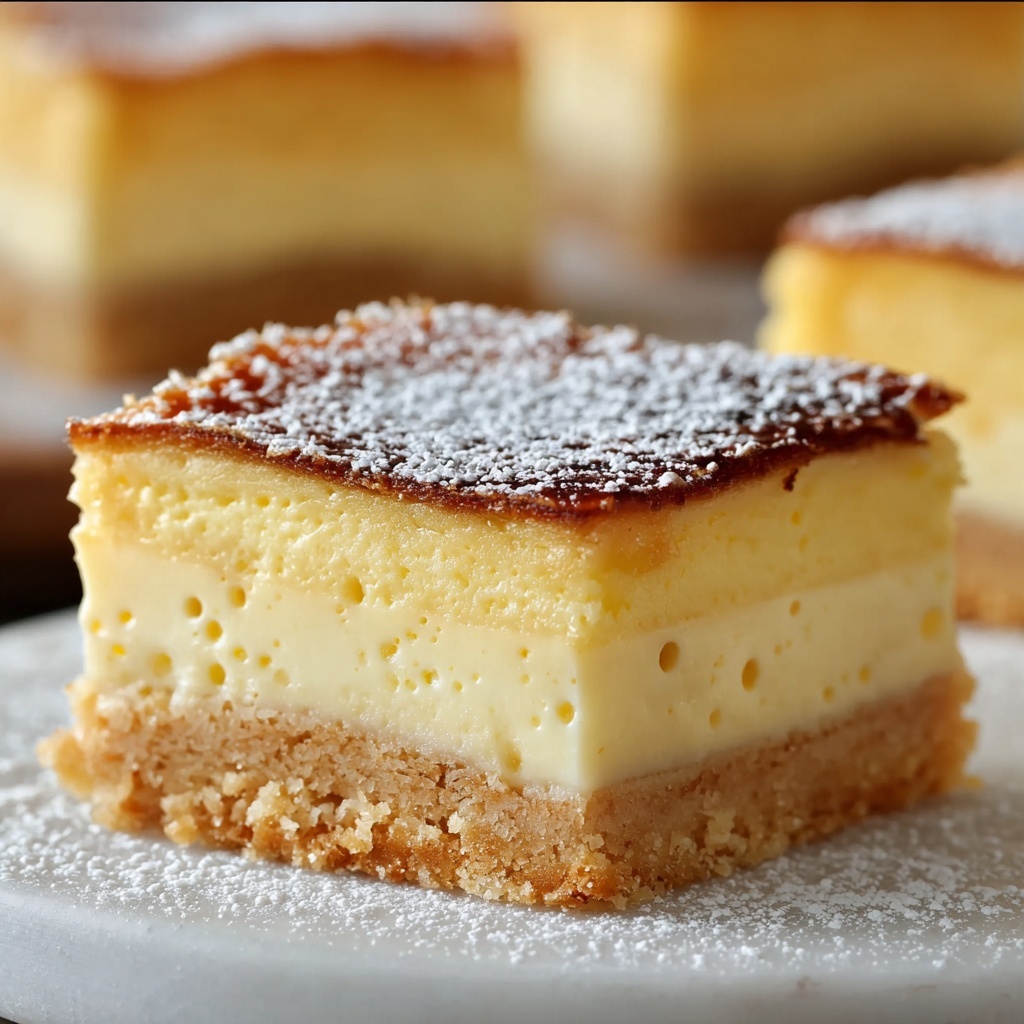
If you are craving a dessert that is creamy, dreamy, and delightfully simple, the No-Bake Custard Slice Recipe is your new best friend. This chilled treat combines layers of crisp biscuits with luscious homemade custard to create a slice that melts in your mouth without ever needing to fire up the oven. Perfect for those warm days when baking feels like a chore, this recipe brings classic comfort with minimal fuss and maximum flavor.
Ingredients You’ll Need
The magic of the No-Bake Custard Slice Recipe comes from a handful of straightforward ingredients that work beautifully together to create irresistible layers of smooth custard and crunchy biscuit. Each component has a special role in the texture, taste, or look of the final slice, proving that great things come in simple packages.
- Plain graham crackers or digestive biscuits: Provide the crisp, sturdy base and layers that balance the creamy custard perfectly.
- Milk: The foundation for the custard, giving it richness and creaminess.
- Sugar: Sweetens the custard to a just-right level, enhancing the flavor without overpowering it.
- Cornstarch: The thickening agent that turns the milk and egg mixture into a velvety custard.
- Vanilla extract: Adds a warm, aromatic note that elevates every bite of the custard.
- Egg yolks: Essential for that smooth, silky custard texture.
- Butter: Adds a luxurious mouthfeel and richness to the custard.
- Powdered sugar: Used in the icing to add sweetness and a delicate finish.
- Milk (for icing): Helps create a smooth, spreadable icing consistency.
How to Make No-Bake Custard Slice Recipe
Step 1: Prepare Your Base
Line your square pan with parchment paper, this is the first step to making sure your custard slice releases easily once chilled. Next, arrange a layer of your chosen biscuits evenly across the bottom, creating a crisp, absorbent base that will soak up some of the rich custard flavor.
Step 2: Whisk the Custard Mixture
Combine the milk, sugar, and cornstarch in a saucepan and whisk until smooth. Heating this mixture slowly while stirring constantly prevents lumps and sets the stage for creamy custard perfection.
Step 3: Add Egg Yolks
When your milk mixture is hot, gradually whisk in the egg yolks. This step thickens the custard with a rich texture. Keep stirring until the custard thickens, which usually takes about 5 to 7 minutes of careful attention.
Step 4: Enrich and Flavor
Once the custard has thickened, remove the pan from the heat and stir in the butter and vanilla extract. These finishers add velvety smoothness and that warm vanilla scent that defines this dessert’s character.
Step 5: Layer the Custard and Biscuits
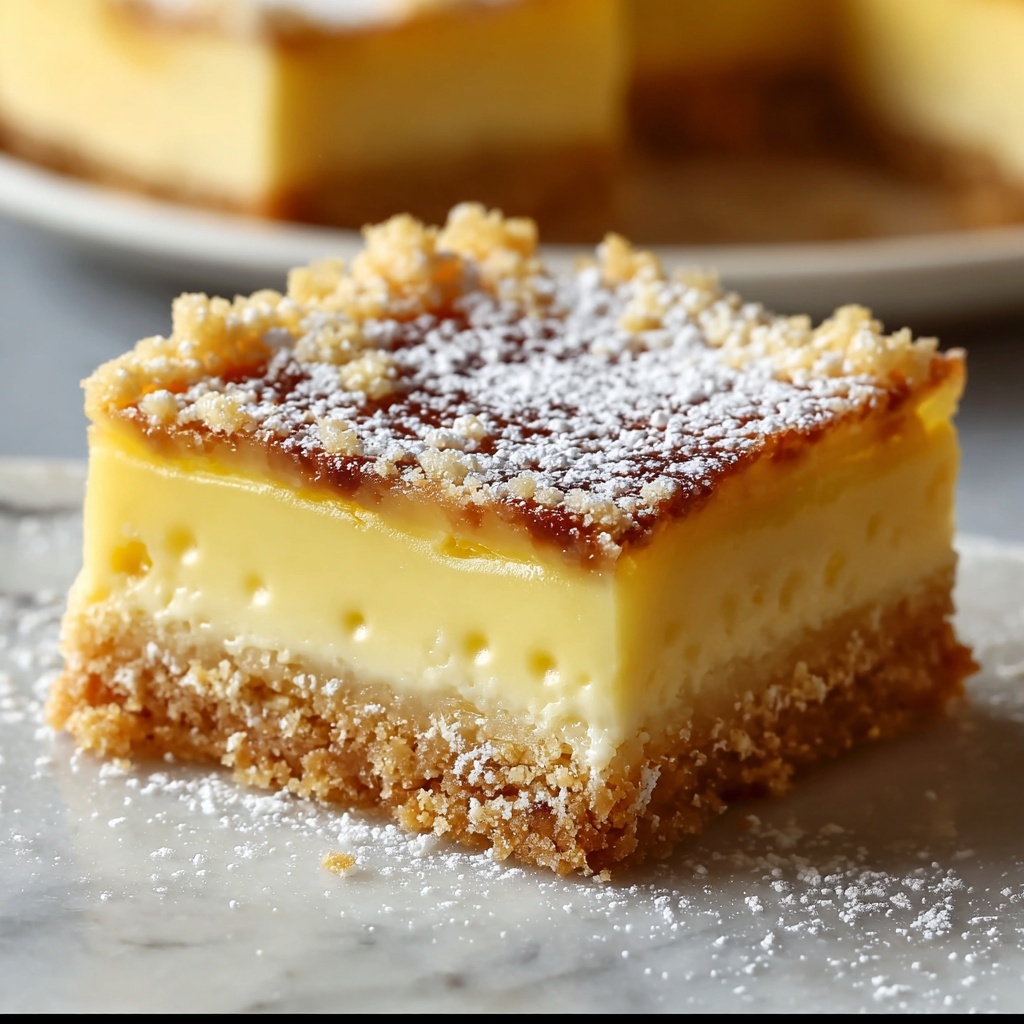
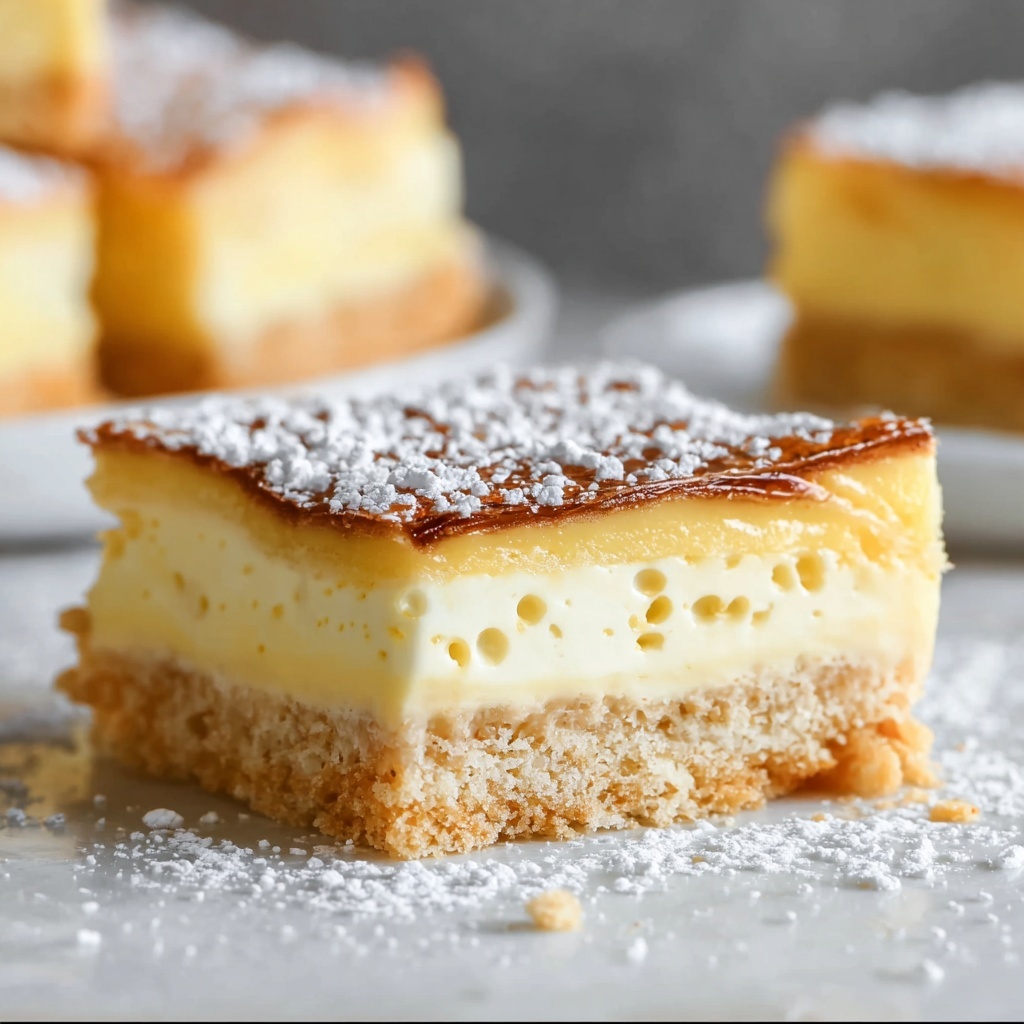
Pour half the custard over your biscuit base, then add another biscuit layer on top. Pour the remaining custard to form a luscious middle layer, and top with a final biscuit layer. These alternating layers are what make the slice both visually striking and satisfyingly textured.
Step 6: Prepare and Spread the Icing
Make the icing by mixing powdered sugar, milk, and vanilla until smooth. Spread this glossy topping evenly over the final biscuit layer for a sweet, beautiful finish that sets in the fridge.
Step 7: Chill and Set
Chill your custard slice in the refrigerator for at least 4 hours, though overnight chilling is ideal. This allows the slices to set firmly and the flavors to meld together into one unforgettable treat.
How to Serve No-Bake Custard Slice Recipe
Garnishes
Sprinkle a light dusting of cocoa powder or finely grated chocolate over the icing to add a bit of contrast and elegance. Fresh berries or mint leaves can also brighten the presentation and amplify the fresh, sweet flavors.
Side Dishes
A scoop of vanilla ice cream or a dollop of whipped cream pairs beautifully with the custard slice, adding a creamy contrast and extra indulgence. For a refreshing twist, consider serving with a tangy berry compote to cut through the richness.
Creative Ways to Present
Cut the slice into bite-sized squares for a party platter or serve it layered in clear glass cups for a stunning individual dessert. You can even alternate biscuit flavors for the layers to add visual and textural fun to this timeless recipe.
Make Ahead and Storage
Storing Leftovers
Keep your leftover custard slice in an airtight container in the refrigerator. It will stay fresh and delicious for up to 3 days, allowing you to enjoy this treat even after the initial indulgence.
Freezing
This recipe freezes well, just wrap each portion individually in plastic wrap and then place in a freezer-safe container. For best flavor and texture, consume within one month. Thaw in the fridge overnight before serving.
Reheating
Since this is a chilled dessert, it is best served cold. Avoid reheating to maintain the texture of the custard and the crispness of the biscuits.
FAQs
Can I use different biscuits in the No-Bake Custard Slice Recipe?
Absolutely! While graham crackers and digestive biscuits are traditional, you can experiment with vanilla wafers or even thin butter cookies. Just ensure they are sturdy enough to hold the custard layers without sogging too much.
Is it possible to make this recipe without eggs?
The eggs provide that classic custard texture, but you could try substituting with a custard powder or vegan thickener. The flavor and texture might differ slightly, but the slice will still be delicious.
How long does it take for the No-Bake Custard Slice Recipe to set?
For the best results, chill the slice for at least 4 hours, though overnight is preferred. This allows the custard to firm up and the flavors to develop fully.
Can this recipe be made gluten-free?
Yes! Simply swap the biscuits for a gluten-free variety. Many gluten-free crackers or cookies will work well as long as they’re not too crumbly or soft.
What’s the best way to cut neat slices?
Use a sharp knife that has been warmed slightly under hot water and wiped dry before cutting. This will help you get clean edges without dragging the custard or cracking the biscuits.
Final Thoughts
The No-Bake Custard Slice Recipe is a wonderful go-to dessert for any occasion, especially when you want something impressive without the fuss of baking. Its creamy custard layers, crunchy biscuits, and sweet icing come together like a comforting hug on a plate. I encourage you to try this recipe and discover how easy and satisfying homemade custard slices can be!
Print
No-Bake Custard Slice Recipe
- Prep Time: 20 minutes
- Cook Time: 10 minutes
- Total Time: 4 hours 30 minutes
- Yield: 9 servings
- Category: Dessert
- Method: Stovetop
- Cuisine: Western
Description
No-Bake Custard Slice is a creamy, layered dessert made with a smooth homemade custard, crunchy biscuit layers, and a sweet vanilla icing topping. This easy-to-make treat requires no oven baking, making it perfect for warm days or those looking for a fuss-free dessert with delicious custard flavor.
Ingredients
Biscuit Layers
- 2 packs plain graham crackers or digestive biscuits (or vanilla wafers)
Custard
- 4 cups milk
- 1/2 cup sugar
- 1/3 cup cornstarch
- 2 tsp vanilla extract
- 3 egg yolks
- 2 tbsp butter
Icing
- 1 cup powdered sugar
- 1–2 tbsp milk
- 1/2 tsp vanilla extract
Instructions
- Prepare the pan: Line an 8×8 or 9×9 square pan with parchment paper to prevent sticking and make it easier to remove the slice once chilled.
- Layer the biscuits: Arrange a layer of plain graham crackers, digestive biscuits, or vanilla wafers evenly to cover the bottom of the pan completely.
- Mix custard base: In a medium saucepan, whisk together the milk, sugar, and cornstarch until the mixture is smooth and free of lumps.
- Heat custard mixture: Place the saucepan over medium heat, stirring constantly to prevent lumps. When the mixture is hot, slowly whisk in the egg yolks to combine thoroughly.
- Thicken custard: Continue stirring over medium heat until the custard thickens, which should take about 5 to 7 minutes. Make sure it doesn’t boil to avoid curdling.
- Finish custard: Remove the saucepan from the heat, then stir in the butter and vanilla extract until smooth and fully incorporated.
- First custard layer: Pour half of the freshly made custard evenly over the biscuit layer, spreading carefully with a spatula if needed.
- Add second biscuit layer: Place another layer of biscuits on top of the custard, covering it evenly.
- Second custard layer: Pour the remaining custard over the second biscuit layer, spreading it smoothly.
- Final biscuit layer: Finish with a final layer of biscuits to top the slice.
- Prepare icing: In a small bowl, mix the powdered sugar, milk (start with 1 tbsp and add more if needed), and vanilla extract until smooth and spreadable.
- Top the slice: Evenly spread the vanilla icing over the top biscuit layer with a spatula or knife.
- Chill: Place the slice in the refrigerator and chill for at least 4 hours, preferably overnight, to allow the custard to set and flavors to meld.
- Serve: Slice into squares with a sharp knife and serve chilled for the best texture and taste.
Notes
- Use parchment paper for easy removal of the slice from the pan.
- Make sure to whisk constantly when heating the custard to prevent lumps and curdling.
- The chilling time is essential for the custard to set properly; overnight chilling yields the best results.
- You can substitute biscuits with vanilla wafers for a sweeter, vanilla-forward flavor.
- If your icing is too thick, add milk a few drops at a time until desired spreadability is reached.


