
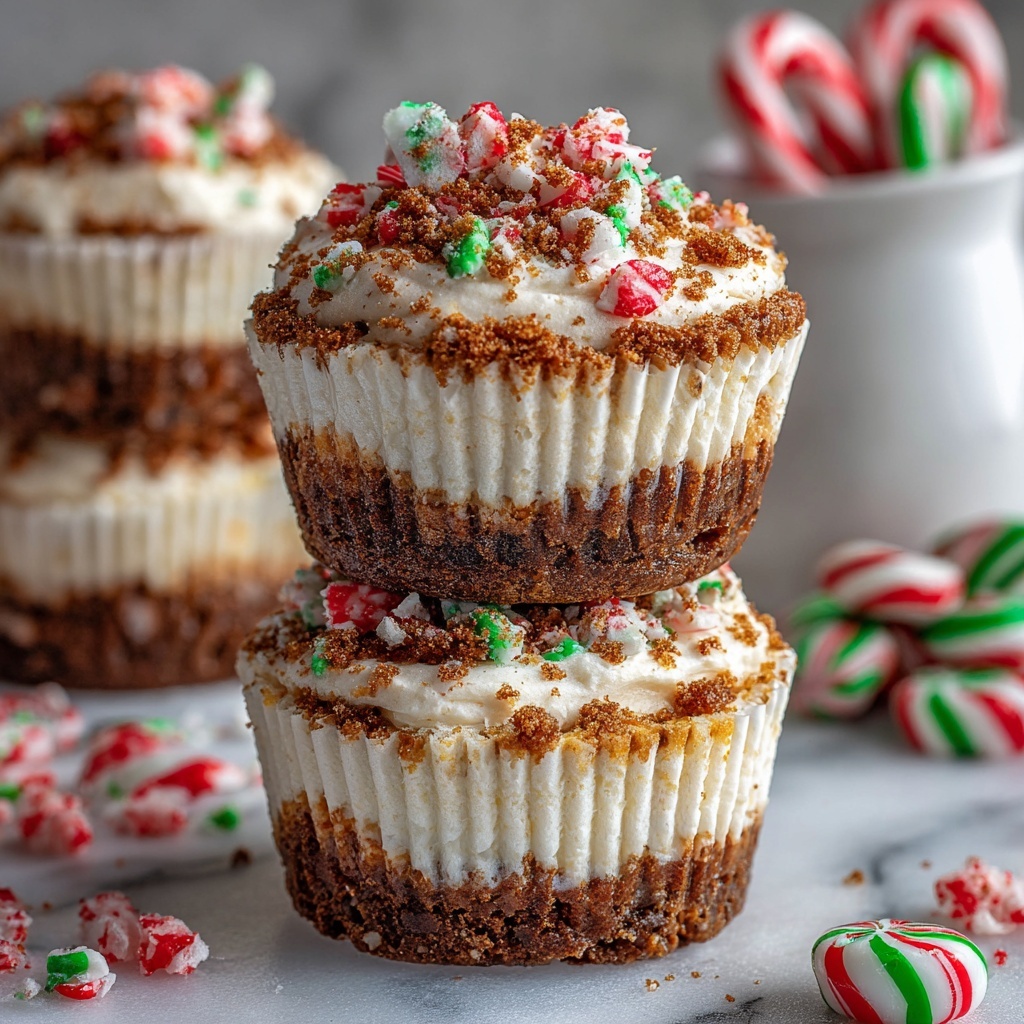
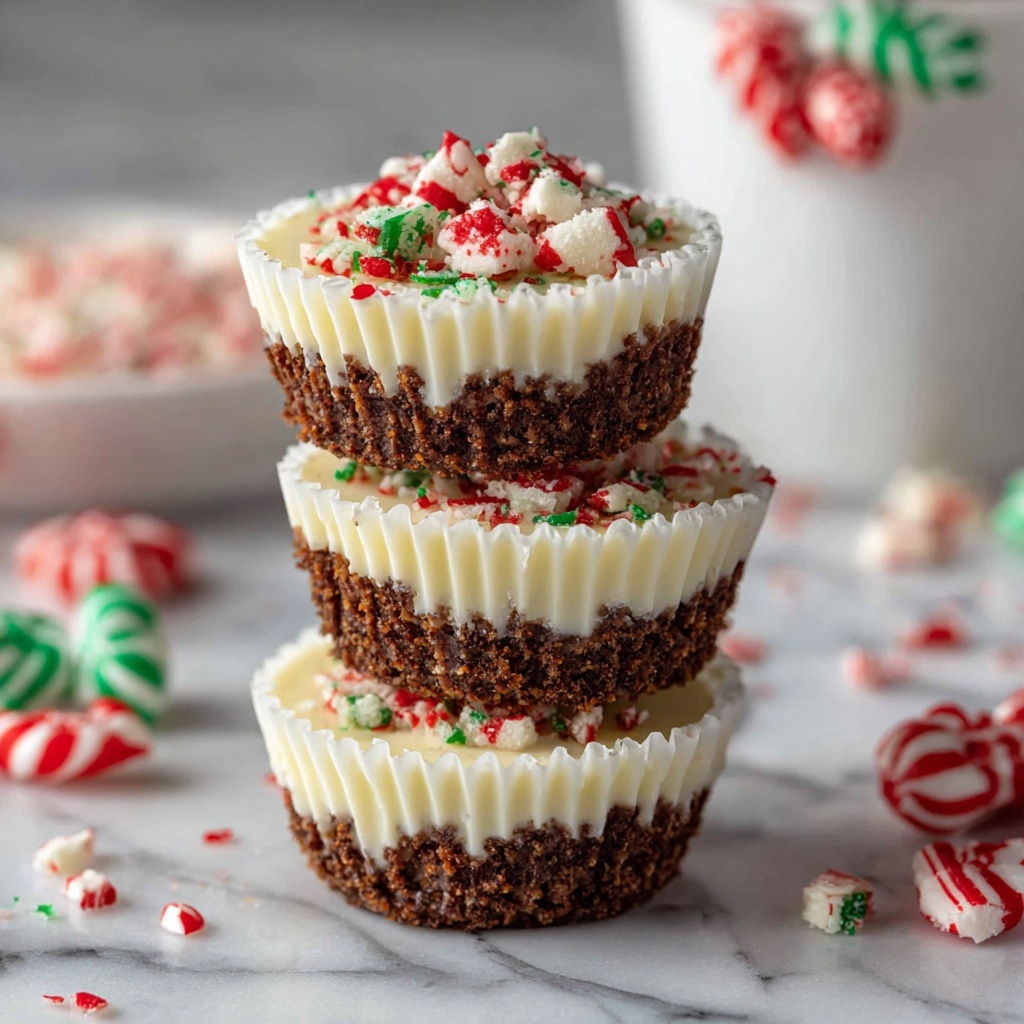
If you are on the hunt for a delightful holiday treat that combines creamy cheesecake with refreshing peppermint, look no further than this No-Bake Peppermint Cheesecake Bites Recipe. These little bites pack all the festive flavors you love, wrapped up in a crunchy graham cracker crust and topped with crushed peppermint candies for that perfect wintery finish. They are incredibly easy to make, requiring no oven time, yet delivering a luscious texture and charming presentation that will wow guests at any gathering or simply brighten your snack table. Let me walk you through creating these melt-in-your-mouth delights that balance sweetness and cool mint with every bite.
Ingredients You’ll Need
You only need a handful of simple but essential ingredients to bring this No-Bake Peppermint Cheesecake Bites Recipe to life. Each one plays a crucial role in the flavor, texture, or festive look of the final treat.
- Cream cheese (8 ounces, softened): The rich and creamy base that gives the cheesecake its signature smooth texture.
- Powdered sugar (1/2 cup): Adds sweetness and blends perfectly with the cream cheese for a velvety filling.
- Peppermint extract (1/2 teaspoon): Delivers that refreshing, cool peppermint flavor that defines these bites.
- Vanilla extract (1/2 teaspoon): Enhances the overall flavor with warm, sweet undertones.
- Heavy whipping cream (1 cup): Whipped to stiff peaks, it lightens the filling for a fluffy, airy bite.
- Crushed peppermint candies or candy canes (1/2 cup): Adds crunch and paints the cheesecake with festive red and white speckles.
- Graham cracker crumbs (1 cup): Forms the base of the crust, providing a buttery, slightly sweet crunch.
- Unsalted butter (3 tablespoons, melted): Binds the crust crumbs together for a sturdy base in each bite.
- Additional crushed peppermint (optional): For a final colorful and festive garnish on top of each cheesecake bite.
How to Make No-Bake Peppermint Cheesecake Bites Recipe
Step 1: Prepare the Crust
Start by mixing the graham cracker crumbs and melted butter in a medium bowl until the mixture resembles wet sand. This combination forms the delicious crunchy foundation for your cheesecake bites. Press about one tablespoon of this mixture into the bottom of mini cupcake liners or silicone molds. Don’t worry if some crumbs seem loose—they’ll firm up in the fridge. Set the crusts aside or pop them in the refrigerator to chill while you whip up the creamy filling.
Step 2: Make the Cheesecake Filling
In a large bowl, beat the softened cream cheese with powdered sugar, peppermint extract, and vanilla extract until completely smooth and fluffy. This step is crucial for that perfectly creamy, melt-in-your-mouth texture you crave. Meanwhile, in a separate bowl, whip the heavy cream until stiff peaks form. This airy cream will lighten the filling beautifully. Gently fold the whipped cream into the cream cheese mixture to maintain the light texture. Finally, fold in the crushed peppermint candies—these add delightful bursts of minty crunch throughout every bite.
Step 3: Assemble and Chill
Spoon or pipe the cheesecake filling over each prepared crust, smoothing the tops with a spatula or the back of a spoon for an elegant finish. Don’t be shy about filling them generously—these bites are meant to be indulgent! Place the tray in the refrigerator and chill for at least two hours, or until the cheesecake bites are firm enough to hold their shape when you pop them out of the liners or molds.
How to Serve No-Bake Peppermint Cheesecake Bites Recipe
Garnishes
Before serving, sprinkle additional crushed peppermint candies on top for an extra pop of color and festive crunch. You can also add a small drizzle of melted white chocolate or a tiny fresh mint leaf to each bite for an elegant touch that elevates presentation without extra fuss.
Side Dishes
These peppermint cheesecake bites shine on their own or paired with complementary flavors. Consider serving alongside a steaming cup of hot cocoa, a peppermint mocha, or even a simple coffee. If you want a little variety, fresh berries or a dollop of whipped cream make excellent companions.
Creative Ways to Present
For parties or gifting, arrange the bites on a festive platter lined with holly or evergreen sprigs. You can also package them in pretty mini boxes or treat bags with ribbons tied around each. Using clear silicone molds will create fun shapes, adding whimsy and extra holiday cheer to your presentation.
Make Ahead and Storage
Storing Leftovers
Once made, these No-Bake Peppermint Cheesecake Bites Recipe keep beautifully in the refrigerator for up to four days. Store them in an airtight container to maintain moisture and prevent them from absorbing other fridge odors. They’re perfect for making ahead of a party or holiday celebration.
Freezing
If you want to extend their shelf life, freeze the bites in a single layer on a baking sheet, then transfer them to an airtight container or freezer bag. They freeze amazingly well for up to one month. When ready to enjoy, allow them to thaw in the refrigerator for about 30 minutes—this keeps their texture creamy and luscious.
Reheating
Since these cheesecake bites are served cold, no reheating is necessary. Just ensure you allow them to come to appropriate chilling temperature after thawing or storage, and they’re good to go.
FAQs
Can I substitute the peppermint extract with something else?
Definitely! If peppermint isn’t your thing, you can swap in vanilla extract or almond extract for a different but still delicious flavor twist. However, peppermint really adds that signature holiday vibe to this recipe.
Is it possible to use a different crust instead of graham crackers?
Yes, crushed digestive biscuits or vanilla wafers work great as an alternative crust. Just ensure to mix them with melted butter in the same ratio to get that sturdy, buttery base.
Can I make these cheesecake bites vegan?
While this recipe uses cream cheese and heavy cream, you can experiment with vegan cream cheese and coconut cream. Keep in mind texture might vary slightly, but it can still be a festive and tasty vegan-friendly option.
How long do these cheesecake bites last on the counter?
Because these contain dairy, it’s best to keep them refrigerated and not leave them out at room temperature for more than two hours to avoid spoilage.
What’s the best way to crush peppermint candies?
Place the candies or candy canes in a sealed plastic bag and gently crush them with a rolling pin or the bottom of a heavy pan. This method prevents mess and ensures you get pieces small enough to fold into the filling.
Final Thoughts
There is something so special about sharing a homemade treat that feels festive and indulgent yet easy to make. This No-Bake Peppermint Cheesecake Bites Recipe truly brings that magic to your holiday table. With its creamy texture, minty brightness, and delightful crunch, these bites are bound to become a beloved tradition for you and your loved ones. So grab your ingredients, have some fun creating, and enjoy the sweet celebration in every creamy, pepperminty bite!
Print
No-Bake Peppermint Cheesecake Bites Recipe
- Prep Time: 20 minutes
- Cook Time: 0 minutes
- Total Time: 2 hours 20 minutes
- Yield: 18–20 mini bites
- Category: Dessert
- Method: No-Cook
- Cuisine: American
- Diet: Vegetarian
Description
These No-Bake Peppermint Cheesecake Bites are a festive and creamy holiday treat. Featuring a graham cracker crust and a fluffy peppermint-infused cream cheese filling, they are easy to prepare and perfect for parties or gift-giving. Chilled until firm, these mini cheesecakes combine refreshing peppermint flavor with a smooth texture, topped optionally with crushed peppermint candies for added crunch.
Ingredients
Crust
- 1 cup graham cracker crumbs
- 3 tablespoons unsalted butter, melted
Filling
- 8 ounces cream cheese, softened
- 1/2 cup powdered sugar
- 1/2 teaspoon peppermint extract
- 1/2 teaspoon vanilla extract
- 1 cup heavy whipping cream
- 1/2 cup crushed peppermint candies or candy canes
Topping (Optional)
- Additional crushed peppermint candies
Instructions
- Prepare Crust: In a medium bowl, combine graham cracker crumbs and melted butter thoroughly. Press approximately one tablespoon of this mixture into the bottom of mini cupcake liners or silicone molds to form an even base. Set aside or place in the refrigerator to chill while you prepare the filling.
- Mix Cream Cheese Base: In a large bowl, beat the softened cream cheese with powdered sugar, peppermint extract, and vanilla extract until the mixture is smooth and fluffy, ensuring no lumps remain.
- Whip Cream: In a separate bowl, whip the heavy whipping cream until stiff peaks form. This provides the light and airy texture for the cheesecake filling.
- Combine Filling: Gently fold the whipped cream into the cream cheese mixture until fully incorporated, maintaining a light texture. Next, fold in the crushed peppermint candies evenly throughout the filling.
- Fill and Chill: Spoon or pipe the filling over the prepared graham cracker crusts, smoothing the tops for a neat presentation. Place the assembled bites in the refrigerator and chill for at least two hours or until firm.
- Serve: Before serving, optionally sprinkle each bite with additional crushed peppermint candies for an extra festive touch.
Notes
- For easier removal of the cheesecake bites, use silicone molds or mini muffin liners.
- You can freeze these cheesecake bites for up to one month. Allow them to thaw slightly before serving for the best texture.
- Add a drop of pink or red food coloring to the filling for a festive and colorful appearance.


