
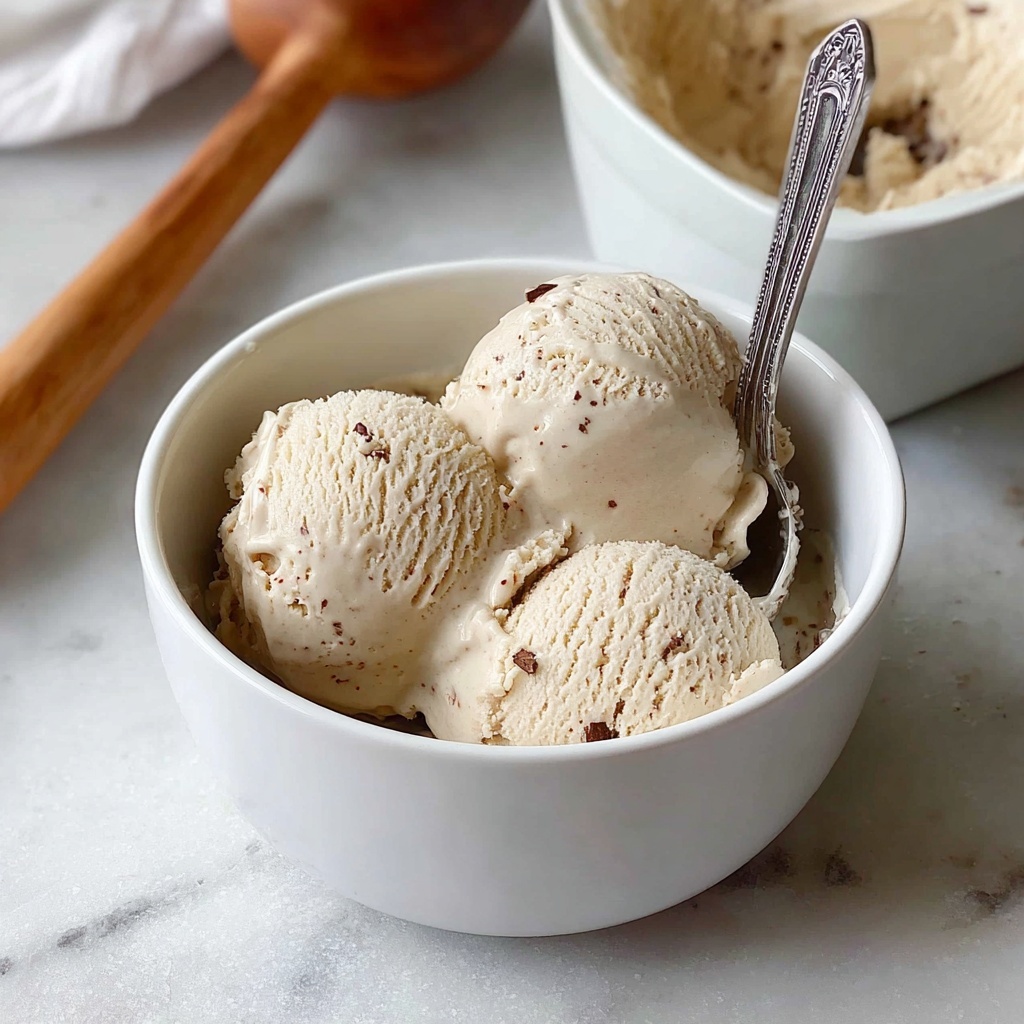
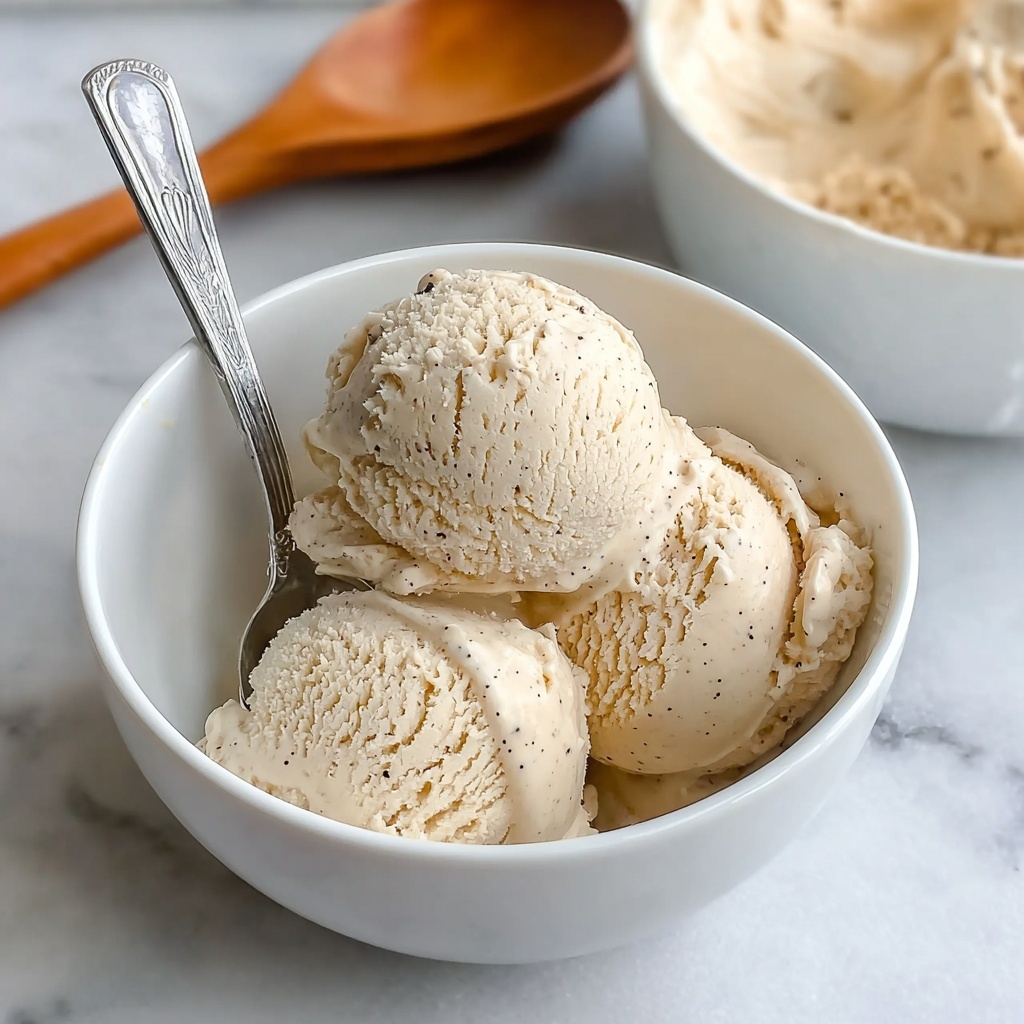
If you’ve been dreaming of a creamy, dreamy dessert that’s completely plant-based and delightfully simple, this Vanilla Vegan Ice Cream Recipe is your new best friend. Made with just a handful of wholesome ingredients like coconut milk and pure vanilla extract, it captures that classic vanilla flavor we all crave without a hint of dairy. Whether you’re vegan, lactose-intolerant, or just looking to try something fresh and naturally sweet, this ice cream is rich, smooth, and perfectly indulgent, turning any moment into a celebration.
Ingredients You’ll Need
One of the highlights of this Vanilla Vegan Ice Cream Recipe is how straightforward the ingredient list is. Each component plays a vital role—from creating the luscious texture to enhancing that subtle, sweet vanilla essence we all love.
- 2 cups full-fat canned coconut milk: Provides a rich, creamy base packed with healthy fats and that signature coconut flavor that complements vanilla beautifully.
- 1 cup unsweetened almond milk: Adds a light, nutty layer that balances the coconut’s richness while keeping the ice cream smooth.
- 3/4 cup organic cane sugar: Sweetens naturally with a depth that’s better than refined sugars, making every bite deliciously mellow.
- 2 tablespoons cornstarch: Acts as a natural thickener, giving the ice cream a silky, scoopable consistency without any artificial thickeners.
- 1 tablespoon pure vanilla extract: The star flavor, delivering that warm, comforting vanilla aroma that makes this ice cream irresistible.
- 1/8 teaspoon salt: Just a pinch to enhance all the flavors and create a perfect balance on your palate.
How to Make Vanilla Vegan Ice Cream Recipe
Step 1: Mix and Heat the Base
Start by whisking together the coconut milk, almond milk, organic cane sugar, cornstarch, and salt in a medium saucepan until everything is smooth. This step is crucial because cornstarch needs to be evenly dispersed to avoid clumps when heated. Place the saucepan over medium heat and stir frequently—about 5 to 7 minutes—until the mixture thickens slightly but does not boil. This gentle cooking process activates the cornstarch and dissolves the sugar for a perfect creamy base.
Step 2: Add Vanilla and Cool
Remove the saucepan from the heat and mix in the pure vanilla extract. The timing here ensures the vanilla remains fragrant and fresh, rather than cooked off. Let the mixture cool to room temperature, which helps it thicken further. Once cooled, transfer your base to the refrigerator and chill for at least 4 hours—this chilling step really sets the foundation for smooth churning.
Step 3: Churn Your Ice Cream
After chilling, pour the mixture into your ice cream maker. Follow the manufacturer’s instructions, usually running the machine for 20 to 25 minutes until the ice cream achieves a soft-serve consistency. This churning aerates the base, turning it into a luscious, fluffy treat instead of a frozen block.
Step 4: Freeze Until Firm
Once churned, transfer the ice cream to a freezer-safe container and freeze for 2 to 4 hours so it can firm up properly. Before scooping, allow it to sit at room temperature for 5 to 10 minutes to soften just enough for perfect scoops.
How to Serve Vanilla Vegan Ice Cream Recipe
Garnishes
To elevate your ice cream experience, think fresh and vibrant garnishes like ripe berries, toasted coconut flakes, or a sprinkle of cinnamon. These add an additional layer of texture and flavor that complement the creamy vanilla base beautifully.
Side Dishes
This ice cream pairs wonderfully with warm desserts such as freshly baked apple pie or rich chocolate brownies, where the contrast between hot and cold creates a delightful harmony. Vegan cookies on the side also offer a fun crunch alongside each scoop.
Creative Ways to Present
Why not get playful? Serve your Vanilla Vegan Ice Cream Recipe in waffle cones or hollowed-out fruit shells like coconuts for an eye-catching presentation. You can also layer it into parfaits with vegan granola and fruits for a stunning, refreshing dessert jar.
Make Ahead and Storage
Storing Leftovers
After your ice cream has been enjoyed, store any leftovers in an airtight container to keep it fresh and free from freezer odors. Try to consume within two weeks because vegan ice cream tends to be at its best chilled, creamy, and flavorful within this timeframe.
Freezing
If you plan to make this recipe in advance, the great news is it freezes very well. Just make sure to freeze it flat in a shallow container for quicker setting. When you’re ready to serve, simply remove and allow a few minutes to soften.
Reheating
Since this is ice cream, reheating isn’t necessary, but if it’s too hard to scoop, simply leave it out at room temperature for 5 to 10 minutes. This softening lets it regain its perfect ice cream-like texture, making scooping a breeze.
FAQs
Can I use other non-dairy milks instead of almond milk?
Absolutely! While almond milk adds a nice nutty touch and lightness, feel free to substitute with oat milk, soy milk, or any other plant-based milk you prefer. Just keep it unsweetened to control the sweetness of your ice cream.
What can I do if I don’t have an ice cream maker?
No worries! You can pour the chilled mixture into a shallow dish and freeze it, stirring vigorously every 30 minutes for about 3 hours to break up ice crystals. The texture won’t be as smooth, but it will still be delicious.
Is this recipe nut-free?
Since it uses almond milk, it’s not suitable for those with nut allergies. However, you could try replacing almond milk with coconut milk or oat milk to accommodate nut-free needs.
Can I add flavors or mix-ins?
Definitely! Mix-ins like dairy-free chocolate chips, crushed cookies, or toasted nuts added during the last minutes of churning can take this Vanilla Vegan Ice Cream Recipe from classic to extraordinary.
How do I make this ice cream richer?
For a creamier texture, use all full-fat coconut milk instead of blending with almond milk. This gives more fat content, making the ice cream silkier and more indulgent.
Final Thoughts
There’s nothing quite like the joy of homemade ice cream, and this Vanilla Vegan Ice Cream Recipe ensures everyone at the table can join in on the fun, regardless of dietary preferences. It’s uncomplicated, delicious, and wonderfully creamy—a true crowd-pleaser that’s worth making time and time again. Give it a try and watch how quickly this simple treat becomes your ultimate go-to dessert!
Print
Vanilla Vegan Ice Cream Recipe
- Prep Time: 10 minutes
- Cook Time: 10 minutes
- Total Time: 4 hours 20 minutes
- Yield: 6 servings
- Category: Dessert
- Method: Churning
- Cuisine: American
- Diet: Vegan
Description
This Vanilla Vegan Ice Cream is a creamy, dairy-free treat made with coconut milk and almond milk, sweetened with organic cane sugar and flavored with pure vanilla extract. It offers a rich and smooth texture, perfect for a refreshing dessert, using simple, wholesome ingredients and an easy homemade process.
Ingredients
Ice Cream Base
- 2 cups full-fat canned coconut milk
- 1 cup unsweetened almond milk
- 3/4 cup organic cane sugar
- 2 tablespoons cornstarch
- 1/8 teaspoon salt
- 1 tablespoon pure vanilla extract
Instructions
- Combine Ingredients: In a medium saucepan, whisk together the coconut milk, almond milk, sugar, cornstarch, and salt until the mixture is smooth and uniform.
- Heat Mixture: Place the saucepan over medium heat and cook while stirring frequently until the mixture begins to thicken slightly, about 5 to 7 minutes, taking care not to let it boil.
- Add Vanilla: Remove the pan from heat and stir in the pure vanilla extract to infuse the flavor.
- Chill Mixture: Allow the mixture to cool to room temperature, then place it in the refrigerator to chill for at least 4 hours or until completely cold.
- Churn Ice Cream: Pour the chilled mixture into an ice cream maker and churn according to the manufacturer’s instructions, usually for 20 to 25 minutes, until it achieves a soft-serve consistency.
- Freeze to Firm: Transfer the ice cream to a freezer-safe container and freeze for 2 to 4 hours until firm.
- Serve: Remove from the freezer and let sit at room temperature for 5 to 10 minutes before scooping and serving.
Notes
- For a richer texture, use all coconut milk and omit the almond milk.
- You can add mix-ins like dairy-free chocolate chips or crushed cookies during the last few minutes of churning.
- Store in an airtight container in the freezer for up to 2 weeks.


